
HERE’S WHAT YOU NEED
-
- Wood for Sign (paint sticks, 1″ x 2″, 1″ x 4″)
- Wood Star Cutout
- Adhesive Vinyl
- Transfer Tape
- Weeding Tool
- Scraper
- Sandpaper
- Paint & Brushes
- Wood Glue & Hot Glue
- Embellishments (I used buttons and twine)
- Electronic cutter (cricut explore, silhouette or other cutter)
- Cut File – It’s the Most Wonderful Time of the Year BA1808 (click here to get the SVG file for free from my free SVG Library)
HERE’S WHAT YOU DO
STEP 1: DOWNLOAD THE FREE SVG FILE
The first thing you’ll need to do is get the free SVG file you’ll use for this project. I keep all the SVG files I use for the projects I make in my SVG Library. These SVG files work with Cricut and Silhouette machines, as well as many others. This library is open to everyone and is free! You can access the library here. Look for the file called It’s the Most Wonderful Time of the Year BA1808. It will be listed under the Craftmas 2021 Category-Day 23.
STEP 2: CUT AND WEED VINYL DESIGN
Open the design in your software program and resize it to fit on your pieces of wood. I used paint sticks that measured about 1.5″ tall, so I resized the entire design to 7″ tall. If your slats are a different size, you’ll need to adjust the design to fit. I used white adhesive vinyl for all of the words.
When everything has been sized correctly, you can cut the designs with your Cricut or Silhouette.
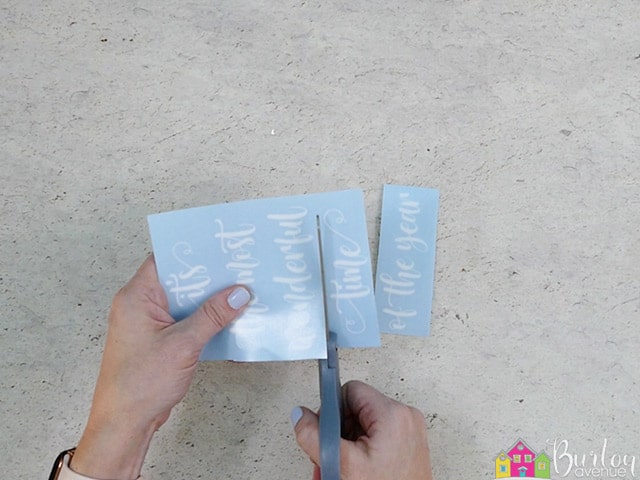
When everything is finished cutting, remove the vinyl from your cutting mat and trim off any unused vinyl.
Weed away the excess vinyl from around the designs.
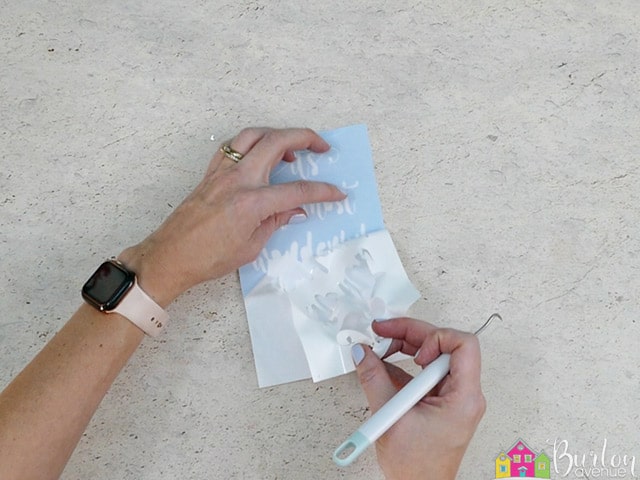
Use the weeding tool to help remove the excess vinyl from inside the letters.
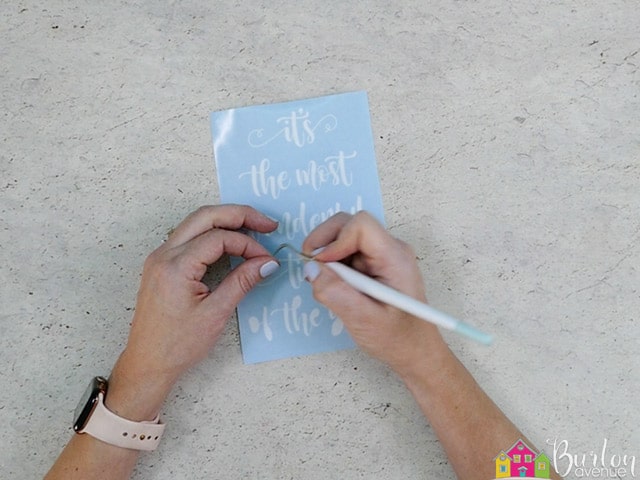
Cut a piece of transfer tape and place it sticky side up on your surface. Then place the vinyl on top of the transfer tape and smooth it down.
![]()
Rub over the designs firmly with your scraper tool.
Then, trim off the excess transfer tape and vinyl backing and cut the phrases apart.
STEP 3: PAINT THE WOOD PIECES
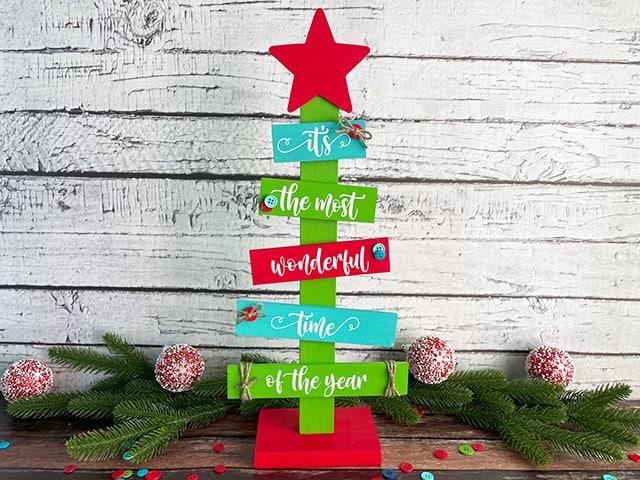
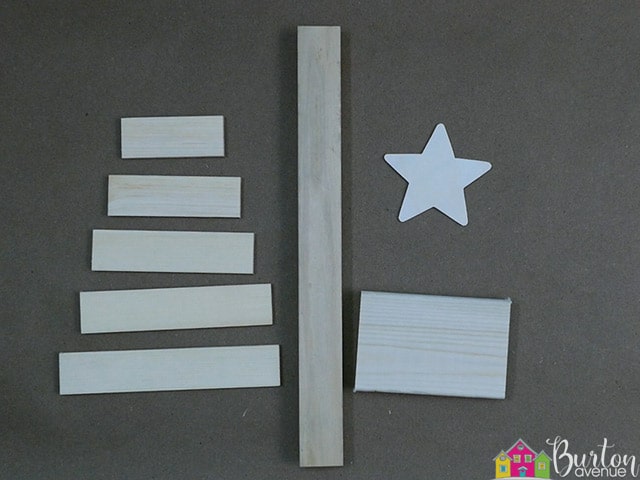
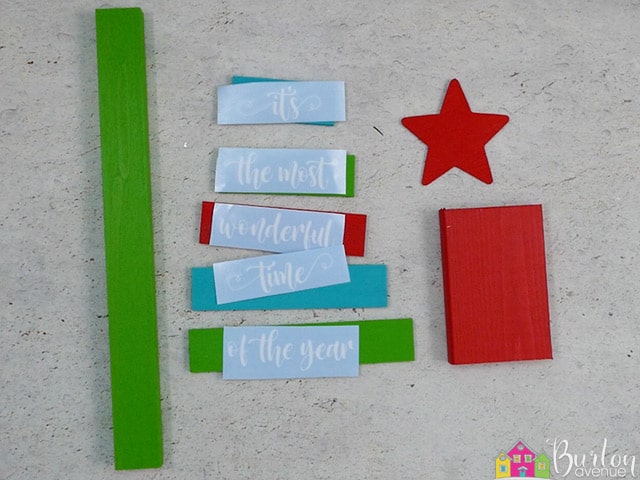
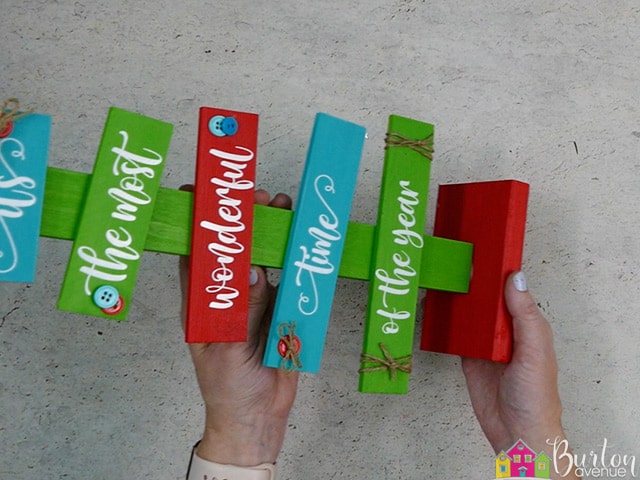
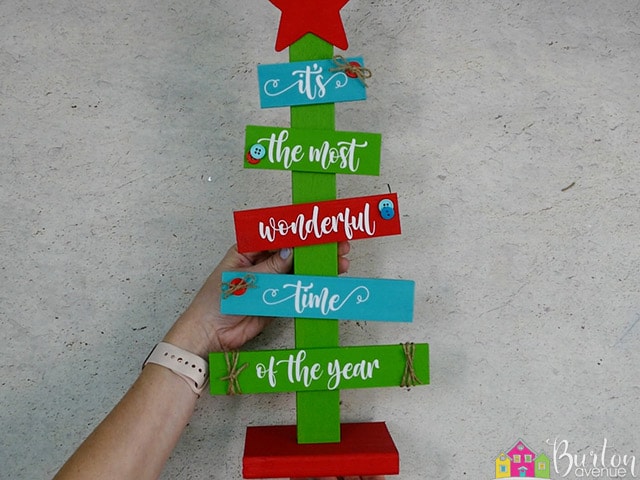
For this project, I used a few paint sticks and cut them into small pieces. You’ll need a 7.5″, 6.5″, 5.5″, 4.5″, 3.5″ piece. For the tree support, I used a 1″ x 2″ cut to 15″, the base is cut from a 1″ x 4″ and is 5″. You’ll also need a wood star cutout. My star measures about 3.75″.
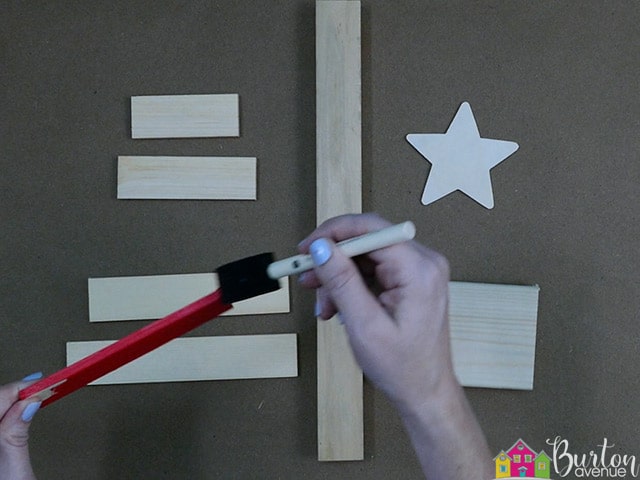
Start by sanding all the wood pieces. Then, you can paint them. It’s really up to you what colors you paint the pieces.
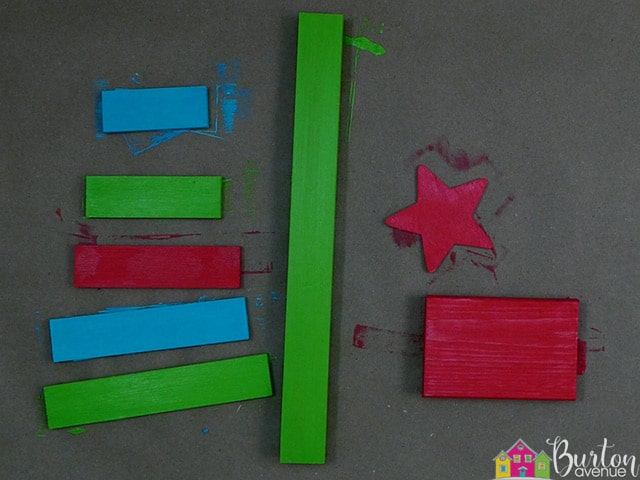
I painted the paint sticks red, green, and turquoise. I painted the star and base red and the support for the tree green. You’ll probably need to do a couple of coats on all the pieces.
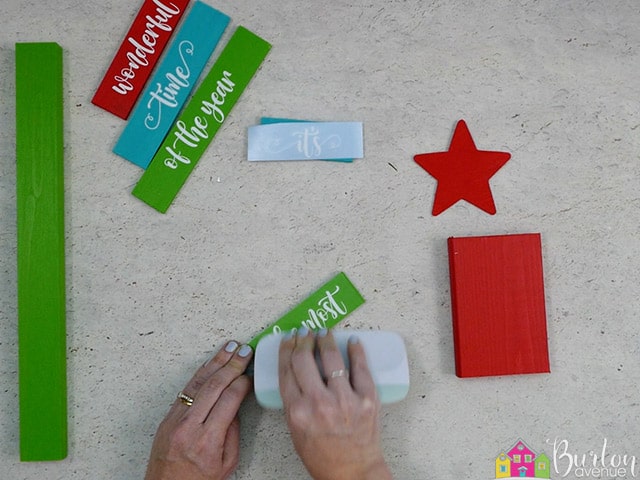
STEP 4: APPLY THE VINYL LETTERING
Once the paint has dried completely, it’s time to add the vinyl.
Line up the paint sticks from shortest to longest and then place the phrases on top. Make sure the words read correctly.
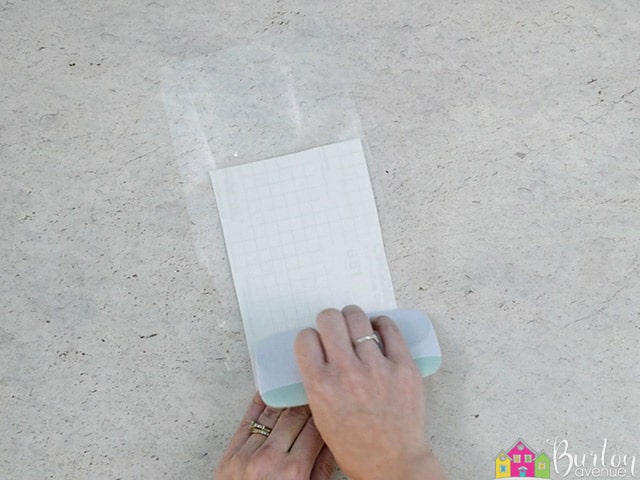
Grab one of the phrases and remove the vinyl backing.
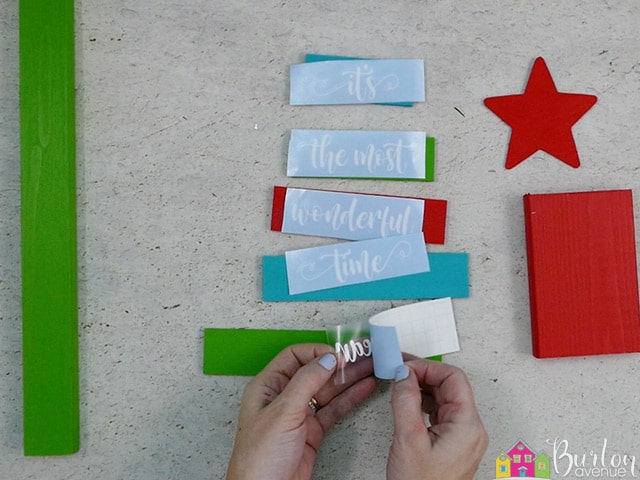
Then, position it in the center of the paint stick.

Rub over it with your scraper.
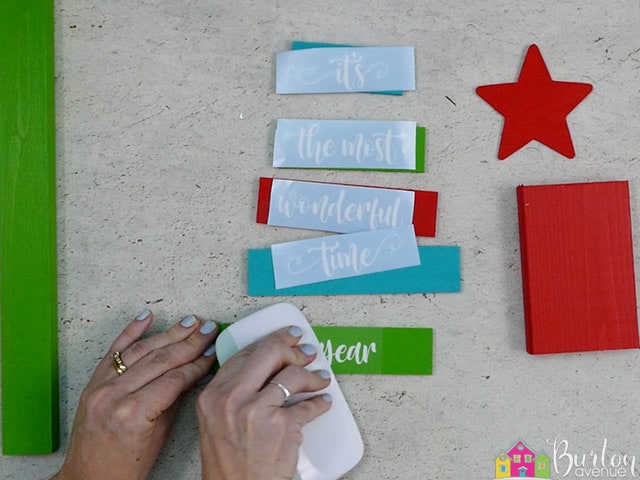
Then, pull off the transfer tape.
![]()
Repeat with all the phrases.
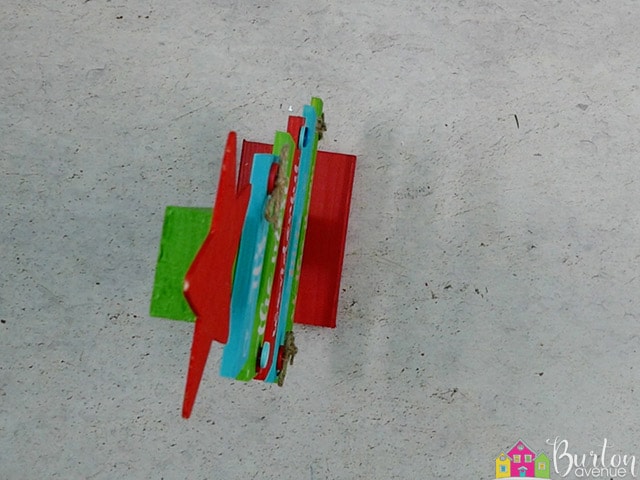
STEP 5: ASSEMBLE THE TREE
Grab all your paint strips and the star and place them on the back support. Arrange them so they look good. I angled them in different directions, but you can also do all of them straight.
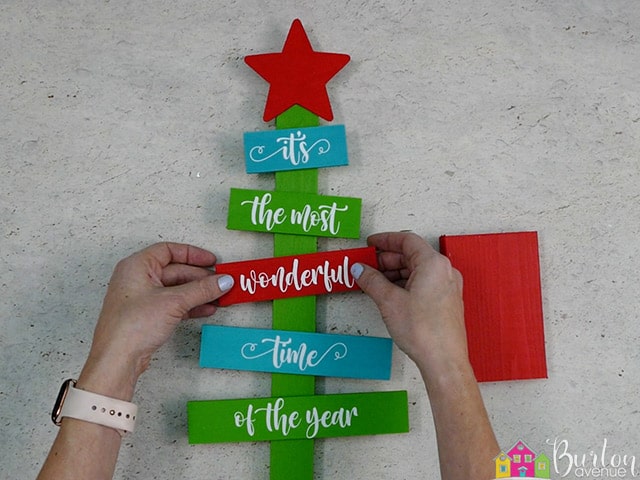
Then, use wood glue to glue them all in place.
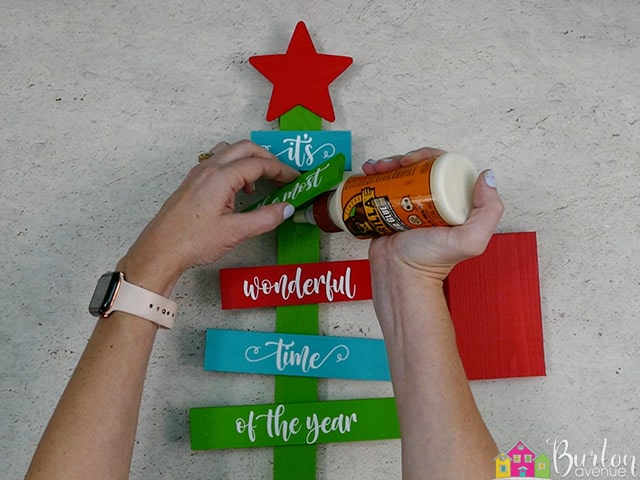
Allow glue some time to dry and then you can glue on your embellishments. I used buttons and twine and hot glued them to the ends of the paint sticks.
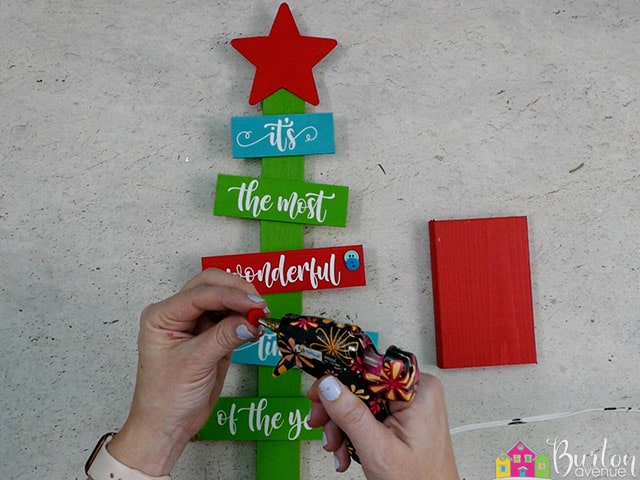
Finally, glue the tree to the stand.
You should be to balance the tree on the stand while it dries.
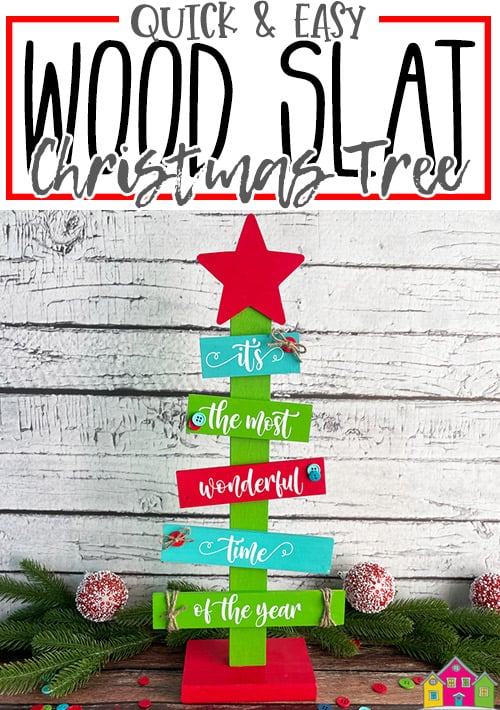
And that’s it, this project is finished. Didn’t it turn out cute?
Did you enjoy this post? Help spread the word! Share this post on your favorite Pinterest board. Thanks!
Want to make your own? Get the free cut file for this project in the resource library