

HERE’S WHAT YOU NEED
-
- 4″ x 4″ Wood for Candles (cut to 16″, 14″, & 12″)
- Red paint & Brush
- White Adhesive Vinyl (I got mine here)
- Transfer Tape
- Weeding Tool
- Scraper
- Ribbon
- Christmas Pick
- LED Votive Candles
- Glue Gun & Glue
- Drill & Spade Bit
- Electronic cutter (cricut explore, silhouette or other cutter)
- Cut File – Peace Love Joy BA2120 (click here to get the SVG file for free from my free SVG Library)
HERE’S WHAT YOU DO
STEP 1: DOWNLOAD THE FREE SVG FILE
The first thing you’ll need to do is get the free SVG file you’ll use for this project. I keep all the SVG files I use for the projects I make in my SVG Library. These SVG files work with Cricut and Silhouette machines, as well as many others. This library is open to everyone and is free! You can access the library here. Look for the file called Peace Love Joy BA2120. It will be listed under the Craftmas 2022 Category-Day 25.
STEP 2: CUT AND WEED VINYL DESIGN
Open the design in your software program and resize it to fit on your piece of wood. I changed the width to 8″ and left the width proportional.
When everything has been sized correctly, you can cut the designs with your Cricut or Silhouette.
Remove the vinyl from your cutting mat and trim off any unused vinyl.
Weed away the excess vinyl from around the design.
Use a weeding tool to pull out the small pieces left inside the letters.
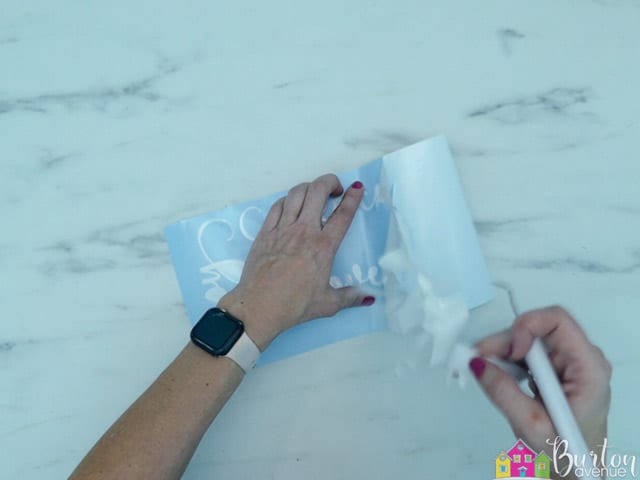
Cut a piece of transfer tape and place it sticky side up on your surface. Then place the vinyl on top of the transfer tape and smooth it down.
![]()
Rub over the designs firmly with your scraper tool.
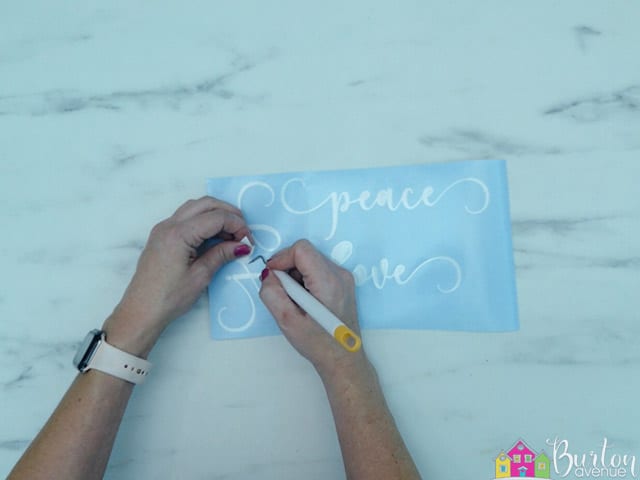
Then, trim off the excess transfer tape and vinyl backing and cut apart the different phrases.
![]()
STEP 3: PREPARE THE WOOD PIECES
For this project, you’ll need a 16″, 14″, and 12″ piece of wood cut from a 4″ x 4″ post. You’ll want to sand them down so they’re nice and smooth.
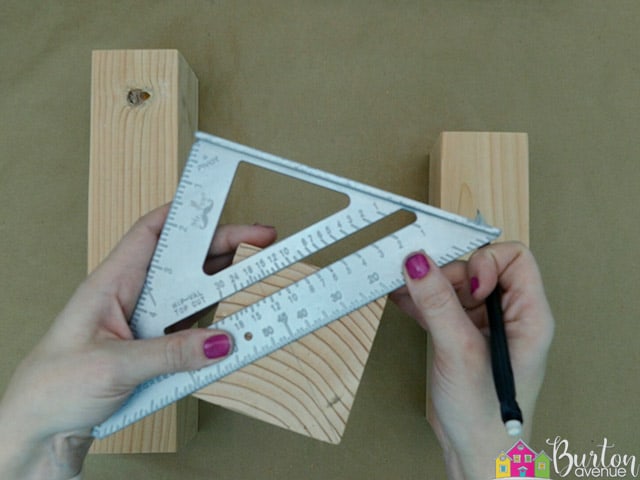
Mark the center of each piece of wood by drawing a diagonal line from corner to corner.
Drill out the center of the post for the votive candle. I used a spade drill bit. It was a little tricky, but it got the job done. It’s really helpful if you have clamps or something to keep the wood in place while you’re drilling. You’ll need to make sure your drill bit is a little bit larger than the diameter of your votive candles.
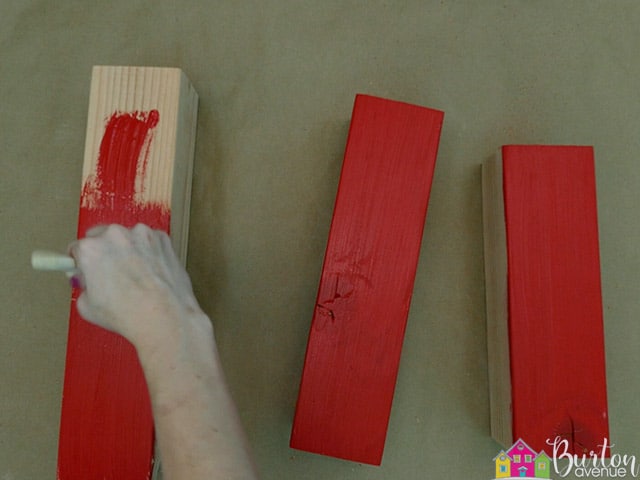
 Once you’ve drilled out the holes, sand them a little to smooth them out. Then, paint the blocks red. You’ll probably need to do a couple of coats.
STEP 4: APPLY THE VINYL DESIGN TO THE WOOD
After the red paint has dried, it’s time to apply the vinyl to the blocks of wood.
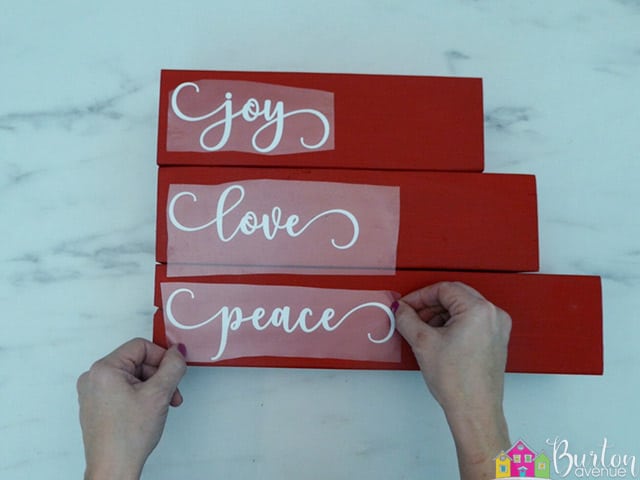
Position the designs on the blocks. The word peace goes on the 16″ block, love on the 14″ block, and joy on the 12″ block.
Grab one of the designs and pull off the vinyl backing.

Position the design on the wood, but don’t press it down yet.

Repeat with the other two designs. Line up the blocks and adjust the phrases so they look good together.
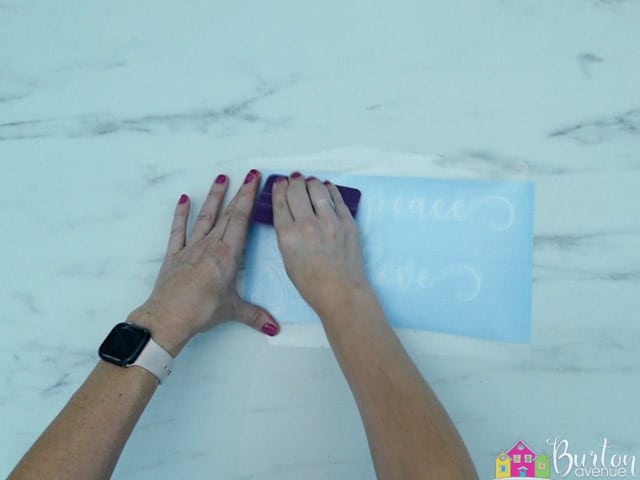
When you’re happy with the placement of the phrases, rub over them with your scraper.
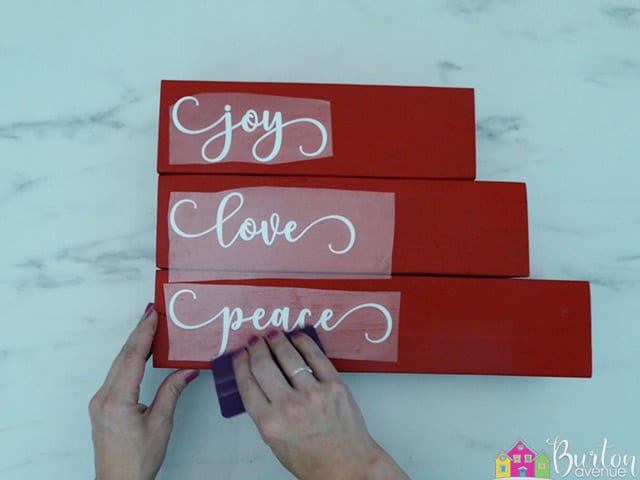
Then, pull off the transfer tape.
![]()
STEP 5: ADD CHRISTMAS EMBELLISHMENTS
To finish off the candles, we’re going to add a few embellishments. Wrap a piece of ribbon around the block about 1″ down from the top of the block and glue it in place.

Glue a Christmas pick over the ribbon.
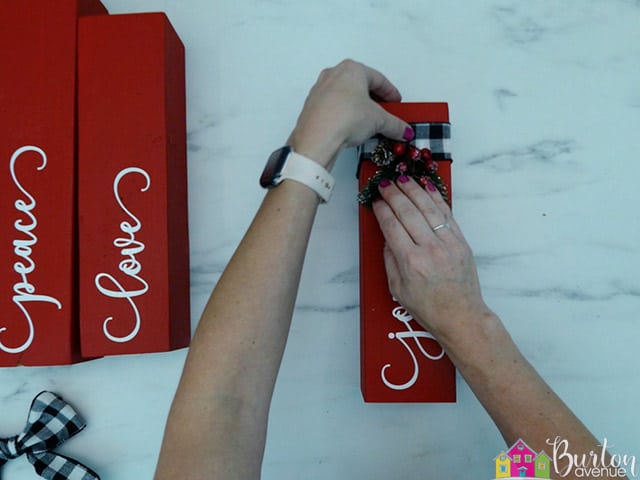
And glue a bow over the top of the pick. Repeat with the other two blocks.

Place led candles inside the holes and these candles are finished! I highly recommend using candles on a timer. They’ll turn on and off by themselves, which is so convenient!

Did you enjoy this post? Help spread the word! Share this post on your favorite Pinterest board. Thanks!

Want to make your own? Get the free cut file for this project in the resource library