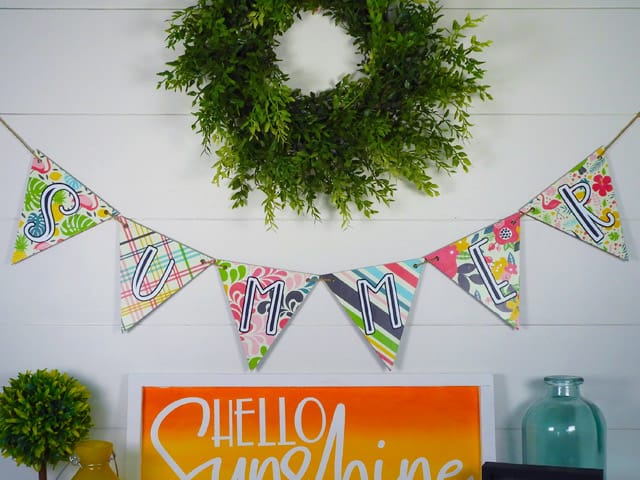
Make this cute pennant banner for summer with your Silhouette or Cricut. This banner was easy to make and is the perfect addition to your summer decor. It’s also reversible! The other side of the banner is a 4th of July design and you can find the tutorial here.
HERE’S WHAT YOU NEED
- Wood Pennant Banner & Twine
- Vinyl (I used black and white)
- Transfer Tape
- Printed Cardstock
- Application Tool
- Craft Knife
- Smoothing Tool
- Electronic cutter (cricut explore, silhouette or other cutter)
- Cut File (available for free in my resource library)
HERE’S WHAT YOU DO
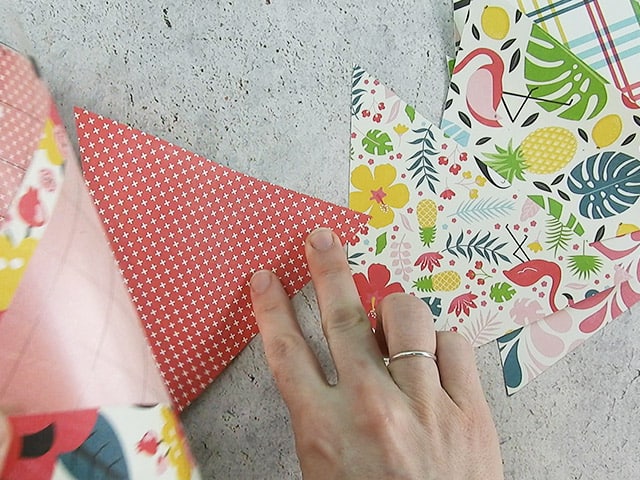
Start by measuring the size of the wood pennants. In your software program, create and triangle and size it the same size as the wood pennant. You’ll need to cut out 6 triangles. I used 6 different patterns of cardstock from this assortment.
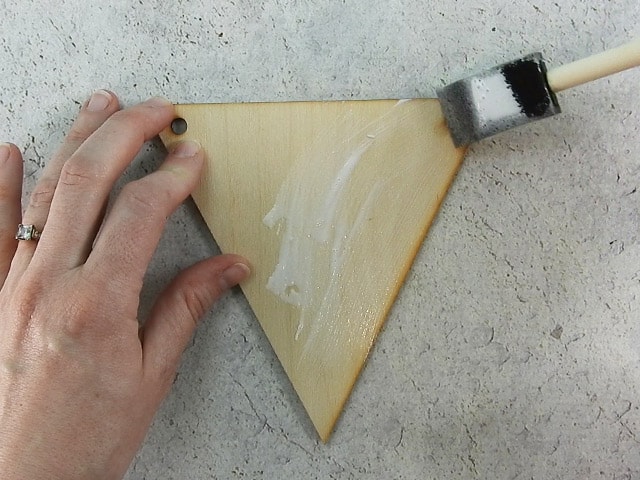
Apply a layer of Mod Podge to the triangle pennant. Make sure to coat the edges and the middle.
While the Mod Podge is still wet, place a piece of cardstock over the wood. Make sure all the edges match up.
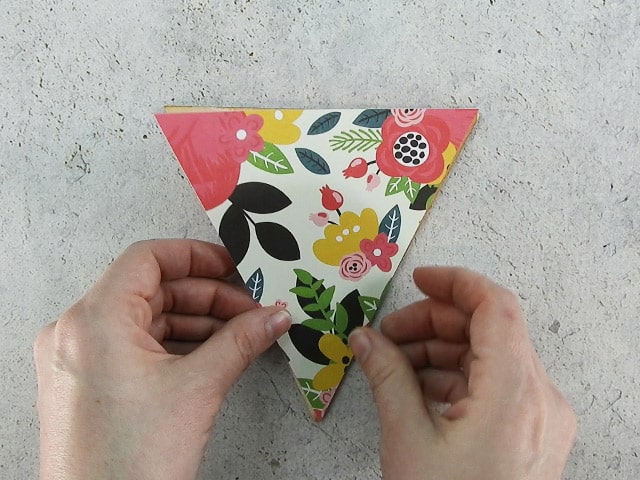
Use a smoothing tool to push down the cardstock and to remove any air bubbles.
After the triangles have dried for a few minutes, put a coat of Mod Podge over the stock. Do this with all 6 triangles.
While everything is drying, you can start working on the vinyl. Open the design in your software program and size the letters to fit on the triangles. Add registration marks to help you line up the black and white layers. Cut out the vinyl and weed away the excess.
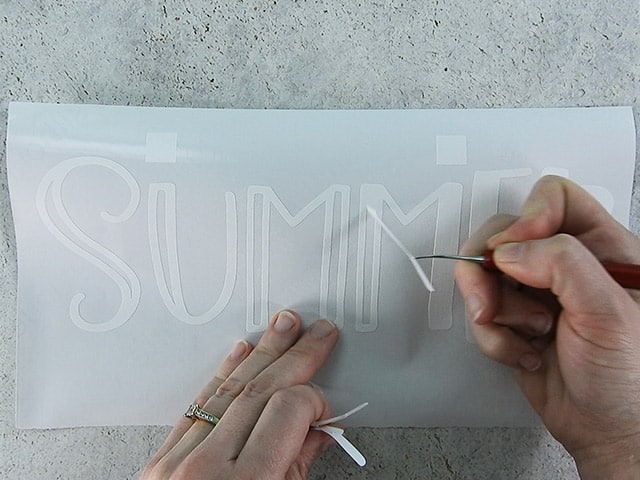
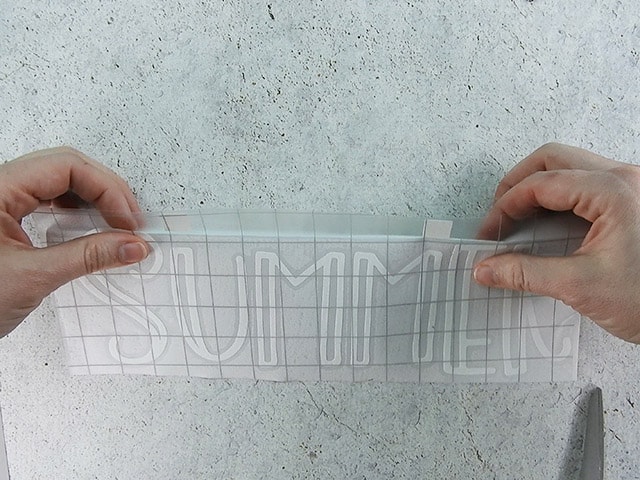
Place a piece of transfer tape over the white vinyl. Use an application tool or scraper to rub over the transfer tape.
![]()
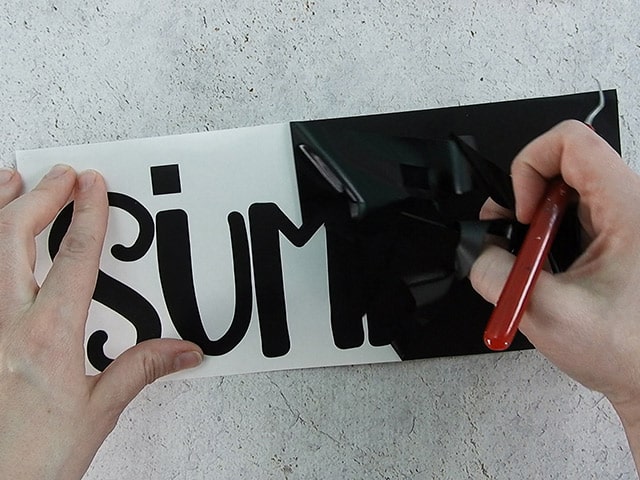
Fold down a small section of the vinyl backing. You want to fold down enough to expose the adhesive of the square registration marks.
Place the white vinyl over the black vinyl. Take the time to match up the square registration marks as best as possible.
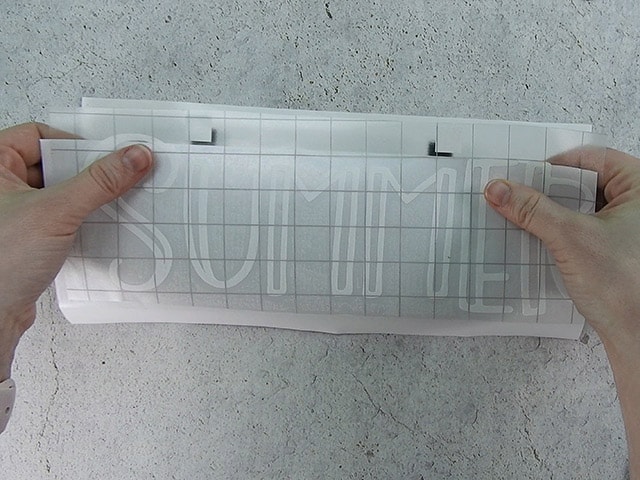
Once the layers have been aligned, carefully pull off the white vinyl backing.
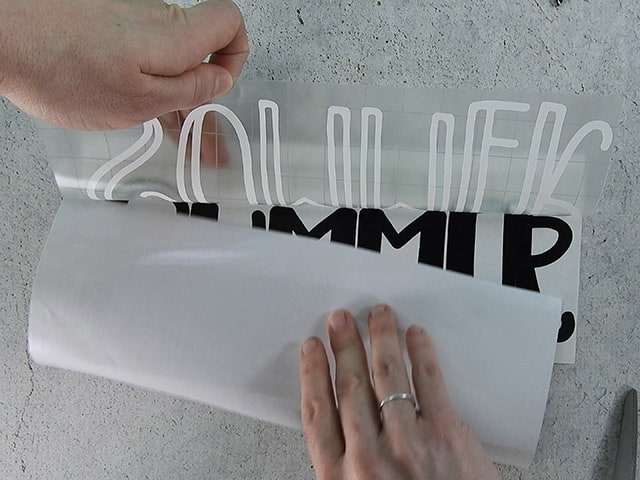
Use a scraper to press the design onto the black vinyl.
Cut apart the letters.
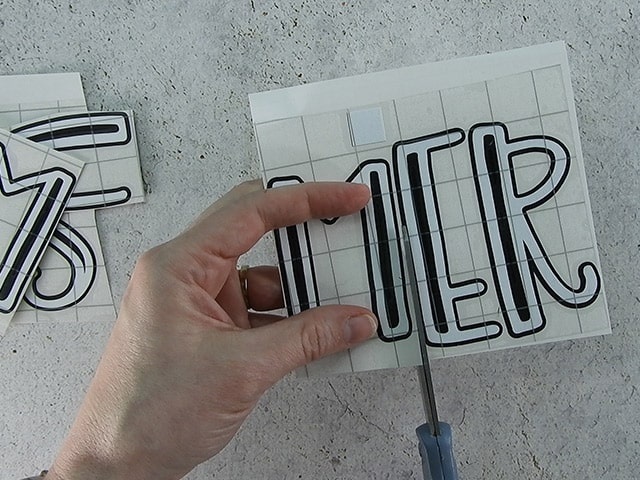
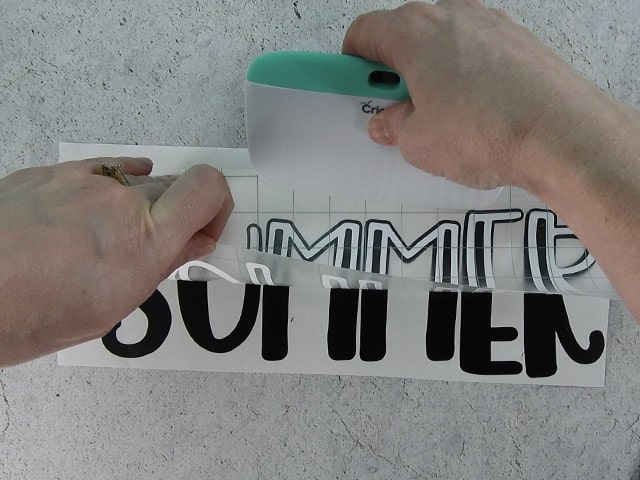
Pull off the vinyl backing of one of the letters.
Position the letter on the triangle and rub with the application tool. Then, remove the transfer tape. Do this with all of the letters.
![]()
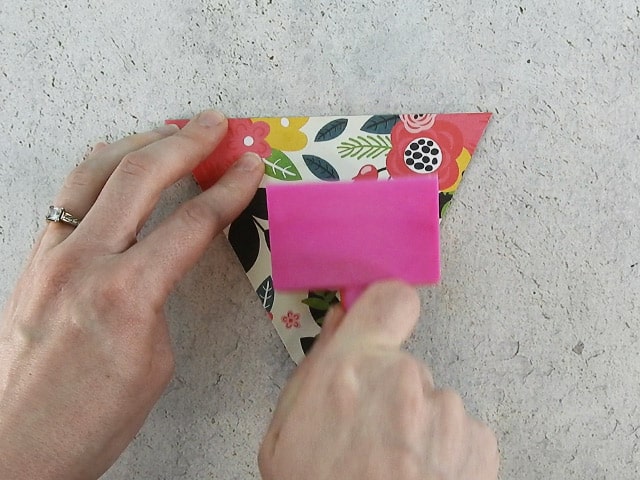
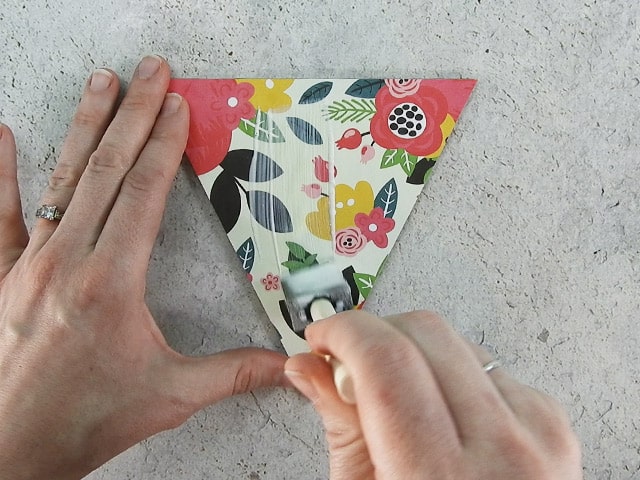
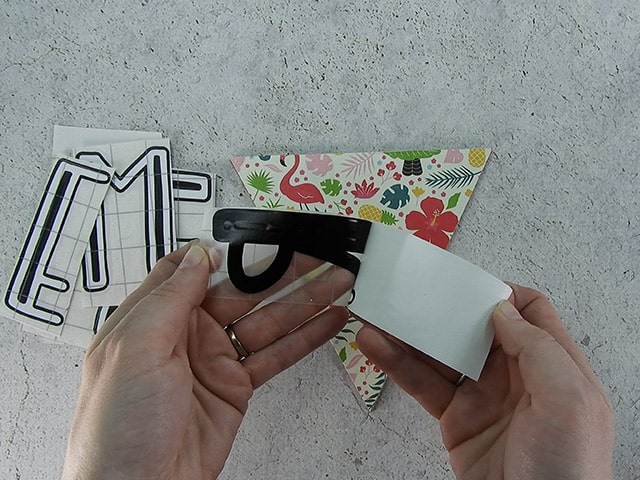
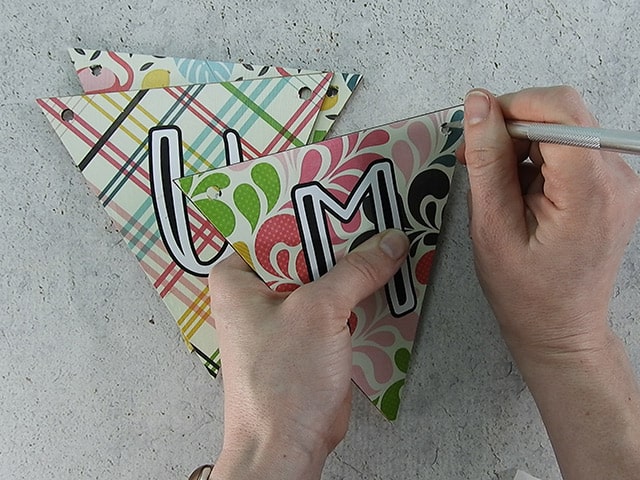
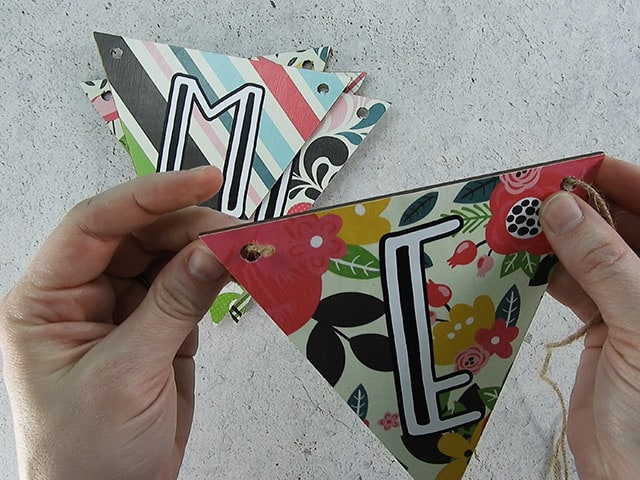
Use a craft knife to cut holes out of the card stock.
Thread a piece of twine through the hole of the triangle.
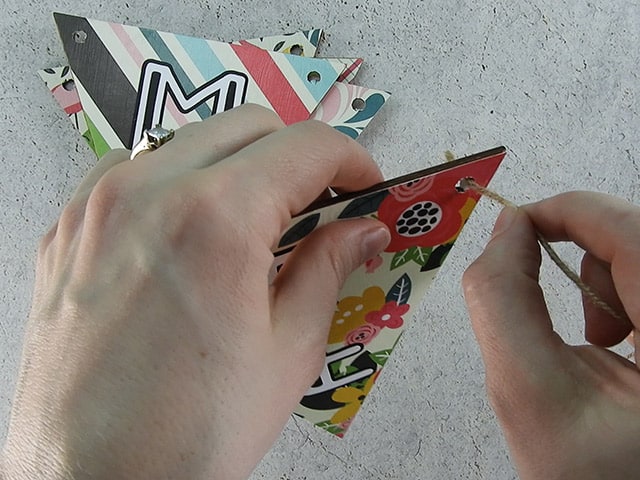
Then, pull it back through the other hole. Repeat with the remaining letters (make sure you do it in the right order to spell summer). Now your banner is done. Then you just need to find a cute place to hang it!
Did you enjoy this post? Help spread the word! Share this post on your favorite Pinterest board. Thanks!

Want to make your own? Get the free cut file for this project in the resource library