Welcome to day 8 of my 25 Days of Craftmas series! Today I’m sharing another Christmas sign. Sometimes, I picture a project in my head and when I finish it, it’s not quite what I had envisioned. Luckily, this wasn’t one of those times. This sign turned out just as I had imagined (maybe even better) and I LOVE it!.

The rustic frame and the mini wreath complete this sign so perfectly. And the best part is that it was really easy to make!

This post contains affiliate links for your convenience (which means if you make a purchase after clicking a link I will earn a small commission but it won’t cost you a penny more)! Read my full disclosure policy.
HERE’S WHAT YOU NEED
- Wood for Sign (18″ x 7.5″)
- Furring Strip for Frame
- Mini Wreath (I used this one)
- White & Black Paint and Brush
- Wood Glue
- Staple Gun or Hot Glue Gun
- Vinyl (I used black)
- Christmas Ribbon
- Miter Saw or hand saw
- Sand Paper
- Brad Nailer or Hammer & Nails
- Transfer Tape
- Electronic cutter (cricut explore, silhouette or other cutter)
- Cut File (available for free in my resource library)
HERE’S WHAT YOU DO
The first thing you’ll need to do is get the free SVG file you’ll use for this project. I keep all the SVG files I use for the projects I make in my SVG Library. These SVG files work with Cricut and Silhouette machines, as well as many others. This library is open to everyone and is free! You can access the library here. Look for the file called Have Yourself a Merry Little Christmas. It will either be listed under the Christmas category-25 Days of Craftmas 2018 – Day 8.
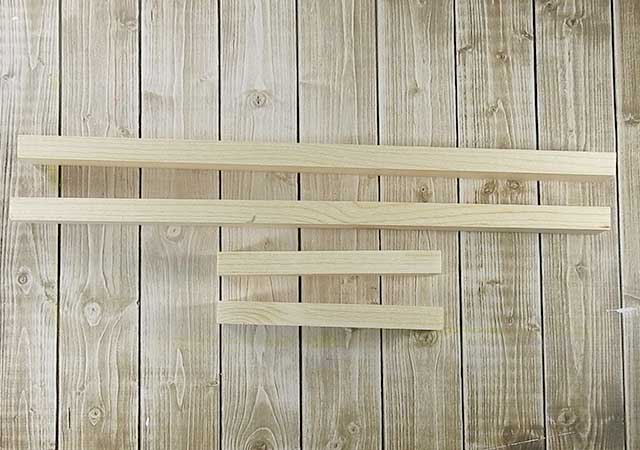
Start by cutting down the wood furring strip. You’ll need 2 – 19.5″ pieces and 2 – 7.5″ pieces. Paint the strips red and let dry.
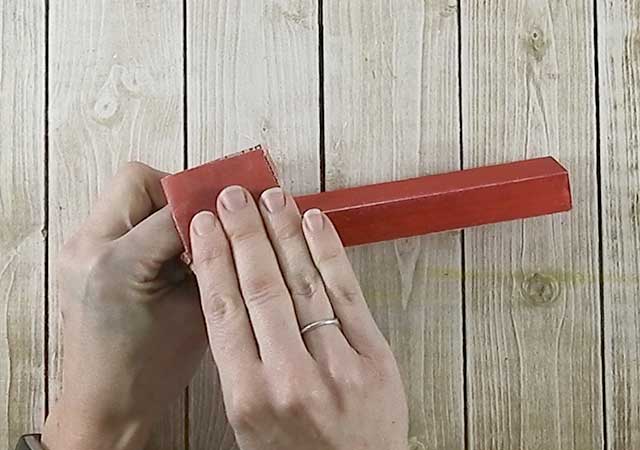
Lightly sand the edges and surfaces of each piece of the frame.
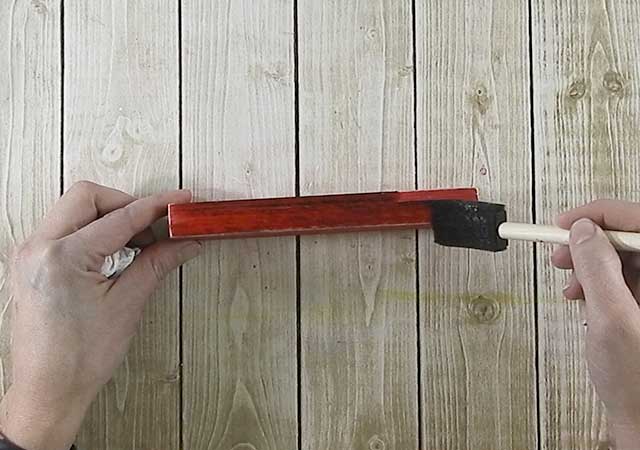
Brush watered down black paint on the wood.
iv>
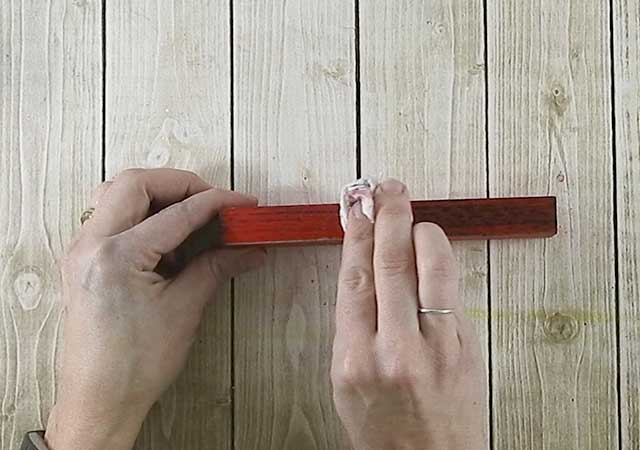
Then, wipe it off with a paper towel. There should be just a small amount of black paint left on the wood. Repeat with all the pieces.
</d
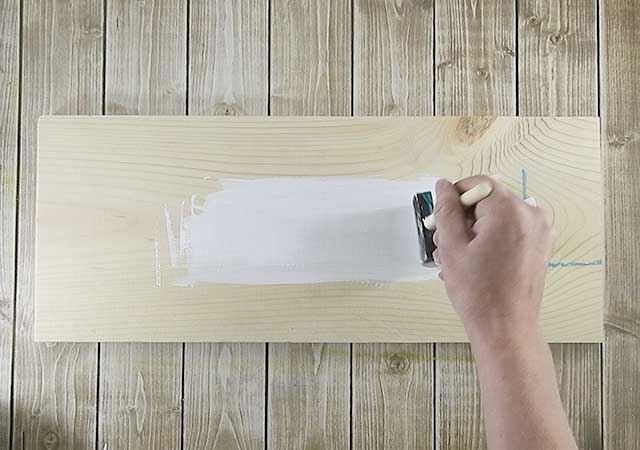
Now, paint the sign white.
 While the paint is drying, lay out the vinyl design, size it to 7″ x 8″, and cut it with your machine. Weed, apply transfer tape, and apply the vinyl to the sign. Rub over the vinyl to get it to stick to the wood and then remove the transfer tape.
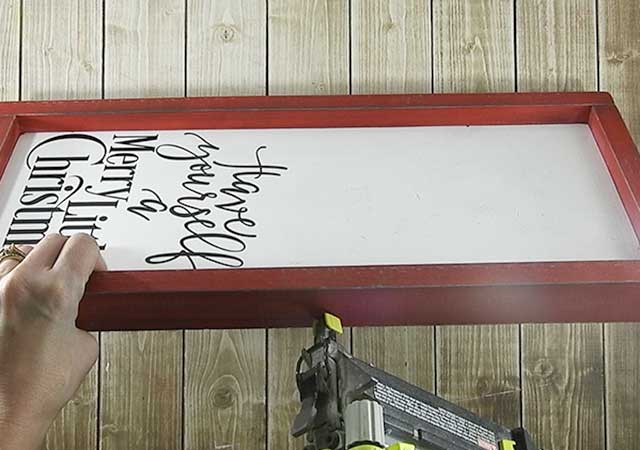
Now it’s time to attach the frame. Start by nailing on the top and bottom pieces. I used this brad nailer, which I totally love, but you could also use a hammer and nails. Once the top and bottom pieces are secure, attach each of the sides.
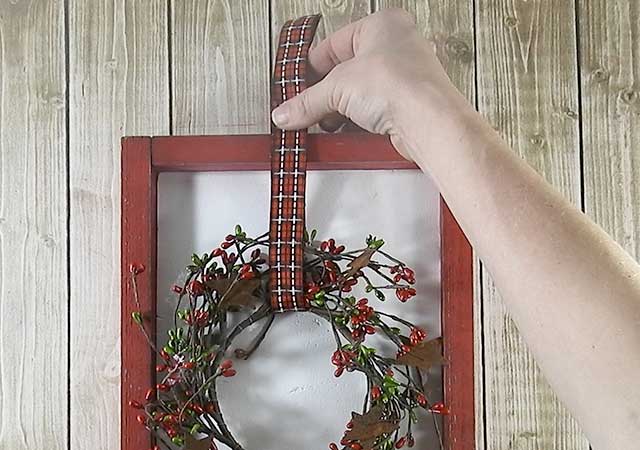
Cut a strip of ribbon about 16″ long. Position the wreath on the front of the sign and then wrap the ribbon around to the back.
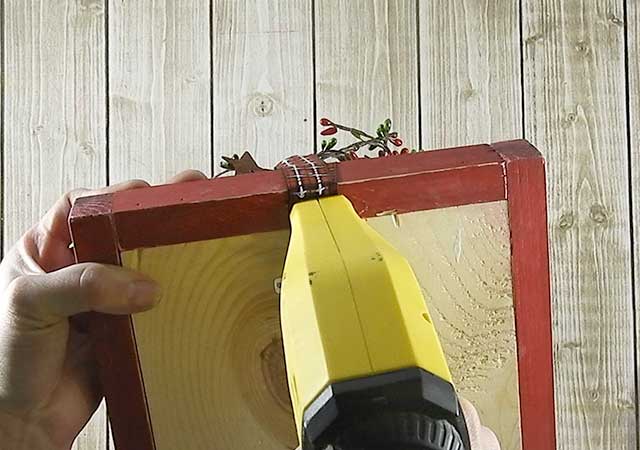
Use a staple gun or hot glue gun to secure the ribbon to the back of the sign. Trim off the excess ribbon. That’s it. You’re done!
This sign really turned out cute, I kind-of love it. I think when Christmas is over, I’ll make an everyday one that can stay up all year long. I just need to figure out a cute saying to put on it.

Did you enjoy this post? I’d love for you to pin it to your favorite pinterest board.

This is just darling!! Thank you for all you do!!
I made this today to give as a Hostess gift. Because of your step by step instructions it was easy to put together and it came out beautifully! Thx k you so much and Hsppy Thanksgivings!
Ah, that’s so awesome to hear. I bet the recipient loved it!