Count down the days until Santa arrives with this cute and easy DIY Christmas countdown sign! The numbers are displayed on little wooden tags that can be switched out each day, making it a fun hands-on Christmas advent activity for kids and adults alike. You’ll love how festive it looks in your home! Read on for the full tutorial.

HERE’S WHAT YOU NEED
- Wood for sign (see step 2 for details)
- Wood Glue
- Paint & Brush
- Red, Green, & White Vinyl
- Application Tool
- Transfer Tape
- Hammer and Wire Brad Nails
- Weeding Tool
- Electronic cutter (cricut explore, silhouette or other cutter)
- Cut File (available for free in my resource library)
HERE’S WHAT YOU DO
STEP 1: DOWNLOAD THE FREE SVG FILE
The first thing you’ll need to do is get the free SVG file you’ll use for this project. I keep all the SVG files I use for the projects I make in my SVG Library. These SVG files work with Cricut and Silhouette machines, as well as many others. This library is open to everyone and is free! You can access the library here. Look for the file called Days until Christmas is Here. It will be listed under the Christmas category- Craftmas 2020 – Day 6.
STEP 2: PREPARE THE WOOD FOR SIGN
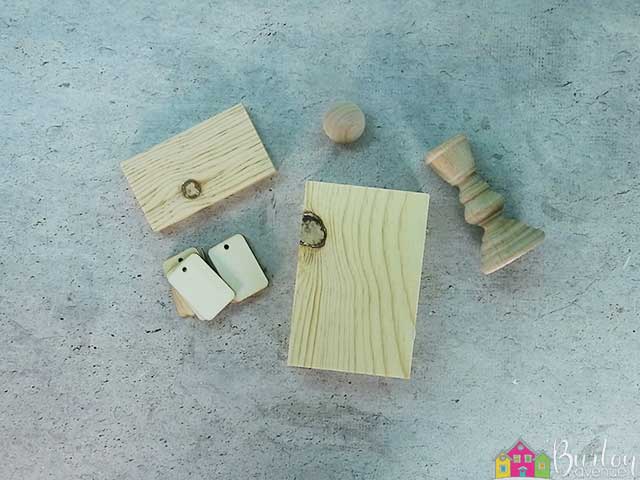
To make this sign, you’ll need the following pieces of wood: 4″ candlestick, 4×6 wood block (cut from a 2×4), 2.5×4.5 wood block (cut from pine), wooden cabinet knob, & wooden hanging tags.
Start by gluing the candlestick onto the 2.5 x 4.5″ piece of wood. 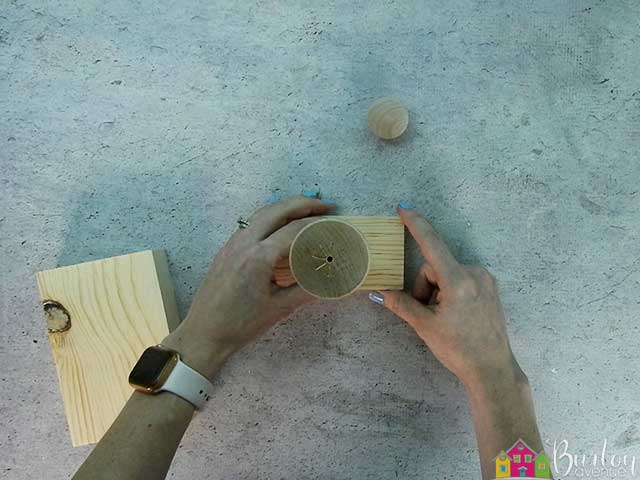
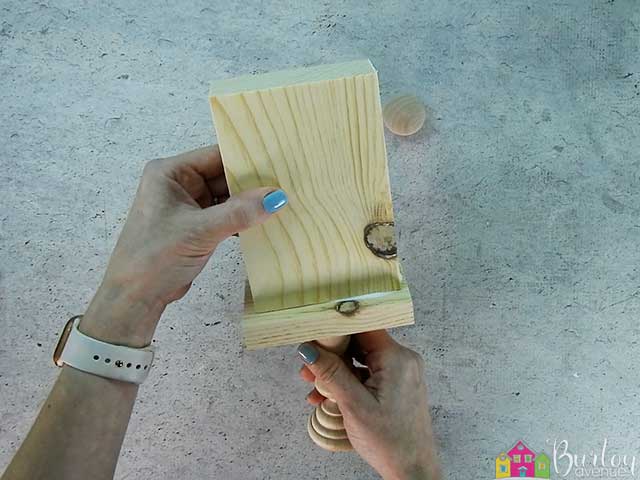
Once that has dried for a few minutes, you can glue on the 4 x 6″ piece of wood.
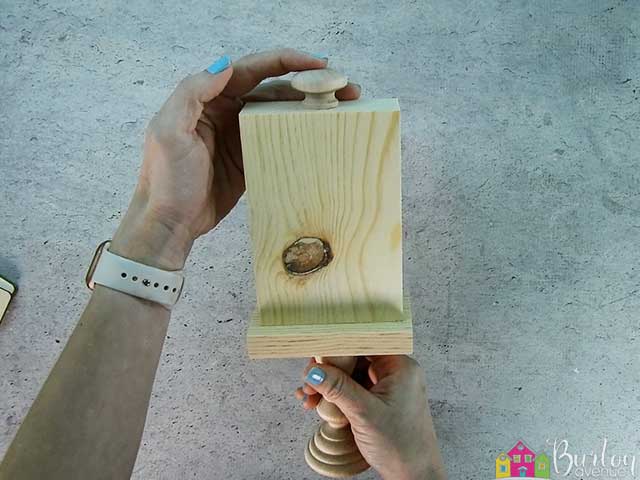
Finally, glue the wooden cabinet knob onto the top of the sign. Once everything has dried for a few minutes, go back and wipe away any excess glue.
After the glue has had plenty of time to dry, it’s time to start painting. We’re going to paint the entire sign black.

You’ll need to do at least two coats to get good coverage.
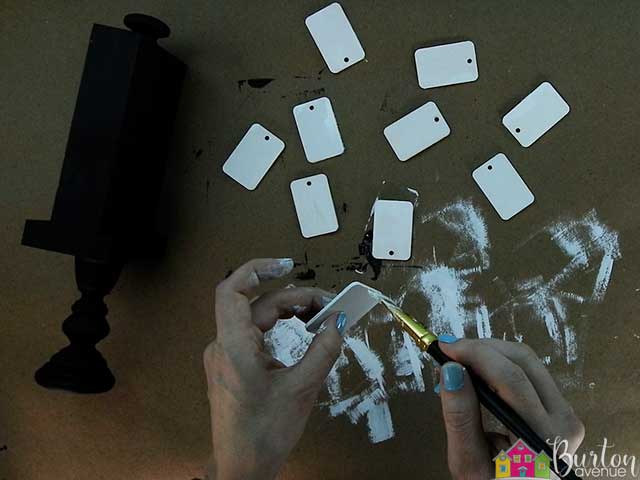
Once you’ve finished painting the sign, you can move onto the wooden tags. You’ll need 10 of them and you’ll need to paint them all white. Once again, you’ll need to do a couple of coats.
STEP 3: PREPARE VINYL
Open the design in your software program and size it to 6.3″ width, leave the height proportional. For the numbers, you need two sets of 0-9. When everything is sized correctly, you can cut the design with your Cricut or Silhouette. You’ll need to cut the lettering out of white vinyl, the numbers and berries out of red, and the holly leaves out of green vinyl.
Once everything is cut, weed away the excess vinyl.
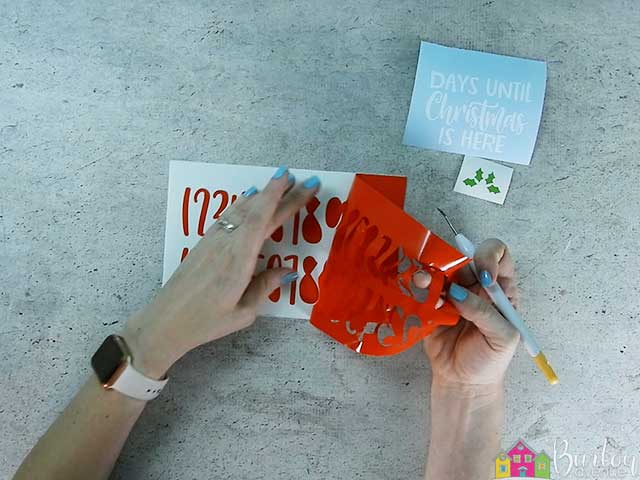
Cut a piece of transfer tape a little bigger than the designs. Place it sticky side up on your work surface. Then, place all three colors of vinyl on top of the and smooth it down. Rub over it with an application tool. Then, trim off the excess transfer tape.
![]()
Rub over it with an application tool.
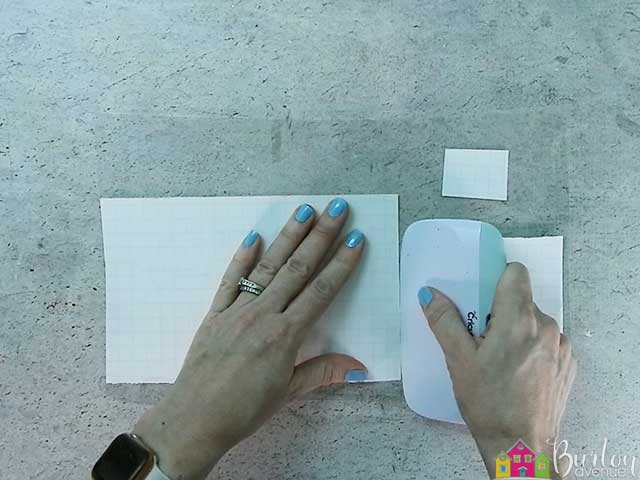
Then, trim off the excess transfer tape and rub over the designs again.

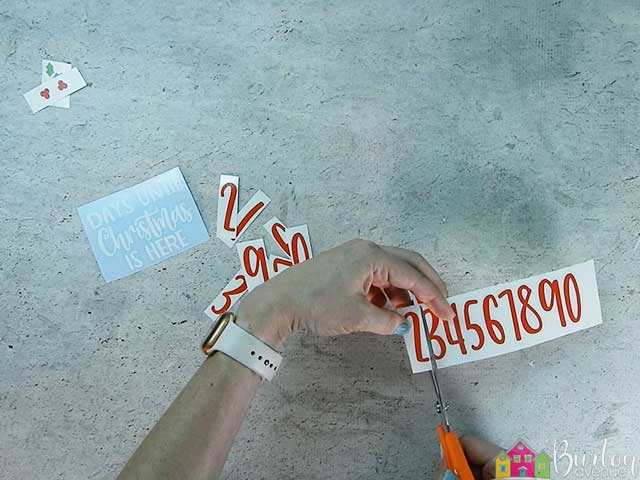
Now cut apart the numbers.
STEP 4: APPLY VINYL TO THE WOOD SIGN
Let’s start with the numbers. Pull off the vinyl backing.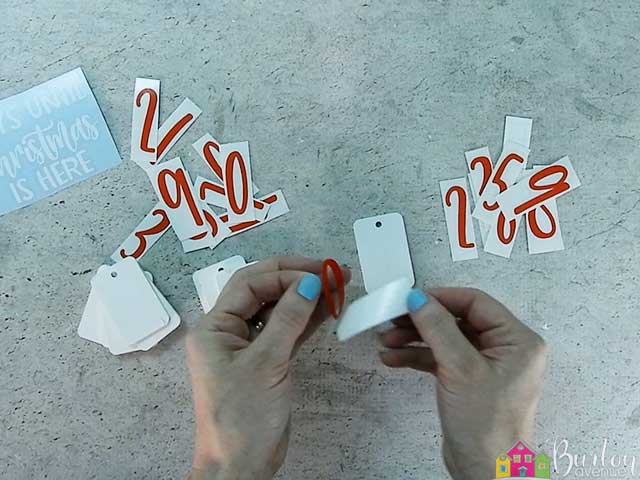 Position the number in the center of the wooden tag.

Rub over the number with the scraper.
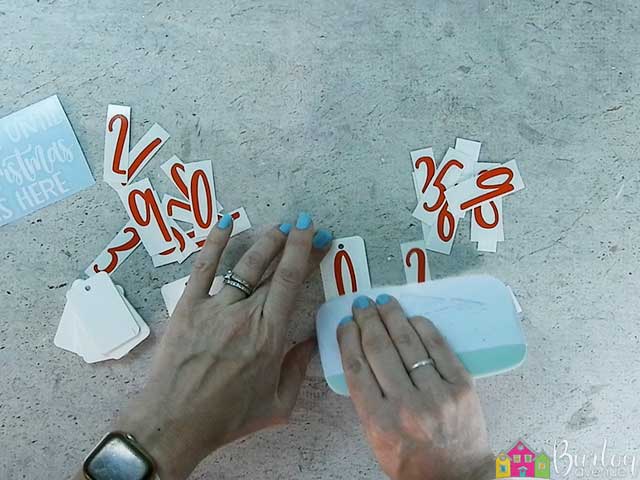
Then pull off the transfer tape. Repeat with the rest of the numbers. Put 9 on the other side of 0, 8 and 7 go together, 6 and 5, 4 and 3, 2 and 1.
![]()
Remove the backing on the white vinyl and place it on the wood sign. Rub over it with a scraper, and then pull off the transfer tape. Follow the same steps to add the holly and berries.

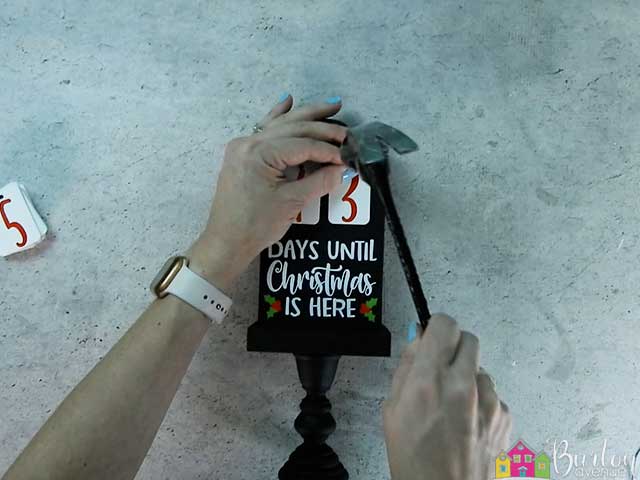
STEP 5: ADD NAILS FOR NUMBERS
Center two numbers on the sign. Use a ruler to make sure they are spaced equally from the sides.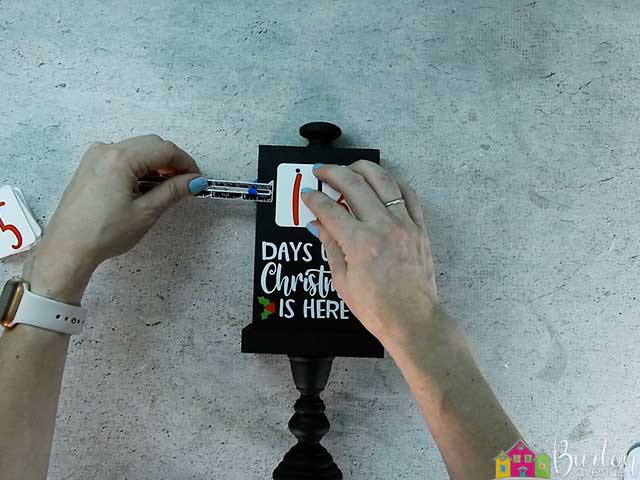
Use skinny wire nails to hang the wooden rectangles on the sign.
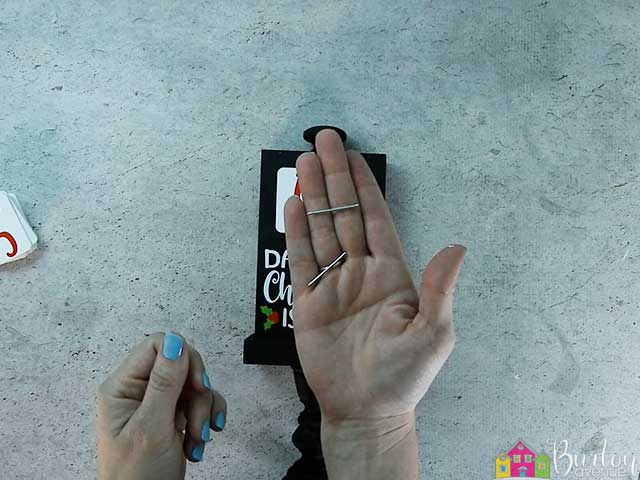
Hammer the nails far enough into the wood so they are secure and don’t wiggle, but leave enough sticking out of the wood so the 5 wooden tags can hang on them.
Place the numbers on the nails and start counting down the days until Christmas!

Did you enjoy this post? Help spread the word! Share this post on your favorite Pinterest board. Thanks!

Want to make your own? Get the free cut file for this project in the resource library