
HERE’S WHAT YOU NEED
-
- Wood Panel (or another sign blank)
- Buffalo Plaid Scrapbook Paper
- White Heat Transfer Vinyl
- Jute Twine
- Hot Glue Gun & Glue
- Mini Press or Small Iron
- Electronic cutter (cricut explore or maker, silhouette or other cutter)
- Cut File – Merry Christmas BA2109 (available for free in my resource library)
HERE’S WHAT YOU DO
STEP 1: DOWNLOAD THE FREE SVG FILE
The first thing you’ll need to do is get the free SVG file you’ll use for this project. I keep all the SVG files I use for the projects I make in my SVG Library. These SVG files work with Cricut and Silhouette machines, as well as many others. This library is open to everyone and is free! You can access the library here. Look for the file called Merry Christmas BA2109. It will be listed under the Craftmas 2022 category.
STEP 2: CUT THE PIECES FOR THE SIGN
Open the design in your software program. Keep everything grouped together and resize the design to fit on your wood sign. The sign I’m using is about 16″ wide, so I resized everything to 13.5″ wide. If you’re using a Cricut, you’ll need to attach the perforation lines to the pennant shapes.
You’ll want to cut the pennant shapes out of buffalo plaid scrapbook paper and the letters, branches, and berries out of white heat transfer vinyl. You’ll need to use a sheet of htv that’s at least 14.5″ long. Also, make sure you mirror the words before you send them to cut.
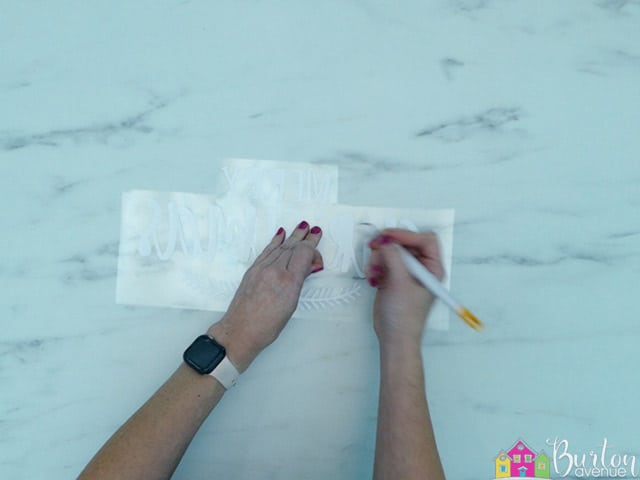
Weed away the excess vinyl from the words and holly and berries.
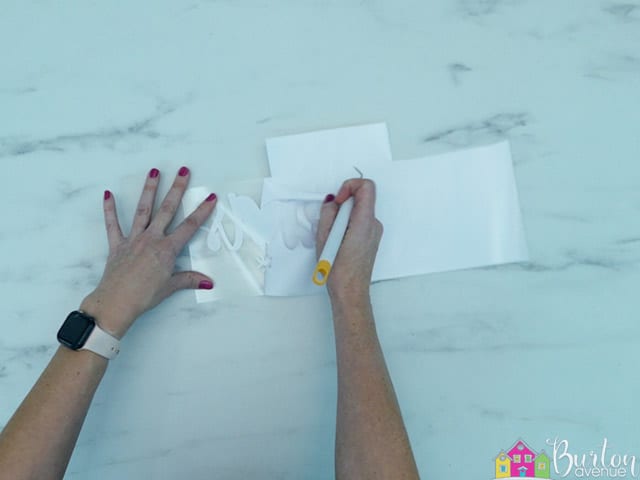
Use a weeding tool to pull out the little shapes inside the letters.
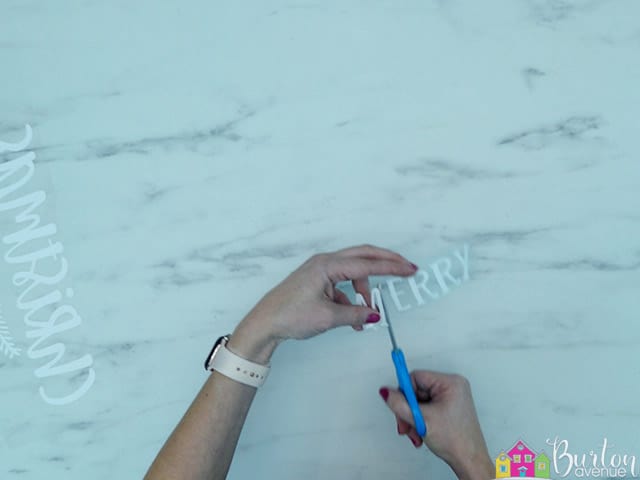
Cut apart the letters of the word Merry.
STEP 3: APPLY THE HTV
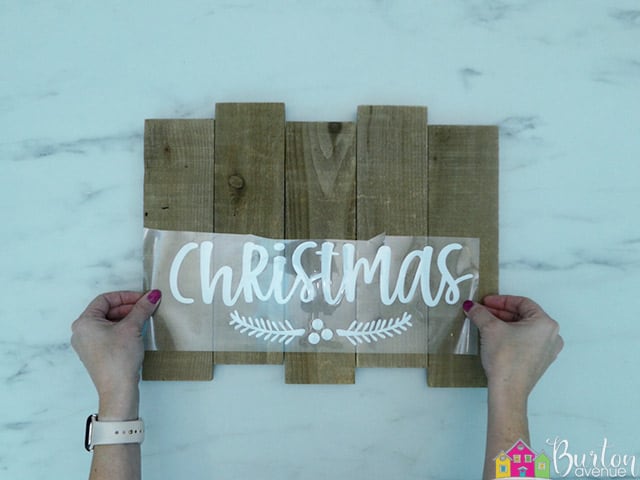
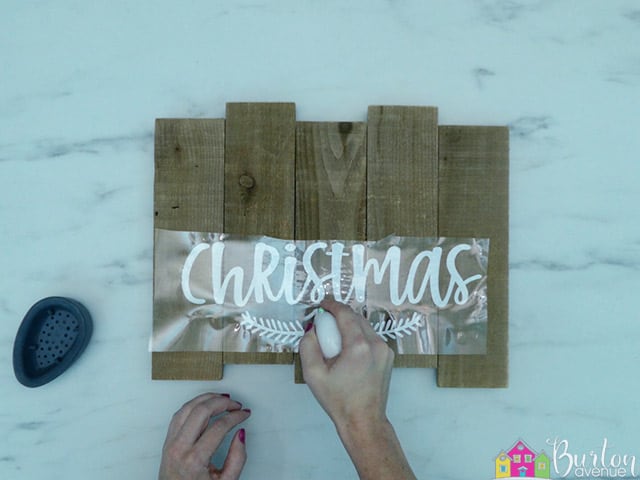
Position the design onto the pallet sign so it looks straight and centered from left to right. You’ll want the bottom of the design to be about an inch up from the bottom of the sign.
Use a mini press or iron and apply firm pressure to the htv.

The hardest part of putting htv is on pallet wood is making sure the entire design gets enough pressure. Since some of the slats are a little higher than the others, try to apply pressure to each slat individually. I pressed each section for about 15 seconds at the hottest temperature setting.
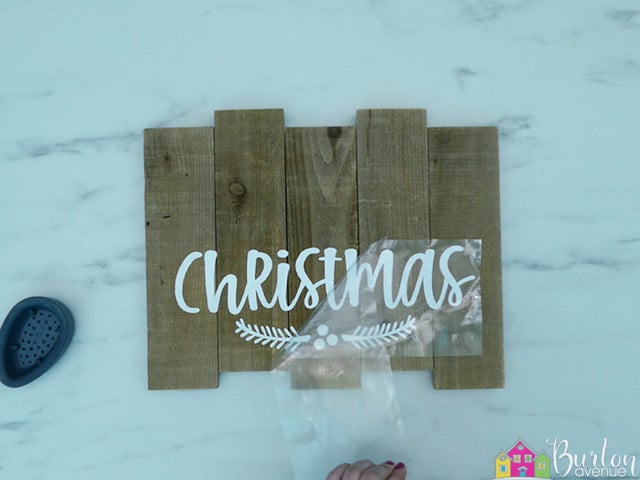
Once all of the sections have been pressed, pull off the clear carrier sheet.
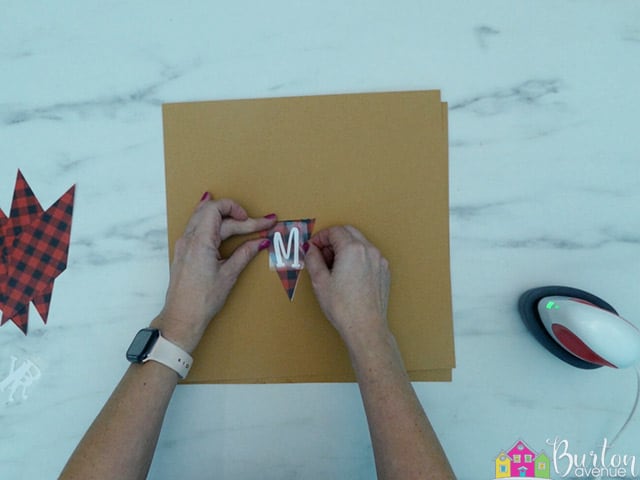
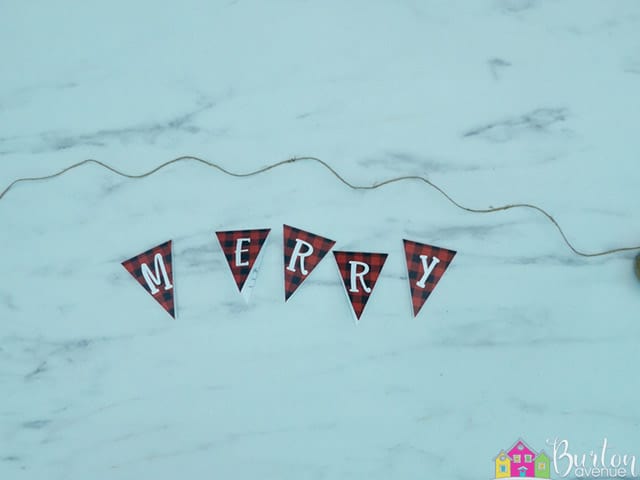
Grab one of the pennant flags and fold it in half. Place it on a flat, heat-resistant surface and put the letter M on it.
Press it for about 10 seconds.
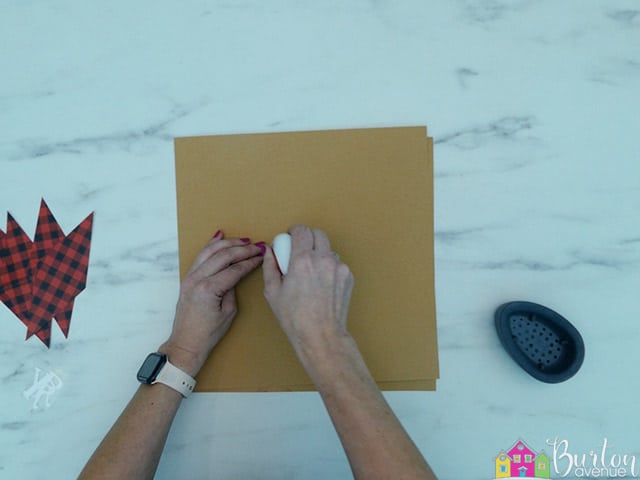
Then, pull off the clear carrier sheet.
![]()
Repeat with the other letters.
STEP 4: ASSEMBLE THE BANNER
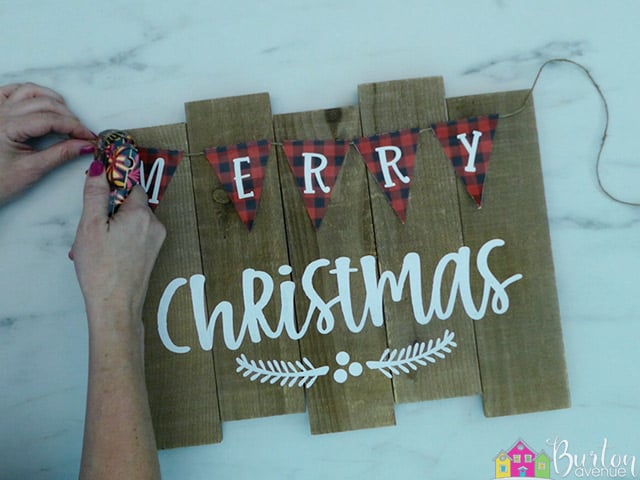
Add some glue around the bottom edges of the paper pennant.
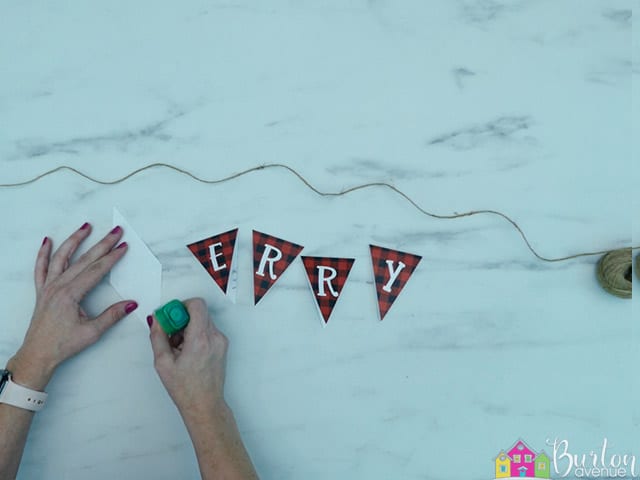
Place some jute twine over the center of the pennant.
Fold the pennant in half.
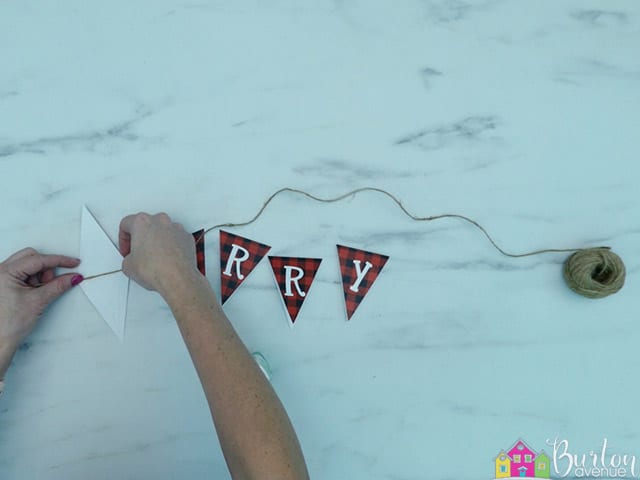
Attach the rest of the letters to the twine.
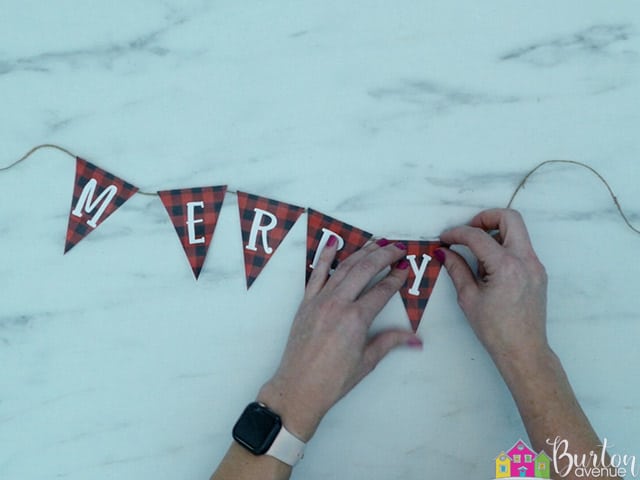
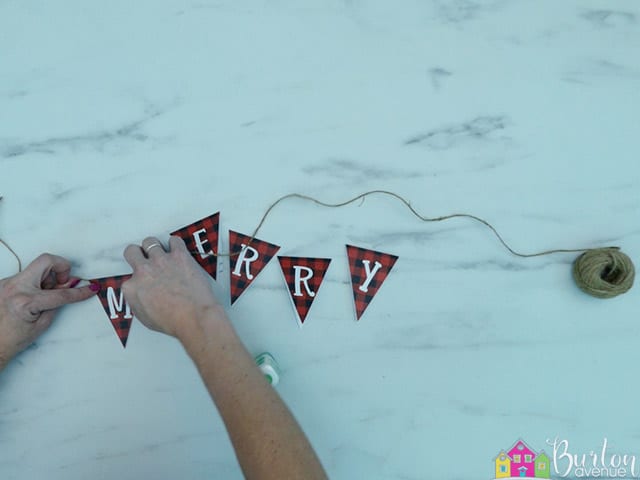
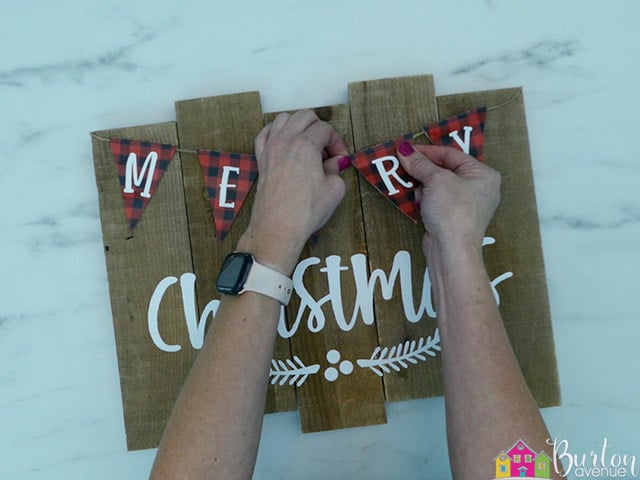
Glue each end of the banner to the pallet and trim off the ends.
Adjust the letters so they are spaced evenly.
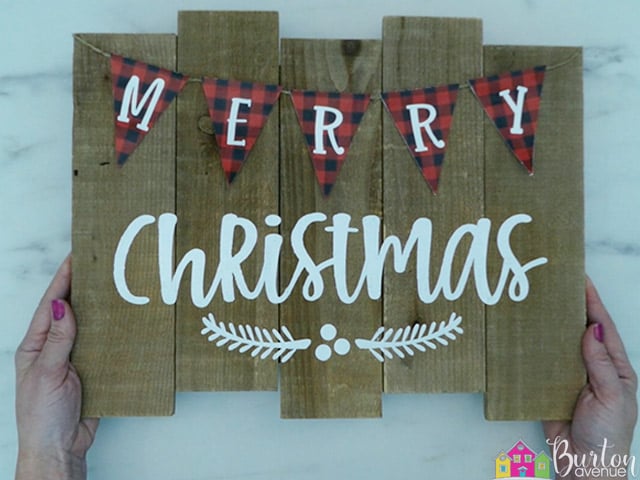
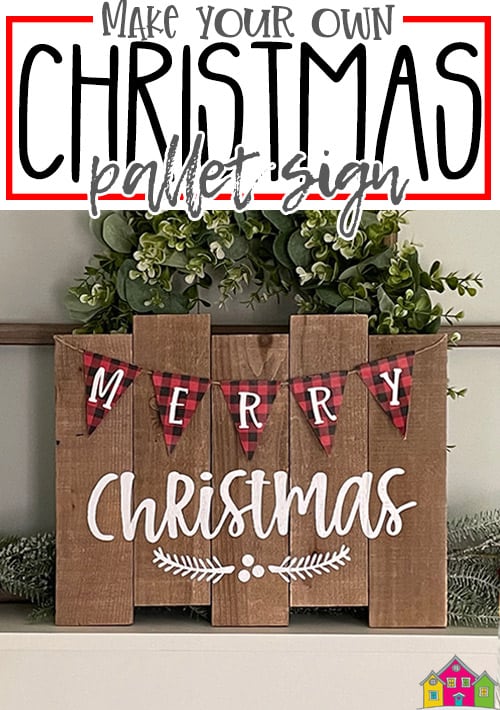
And your project is finished!
Did you enjoy this project? Make sure to pin it so you can find it later!
Want to make your own? Get the free cut file for this project in the resource library