
HERE’S WHAT YOU NEED
-
- Mason Jar
- Adhesive Vinyl
- Transfer Tape
- Weeding Tool
- Scraper
- Painter’s Tape
- Black Spray Paint
- Craft Knife
- Epsom Salt
- Battery Votive
- Spray Snow
- Electronic cutter (cricut explore, silhouette or other cutter)
- Cut File – Night Scene BA1818 (click here to get the SVG file for free from my free SVG Library)
HERE’S WHAT YOU DO
STEP 1: DOWNLOAD THE FREE SVG FILE
The first thing you’ll need to do is get the free SVG file you’ll use for this project. I keep all the SVG files I use for the projects I make in my SVG Library. These SVG files work with Cricut and Silhouette machines, as well as many others. This library is open to everyone and is free! You can access the library here. Look for the file called Night Scene BA1818. It will be listed under the Craftmas 2021 Category-Day 19.
STEP 2: CUT AND TAPE VINYL DESIGN
Open the design in your software program. Resize the design to 11.5″ wide. We actually want the stencil to be 12″ wide, but most machines won’t cut that big, so make it 11.5″ for now. After we cut the design, we can extend the stencil by cutting away some of the vinyl.
I used Oracal 631 for the stencil. This is temporary vinyl and I thought it was easier to get off the glass than permanent vinyl.
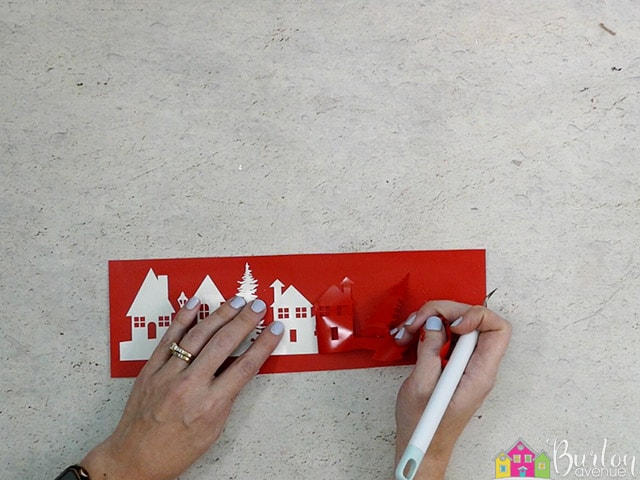
Use a craft knife to extend the hills of the stencil to the edge of the sheet of vinyl.

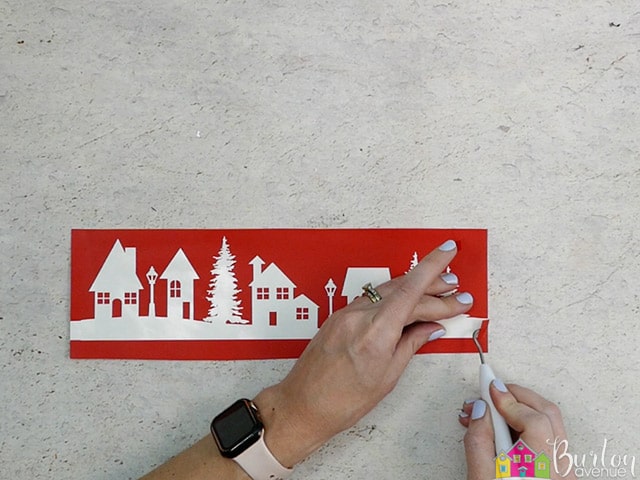
Then weed away the excess vinyl. Since this is a stencil, you’ll want to pull the house and trees.
The squares for the windows are pretty small and might come up with the vinyl. Just use your fingers to hold them in place as you peel up the vinyl.
You can also pull off the two pieces on the ends.
Cut a piece of transfer tape and place it sticky side up on your surface. Then place the vinyl on top of the transfer tape and smooth it down.
![]()
Rub over the design firmly with your scraper tool.

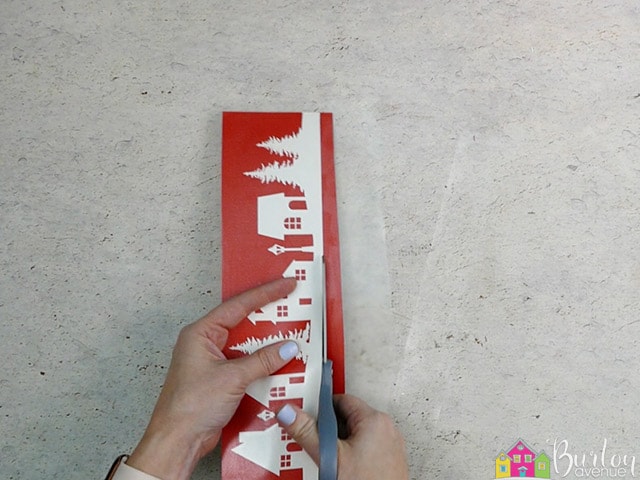
Then, trim off the excess transfer tape and vinyl backing. You’ll also want to cut off the vinyl at the bottom of the stencil.
Now that the vinyl is ready to go, let’s apply it to the mason jar.
STEP 3: APPLY VINYL STENCIL TO THE MASON JAR
The first thing you’ll need to do is clean the glass with some rubbing alcohol and let it air dry.
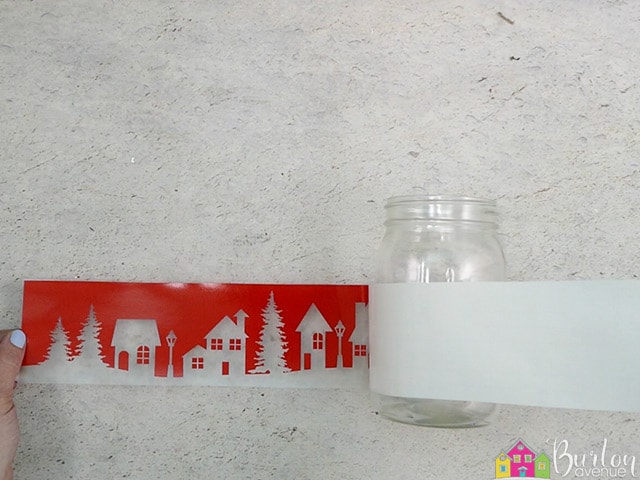
Now, it’s time to add the vinyl stencil
Wrap the stencil around the mason jar and match up the two edges. You’ll want to start the stencil about an inch up from the bottom.

Place a piece of painter’s tape over one of the ends.

Then, remove the vinyl backing.
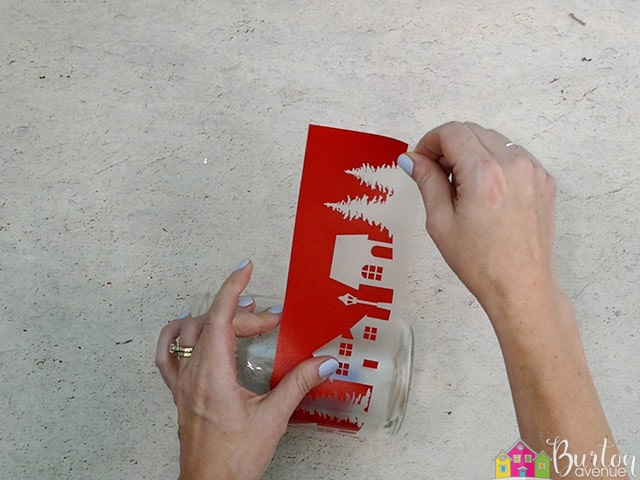
Press the vinyl onto the jar. I thought it was easiest just to press it down with my thumb while I held up the vinyl with my other hand.
Remove the painter’s tape before you press the other end down.
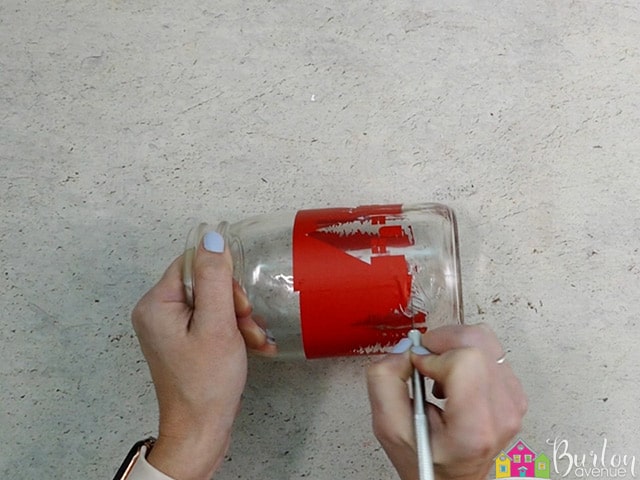
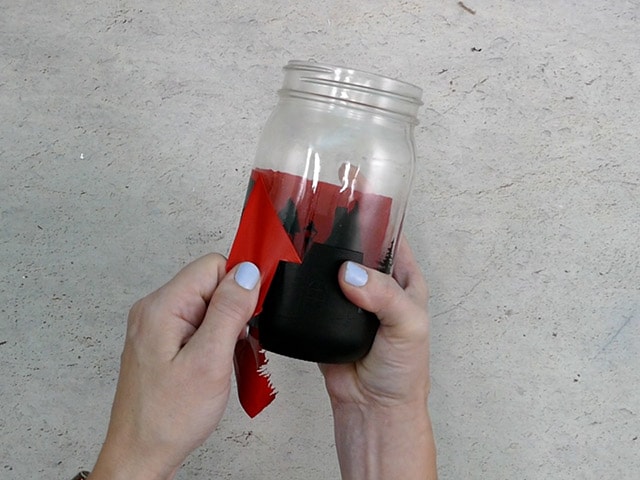
Then, rub over the stencil with your scraper and carefully pull off the transfer tape. Make sure all those window pieces stay in place.
![]()
If your edges didn’t line up quite right, You can use a craft knife to cut away some of the vinyl so the two ends line up.
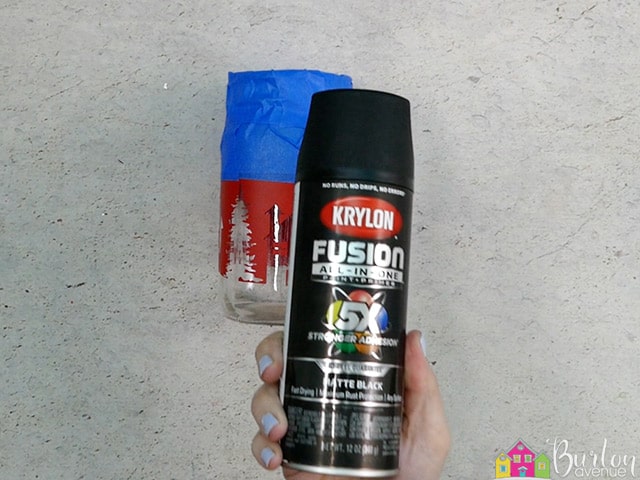
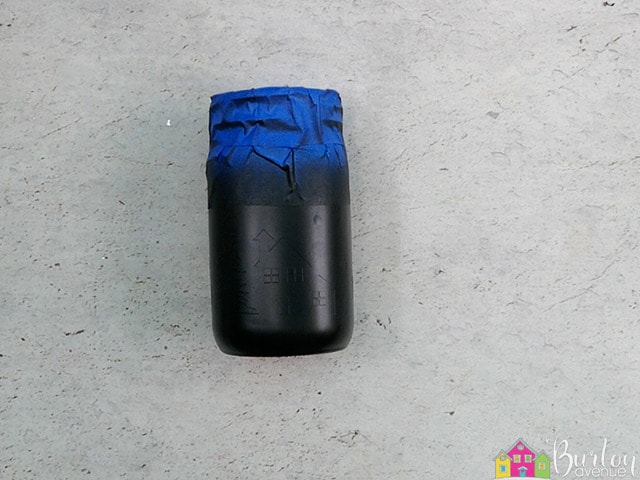
Next, cover any exposed area above the stencil with some painter’s tape.

STEP 4: PAINT THE JAR BLACK
Paint the mason jar black. I used black matt spray paint so my jar would have a nice smooth finish. If you want to brush on the paint instead, I recommend using chalk paint.
Let the paint dry completely before you pull off the stencil. I let mine dry overnight.
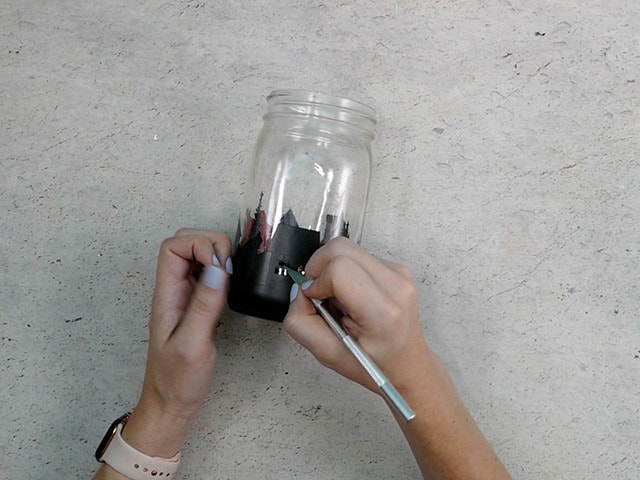
Now, you can pull off the tape and remove the vinyl stencil. You can use a weeding tool or craft knife to help you remove any vinyl pieces that are still on the jar. The paint I used sticks really well to the jar, there wasn’t any peeling. But, it will scrape off very easily, so be super careful as you pull off those vinyl pieces.
You can use a craft knife or weeding tool to pull off any vinyl pieces that are still on the jar.
STEP 5: ADD FINISHING TOUCHES
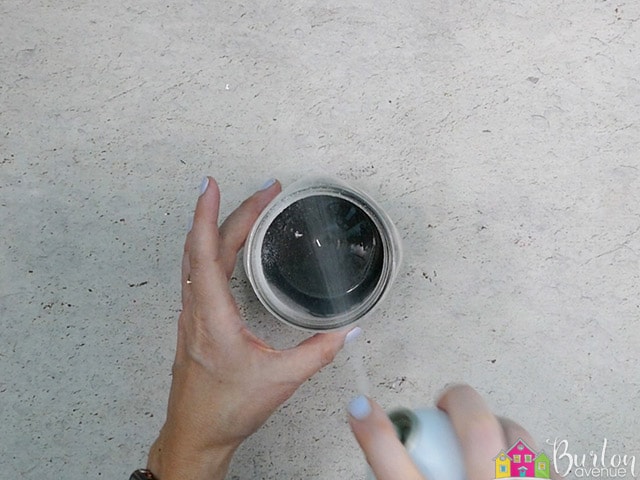
After you’ve removed all the vinyl, it’s time to spray the faux snow. We’re going to spray it on the inside of the jar.
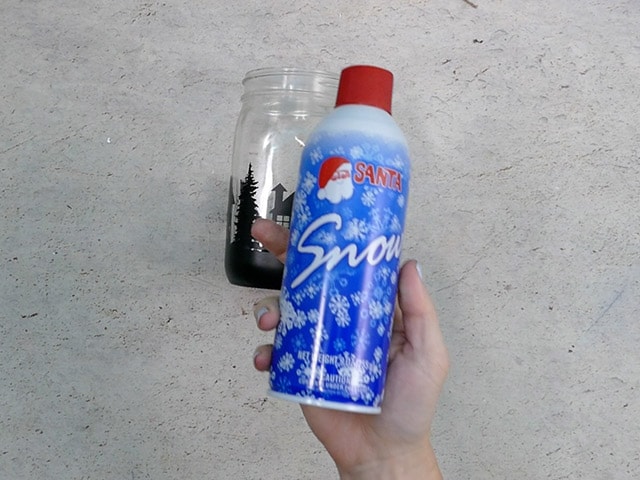
I just did quick short bursts of the snow and tried to coat the inside the best I could.
Let the snow dry for a couple of hours and then wipe off the top of the jar.

Add some Epsom salt to the bottom of the jar.

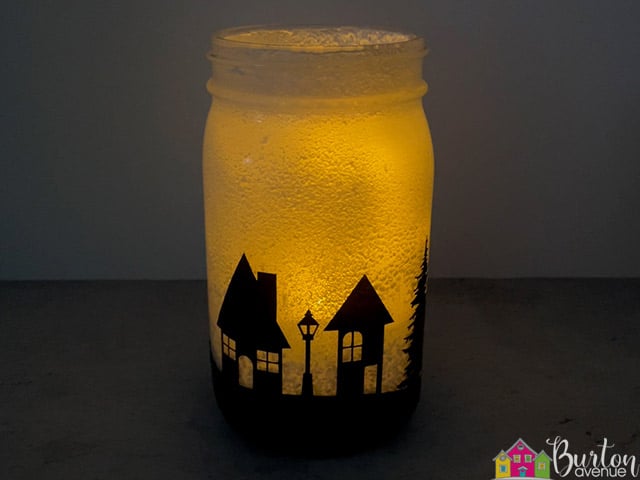
Then, add a votive candle. If you touch the snow, it could wipe off the jar, so I found the best way to add the candle was to use some tongs. I also used a battery-operated candle which automatically turns on for 6 hours and then off for 18. This way, I don’t have to worry about reaching inside the jar to turn the candle on and off.

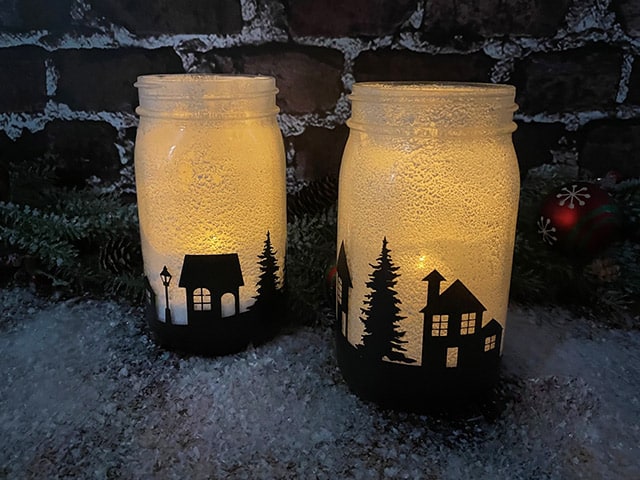
And that’s it, this snowy mason jar is finished! It looks so pretty when it’s all lit up.
Did you enjoy this post? Help spread the word! Share this post on your favorite Pinterest board. Thanks!

Want to make your own? Get the free cut file for this project in the resource library