
HERE’S WHAT YOU NEED
- Satori Hudson Arabesque Tiles from Lowes
- Vinyl (I used Chrome, Holographic Red, and Glitter Green)
- Ribbon, Ornament Hanger, or Jewelry Bail (for the hanger)
- Cork, Felt, Glitter HTV (optional for backing)
- E6000 Glue
- Scraper
- Weeding Tool
- Transfer Tape
- Electronic cutter (cricut explore, silhouette or other cutter)
- Cut File (available for free in my resource library)
HERE’S WHAT YOU DO
STEP 1: DOWNLOAD THE FREE SVG FILE
The first thing you’ll need to do is get the free SVG file you’ll use for this project. I keep all the SVG files I use for the projects I make in my SVG Library. These SVG files work with Cricut and Silhouette machines, as well as many others. This library is open to everyone and is free! You can access the library here. Look for the file called Arabesque Ornaments BA1410. It will either be listed under the most recent projects/cut files or under the Christmas category.
STEP 2: PREPARE VINYL
Open the design in your software program. Change the height of each design to 4.2″ and leave the width proportional.
When everything is sized correctly, you can cut the design with your Cricut or Silhouette.
I cut one of the designs out this pretty gold chrome vinyl. After placing it on the cutting mat, you’ll need to remove the protective covering before loading the mat into your machine. I set the pressure on my Cricut explore to the intricate cardstock setting for this particular vinyl. I also used
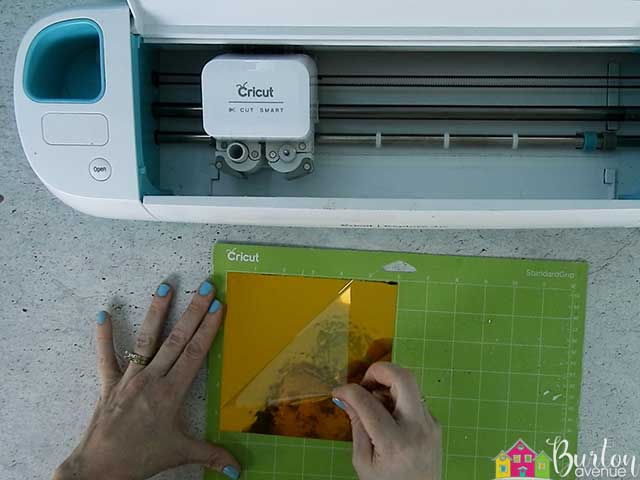
Once everything is cut, weed away the excess vinyl.
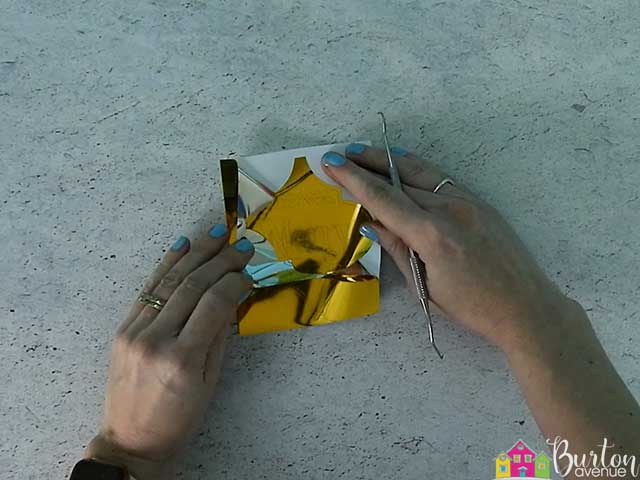
Use a weeding tool to pull out the small pieces inside the letters.
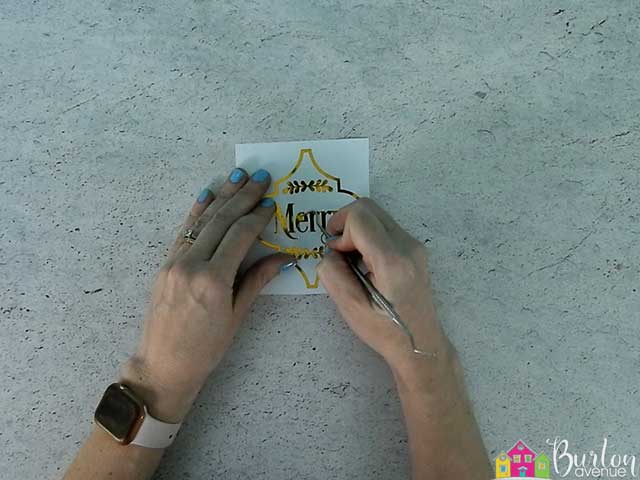
Cut a piece of transfer tape a little bigger than the design. Place the transfer tape on the vinyl and smooth it down.
![]()
Rub over the entire design with a scraper and then trim off any excess transfer tape and vinyl backing.

STEP 3: APPLY VINYL TO ARABESQUE TILE
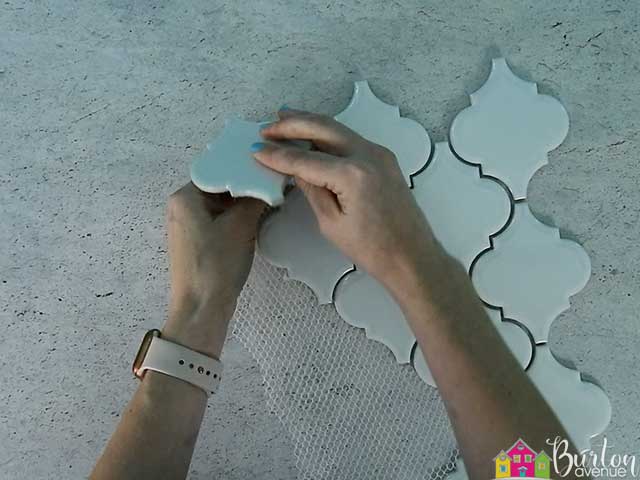
Remove one of the tiles from the webbed backing. You should be able to just pull the tile off the backing, but if that doesn’t work, you can soak the tile in hot water.
Grab your vinyl design and flip it over. Then, pull off the vinyl backing.
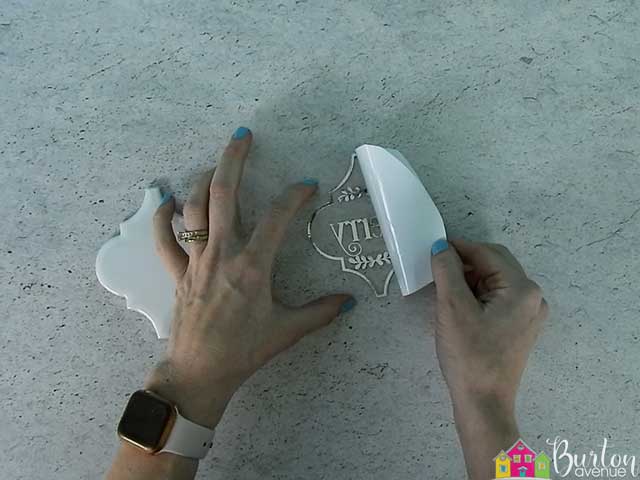
Center the design over the tile. There will be a little gap between the design and the edge of the tile. Try to make sure this gap is even all around the tile.
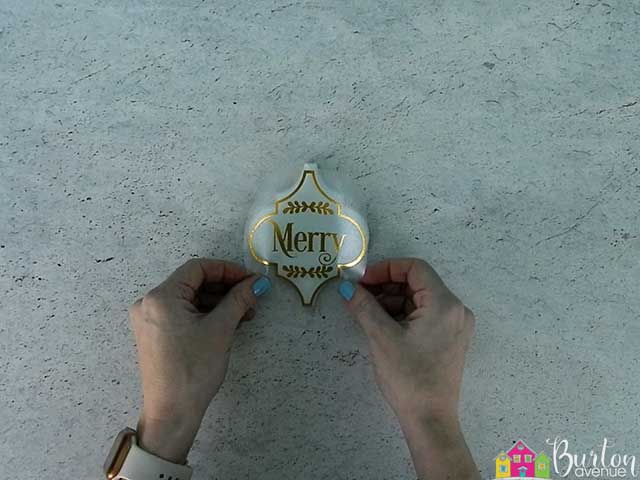
Rub over the design again with your scraper.
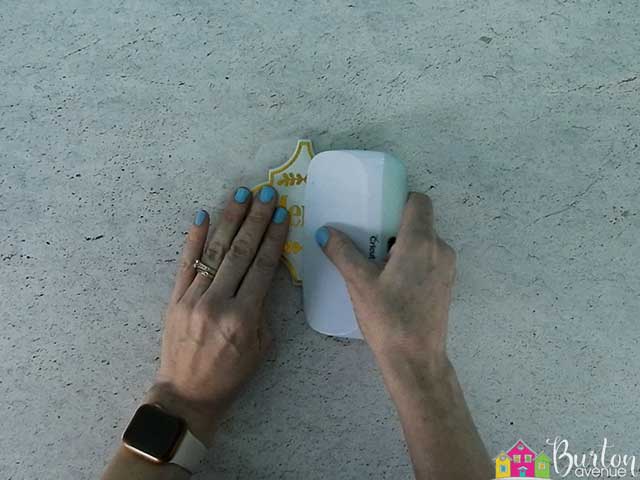
Then, pull off the transfer tape. Repeat these steps with any other designs you cut.
![]()
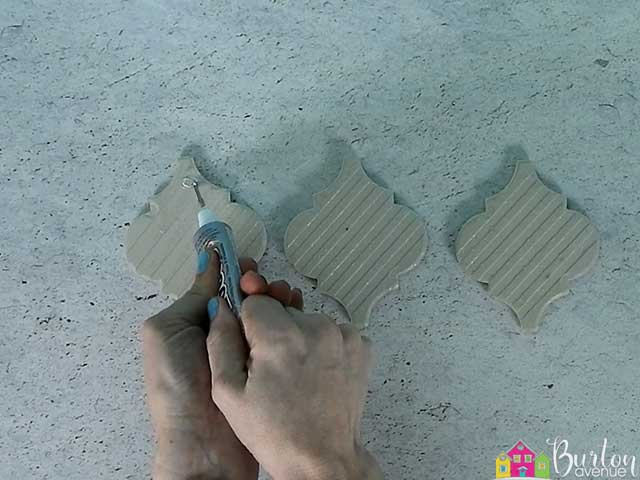
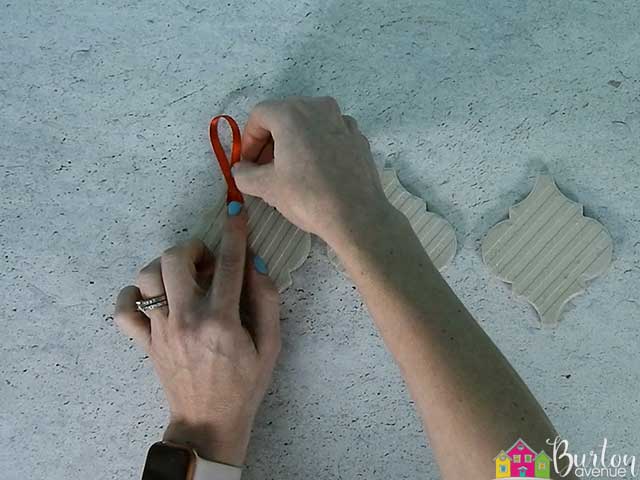
STEP 4: ADD THE HANGER AND ORNAMENT BACKING
The next thing we’re going to do is add a hanger to the back of the tile. There are several different options for the hanger. You can use a small piece of ribbon, a metal ornament hanger, or a small jewelry bail. I used E6000 to attach all of these to the back of the tile.
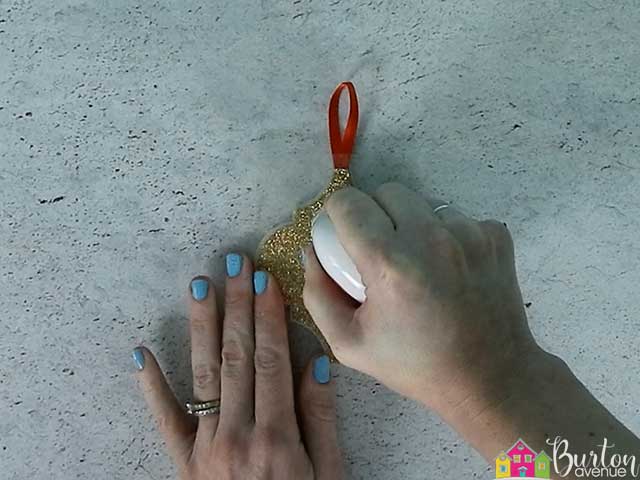
STEP 5: ADD A BACKING TO THE TILE
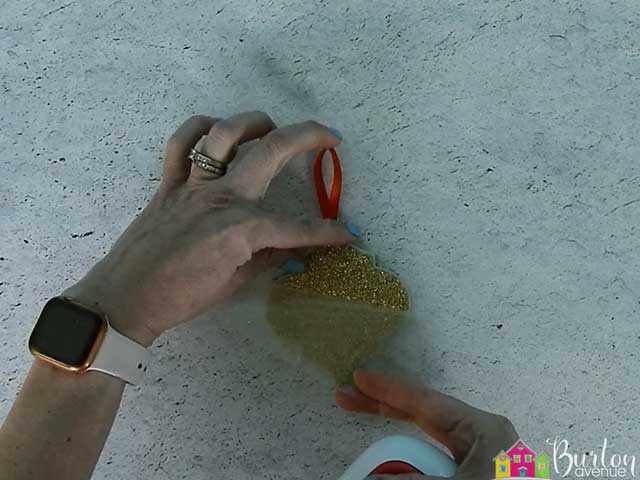
Once the hanger is dry, you can cover the back of the ornament. This step is optional, but it will make the ornament look more finished, You can use cardstock, felt, cork, or even glitter HTV for the backing. Any of these materials will work. Just use something your machine will cut and attach to the back with E6000 glue. If you’re using HTV, use an iron or mini easy press.
I used glitter HTV and my mini easy press for mine and it worked perfectly!
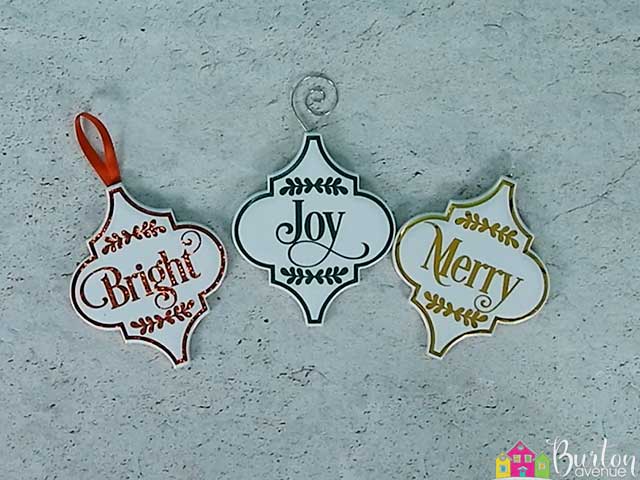
And that’s it! These are so easy to make and they look so pretty!
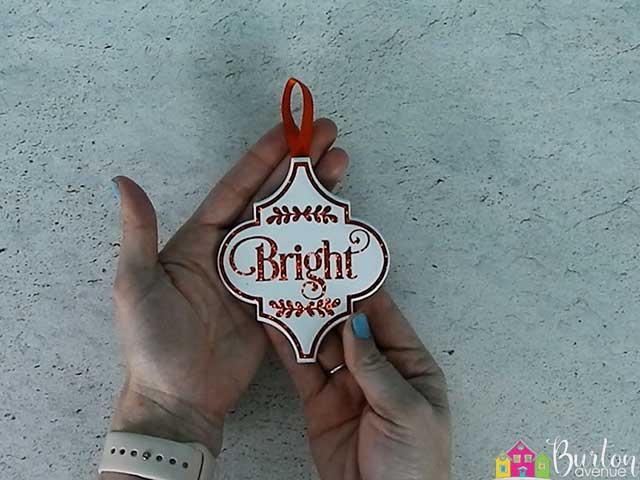
What a fun project for Christmas!
Did you enjoy this post? Help spread the word! Share this post on your favorite Pinterest board. Thanks!

Thank you!