 This post contains affiliate links for your convenience (which means if you make a purchase after clicking a link I will earn a small commission but it won’t cost you a penny more)! Read my full disclosure policy.
HERE’S WHAT YOU NEED
-
- Wood for Sign (11.25″ x 19.25″)
- Wood for Frame (4 – 20.75″ pieces, 2 – 11.25″ pieces)
- Paint & Brush
- Black Vinyl
- Application Tool
- Transfer Tape
- Hammer and Nails or Nail Gun
- Mini Grapevine Wreath
- Wire Brad Nails
- Weeding Tool
- Craft Knife (Optional)
- Electronic cutter (cricut explore, silhouette or other cutter)
- Cut File (available for free in my resource library)
HERE’S WHAT YOU DO
STEP 1: DOWNLOAD THE FREE SVG FILE
The first thing you’ll need to do is get the free SVG file you’ll use for this project. I keep all the SVG files I use for the projects I make in my SVG Library. These SVG files work with Cricut and Silhouette machines, as well as many others. This library is open to everyone and is free! You can access the library here. Look for the file called Days til Christmas with Tree. It will be listed under the Christmas category-25 Days of Craftmas 2019 – Day 6.
STEP 2: PREPARE YOUR WOOD SIGN
To make this sign, you’ll need 1 piece of wood that measures about 11.25” x 19.25”. You’ll also 4 pieces of wood for the frame (2 – 20.75″ pieces & 2 – 11.25″ pieces. I used pine for the sign and firring strips for the frame. Paint the sign white and stain the frame a dark brown (I used dark walnut)

STEP 3: CUT AND WEED VINYL
Open the design in your software program and size it to 10.25″ x 17.75″ I added a thin black line below the bottom of the design to help me position the vinyl on the sign.
When everything is sized correctly, you can cut the design with your Cricut or Silhouette. Once it has finished cutting, weed away the excess vinyl. I used a craft knife to cut the vinyl between the rows of numbers to make weeding a little easier.

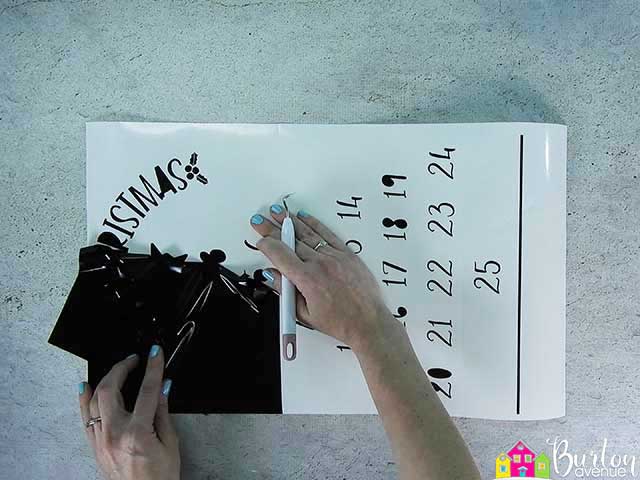

STEP 4: APPLY TRANSFER TAPE
Cut a piece of transfer tape a little bigger than the design. Place the vinyl on the transfer tape and smooth it down. Rub over it with an application tool. Then, trim off the excess transfer tape.
![]()
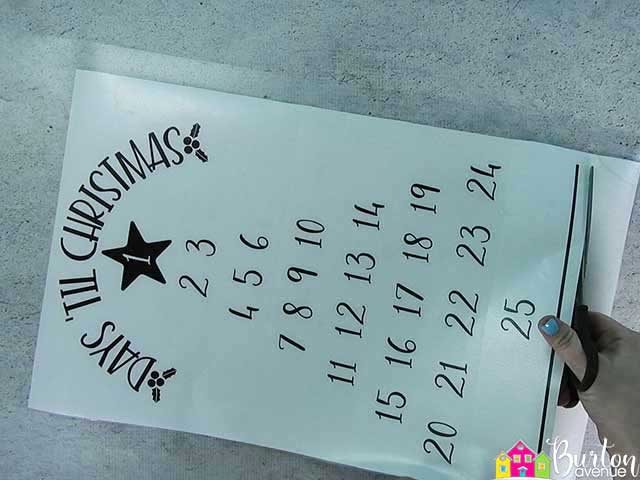
STEP 5: APPLY VINYL TO WOOD SIGN
Flip the design over and carefully pull off the vinyl backing.

Center the design on the sign. Line up the straight edge of the small black line with the straight edge of the sign. Rub over the vinyl with a scraper.
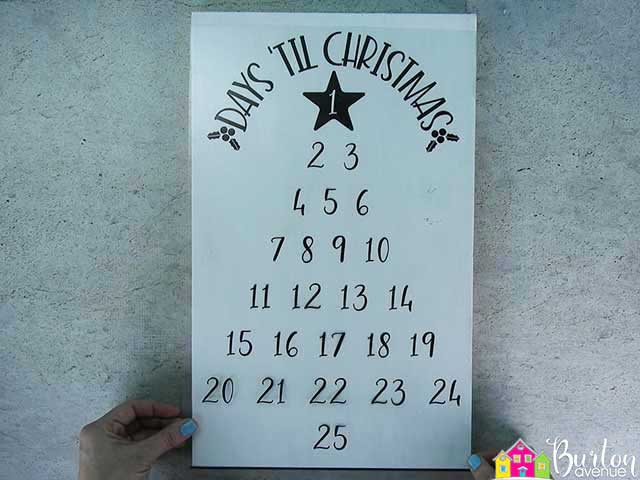
Slowly remove the transfer tape.
![]()
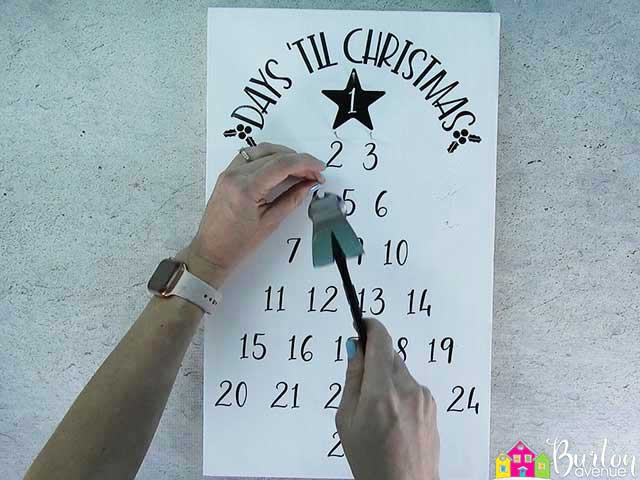
STEP 6: ADD NAILS TO SIGN
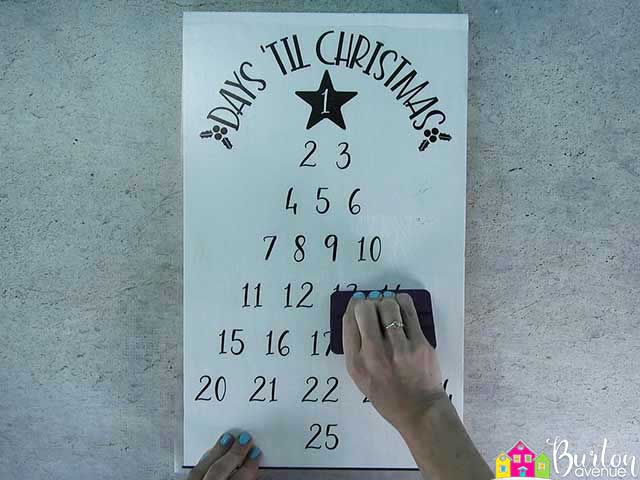
Center a mini grapevine wreath over one of the numbers. Place a wire nail under the top of the wreath and hammer into place.

Remove the wreath and take note of how high above the number you placed the nail. Now, repeat this will all the other numbers, using the first number as a positioning guide.
STEP 6: ATTACH FRAME
Attach the top and bottom pieces of the frame. You can use a hammer and nails or a brad nailer.
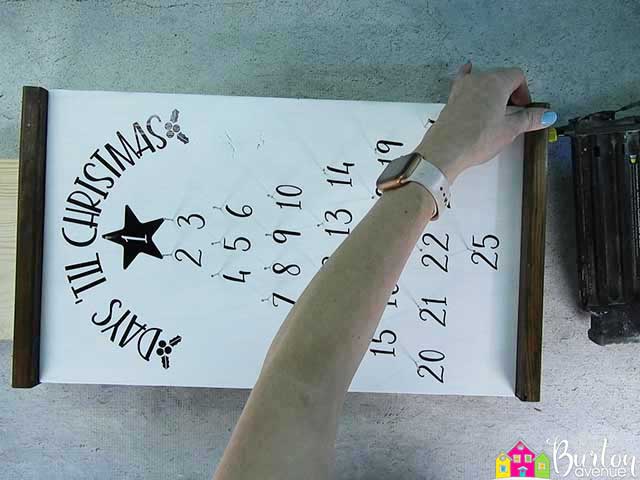
Next, attach the sides of the frame to the sign. Make sure to nail the side of the frame to the top of the frame.

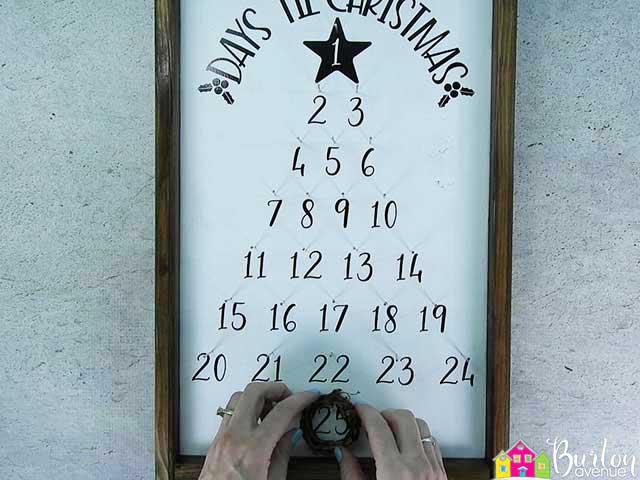
Now, place your grapevine wreath on the first number and start counting down the days until Christmas!
Did you enjoy this post? Help spread the word! Share this post on your favorite Pinterest board. Thanks!

Want to make your own? Get the free cut file for this project in the resource library