Teacher Appreciation week is just a couple of weeks away. Every year, our school sends home a list of ideas of easy and free or inexpensive gift ideas for teachers. I started thinking that I should do the same.
So, during this week, I’ll be sharing lots of ideas for projects you can make for teachers. These gifts are great for teacher appreciation week or for gifts throughout the year. They are great on their own, but you could also add a special note or a gift card to make them even better. Most of the items are from the dollar store, so these gift ideas really are inexpensive to make.

HERE’S WHAT YOU NEED
- Blank Mug (Dollar Tree always has a great selection)
- Vinyl (I used red and green)
- Transfer Tape
- Apple & Caramel Dip
- Cello Bag & Twine (Optional)
- Electronic cutter (cricut explore, silhouette or other cutter)
- Cut File (available for free in my resource library)
HERE’S WHAT YOU DO
Start by measuring the blank space of mug. Make your design the size you think will work and print it out on paper. If it’s too big or too small, make adjustments until it fits just right. Once you’ve found the correct size, place it on your mug. Use a ruler and measure from the top of the design to the top of the mug. The design I used measured 2.6″ x 3″. The distance measured .5″.

In your software program, place a small horizontal line above the design. You’ll want it to be the distance you measured from the top of the design to the top of the mug. So, for me, the horizontal line is .5″ above the top of the design. I also added registration marks to make layering easier.

Then, cut out and weed the vinyl.

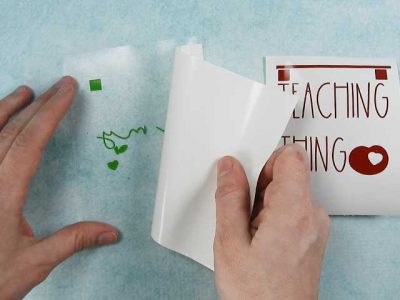
Apply transfer tape to the green layer. Use an application tool to rub over the design to help the vinyl stick to the transfer tape.
![]()
Then, remove the vinyl backing.
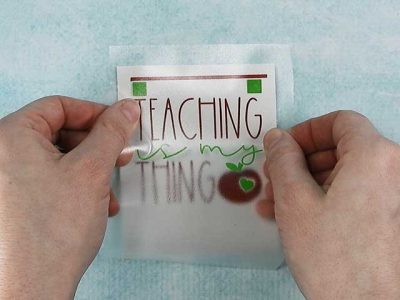
Place the design over the red layer, making sure to align the squares as evenly as possible. Then, rub over the design again.
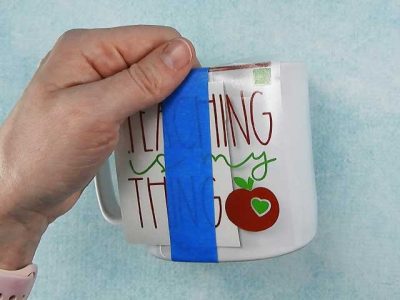
Flip the design over and fold down a small section of backing, just enough to expose the horizontal line.
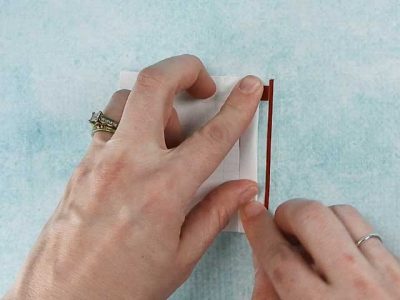
Line up the horizontal line with the top of the mug. Make sure the entire line is straight on the mug. 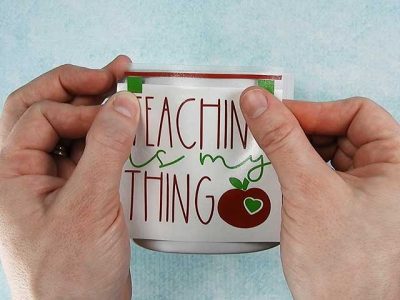
Once it’s lined up, use a piece of painters tape to secure the design in place.

Fold the design over the tape and trim off the vinyl backing.
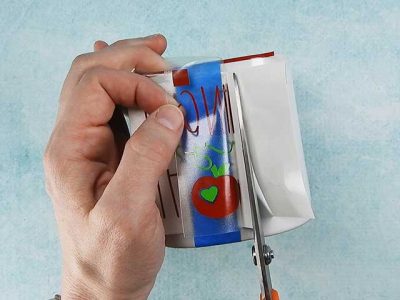
Press that section of vinyl onto the mug.
Pull off the tape and then remove the rest of the transfer tape and press the rest of the design into place. 
To complete the gift, I put an apple and caramel dip in a cello bag and tied it off with twine. Then, I just placed it inside the mug. Quick and Easy!

Remove the transfer tape and horizontal line. Even though Oracal 651 is referred to as permanent vinyl, it can be removed. Sometimes, the heat of the dishwasher combined with the spraying water can cause the vinyl to come off the mug. So, I recommend hand washing these mugs and like to put vinyl on the bottom as a reminder. Then, if I give the mug as a gift, the recipient will know how to care for it.
Did you enjoy this post? Help spread the word! Share this post on your favorite Pinterest board. Thanks!

Want to make your own? Get the free cut file for this project in the resource library