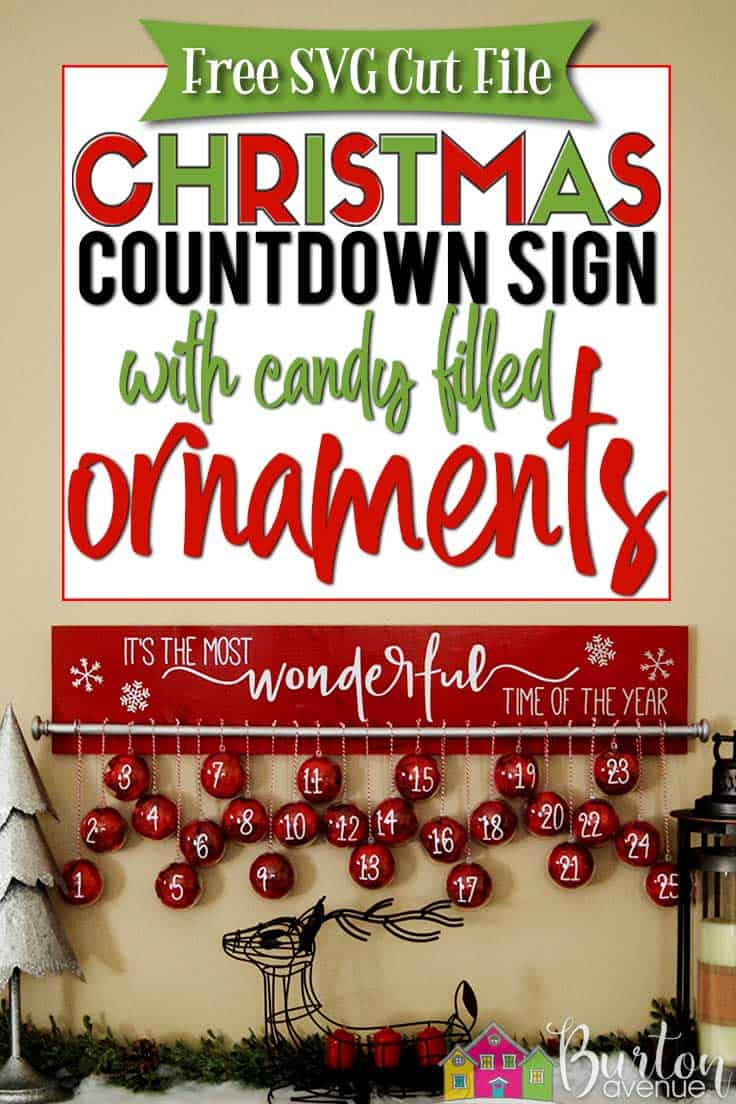
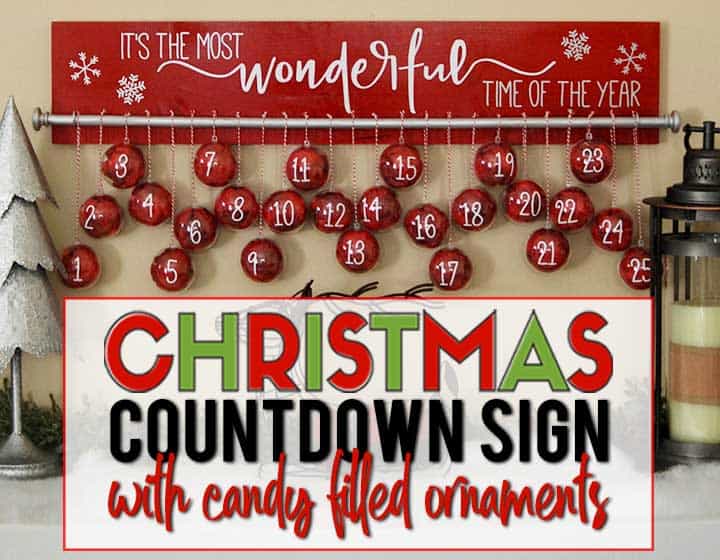
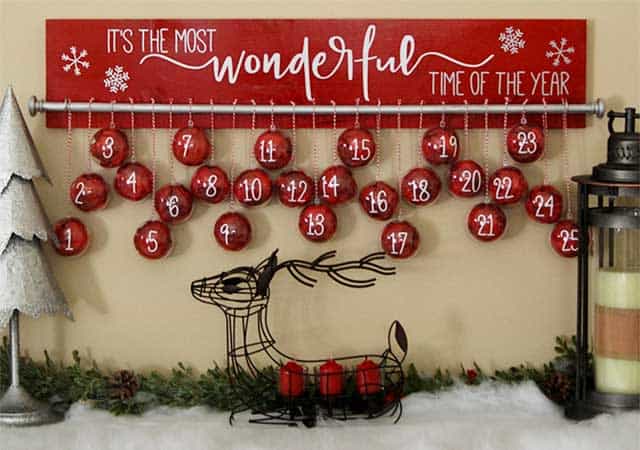
This ornament advent calendar is such a fun way to count down the days until Christmas! Each ornament can hold a little treat or note, making it perfect for kids while still looking cute and festive all season long. It’s a beautiful project you can reuse year after year, and it’s guaranteed to bring holiday excitement to your home. Read on for the full tutorial.
HERE’S WHAT YOU NEED
- Wood Board (36″ x 7.5″)
- Wooden Dowel 5/8″ x (36″)
- 1-1/2″ Cup Hook
- Round Cabinet Knobs
- Wood Glue
- Fillable Plastic Ornaments
- Tissue Paper
- Christmas Candy
- Red and Silver Paint
- Drill and 1/16″ drill bit
- Vinyl (I used White and Metallic Silver Silver)
- Twine or thin ribbon
- Transfer Tape
- Electronic cutter (cricut explore, silhouette or other cutter)
- Cut File (available for free in my resource library)
HERE’S WHAT YOU DO
The first thing you’ll need to do is get the free SVG file you’ll use for this project. I keep all the SVG files I use for the projects I make in my SVG Library. These SVG files work with Cricut and Silhouette machines, as well as many others. This library is open to everyone and is free! You can access the library here. Look for the file called It’s the most Wonderful Time of the Year. It will either be listed under the Christmas category-25 Days of Craftmas 2018 – Day 6.
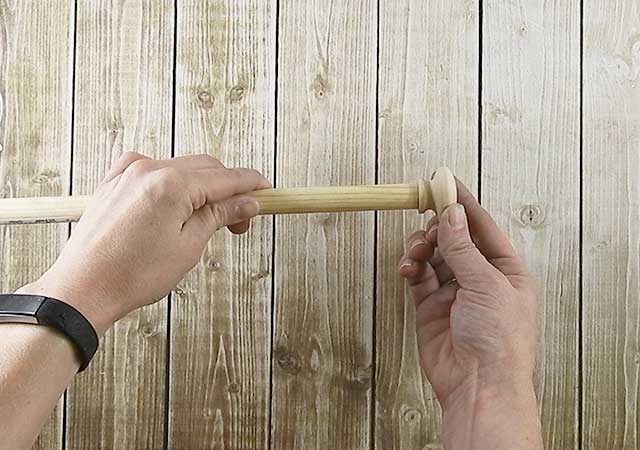
Use wood glue to attach the cabinet knobs to the ends of a 36″ wooden dowel.
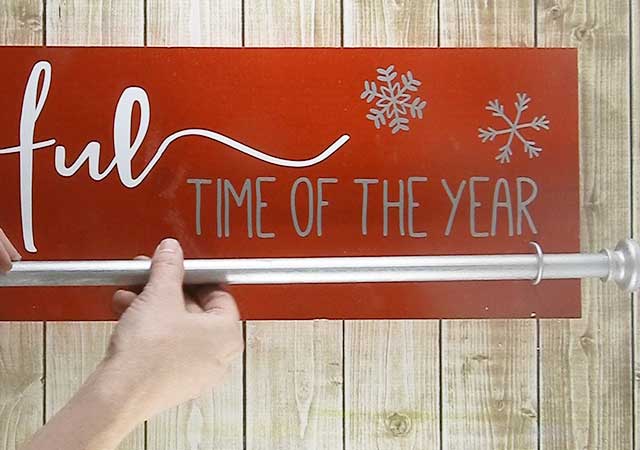
Paint the board red and the dowel silver. If you can’t find silver cup hooks, paint them to match the wood dowel.

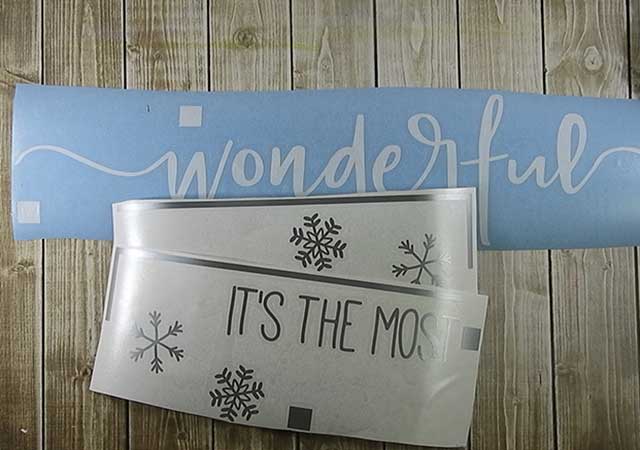
While you’re waiting for everything to dry, lay out the vinyl in your software. The numbers should be about 3″ tall and the design should be 34″ x 5″. Because it’s so long, you’ll probably need to cut it in sections.
Here’s how I did it.
Draw a 36″ x 7.5″ rectangle around the design. The top of the design should be about .75″ from the top of the rectangle and it should be centered left to right.

Draw a horizontal line (about 12″ long) along the top left and top right of the rectangle. Then, draw a vertical line (about 2.5″ long) and place along the left and right side. It’s a little extra work, but these lines will help you to put the vinyl on straight and in the right position.

Place two squares, as shown, to use as registration marks. You’ll need to copy and paste the registration marks in the same place so one set will cut with the silver and the other set will cut with the red.
Delete the rectangle and layout the design as shown. Make sure there is a set of registration marks with the red and silver. The red will actually be cut out of white vinyl.

Cut out the vinyl, weed away the excess, and then add the transfer tape.
Apply the first section of vinyl. Match up the lines with the edges of your board.
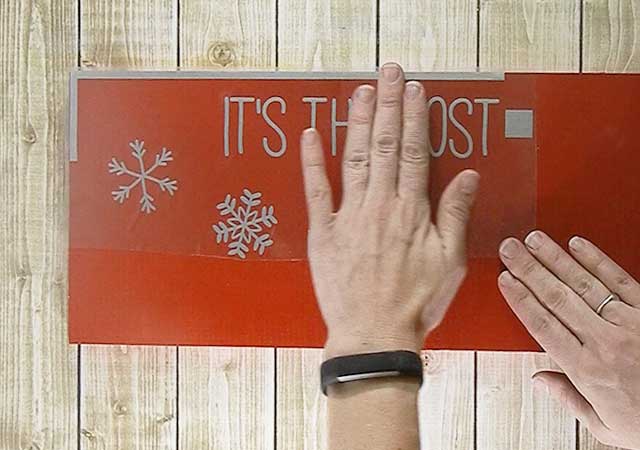
Remove the transfer tape.
![]()
Pull away some of the backing of the white vinyl and match up the registration marks. Once everything is lined up, remove the rest of the vinyl backing and press the white vinyl down.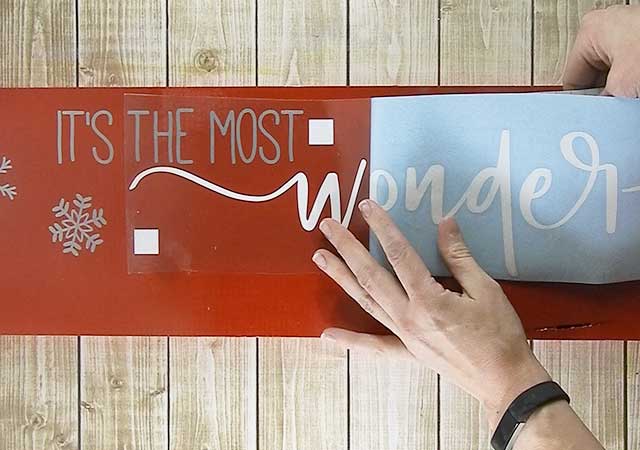
Apply the last section of vinyl, once again making sure the lines match up with the edges of your board.
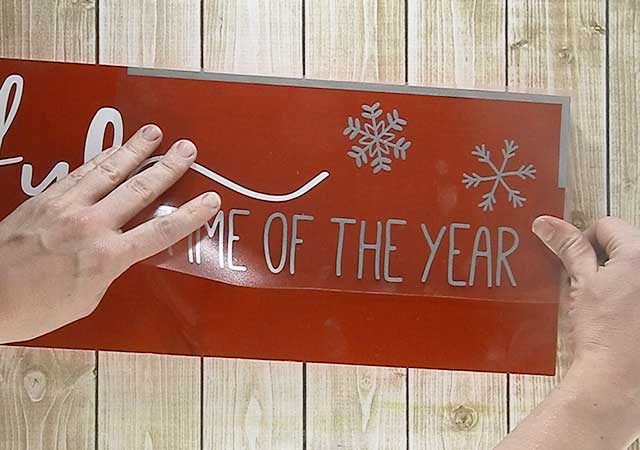
Remove the transfer tape, horizontal lines and registration marks.
![]()
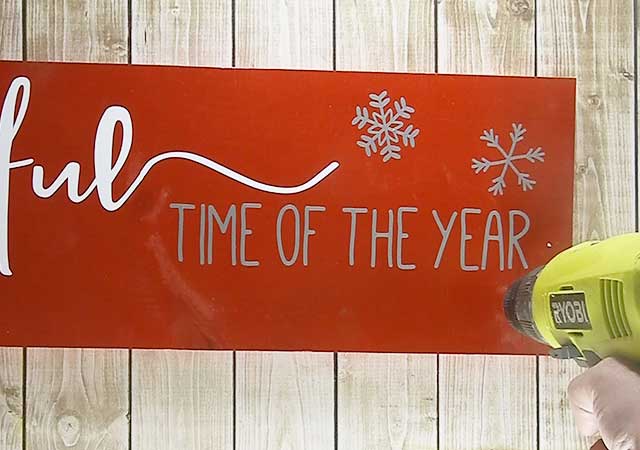
Drill a 1/16″ pilot hole in the bottom corner of the sign. The hole should be about 1.5″ from bottom and side of the sign. Repeat on the left side.
Flip the sign over and add two sawtooth hooks on the back. (My hooks were about 6″ from the side and 1.5″ from the top).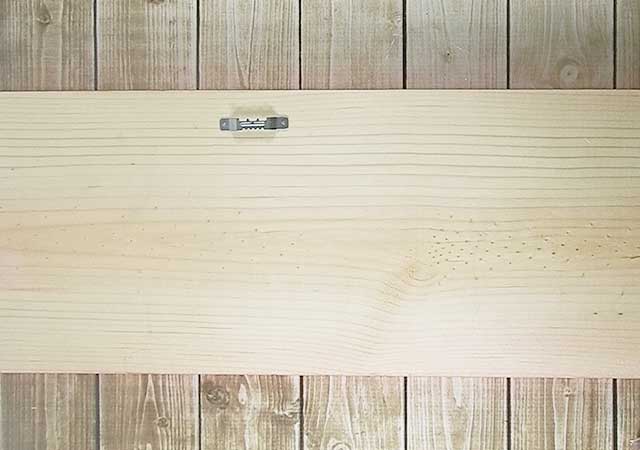
Flip the sign back over and screw a cup hook into each of the pilot holes.

Place the wooden dowel in the hooks.
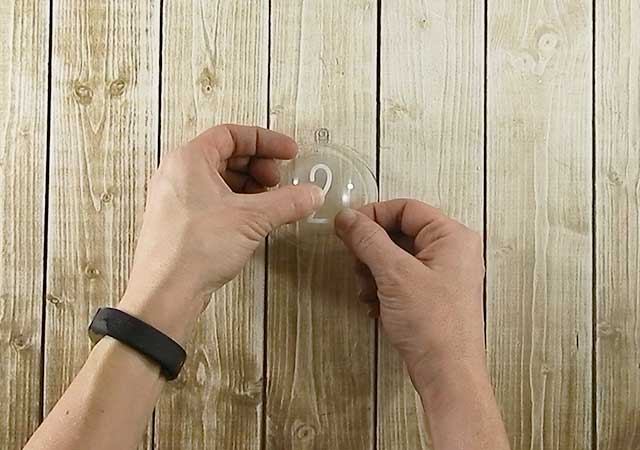
Now, it’s time to work on the ornaments. Putting vinyl on a curved surface can be a little tricky. Using thin fonts or small designs makes it a little easier. It also helps to trim away as much of the transfer tape as possible. Start by centering the design and then pressing down in the middle. Then rub up from the center and then down from the center over the rest of the vinyl. Remove the transfer tape.
Cut your tissue paper into 6″ squares. Add a few pieces of candy to each square and fold the tissue paper into a ball. Be sure to set a few pieces aside for yourself 🙂
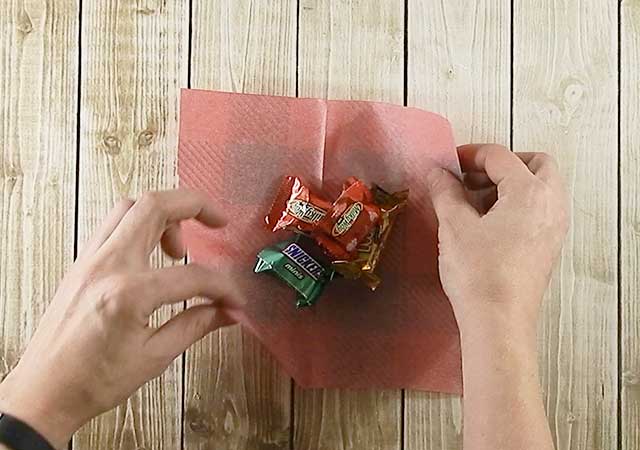
Place the tissue inside of the ornament and put the two plastic pieces together. I thought they stayed together well, but if you feel like they won’t, you could add a piece of tape to seal them. Repeat with the other 24 ornaments.

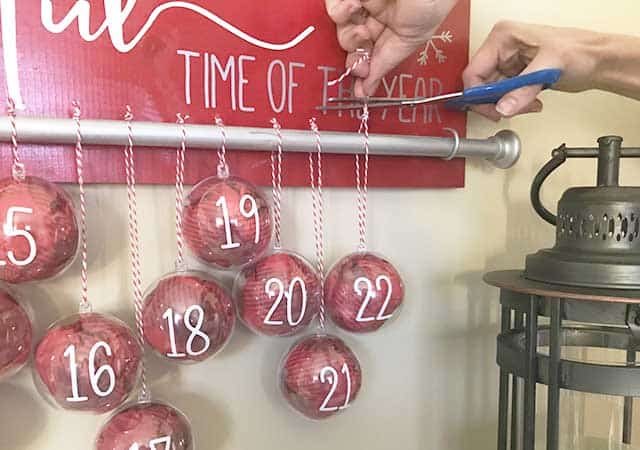
Hang the sign on the wall and then use twine to tie the ornaments to the wooden dowel. You’ll need to alternate between short, medium, and long lengths of twine so all the ornaments fit on the dowel.
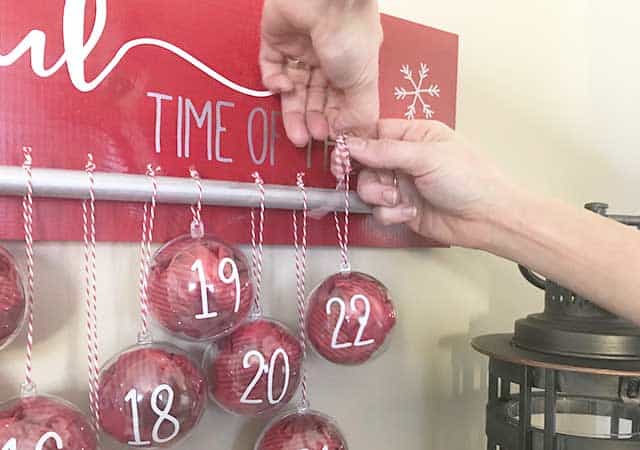
Then, trim off the excess twine.
How fun to have a sweet treat waiting for you each morning in December before Christmas. You can see why this is my kids FAVORITE. Once the candy has been taken out, the tissue paper can be put back in, so it will look this cute even when the candy is gone.
Did you enjoy this post? I’d love for you to pin it to your favorite pinterest board.