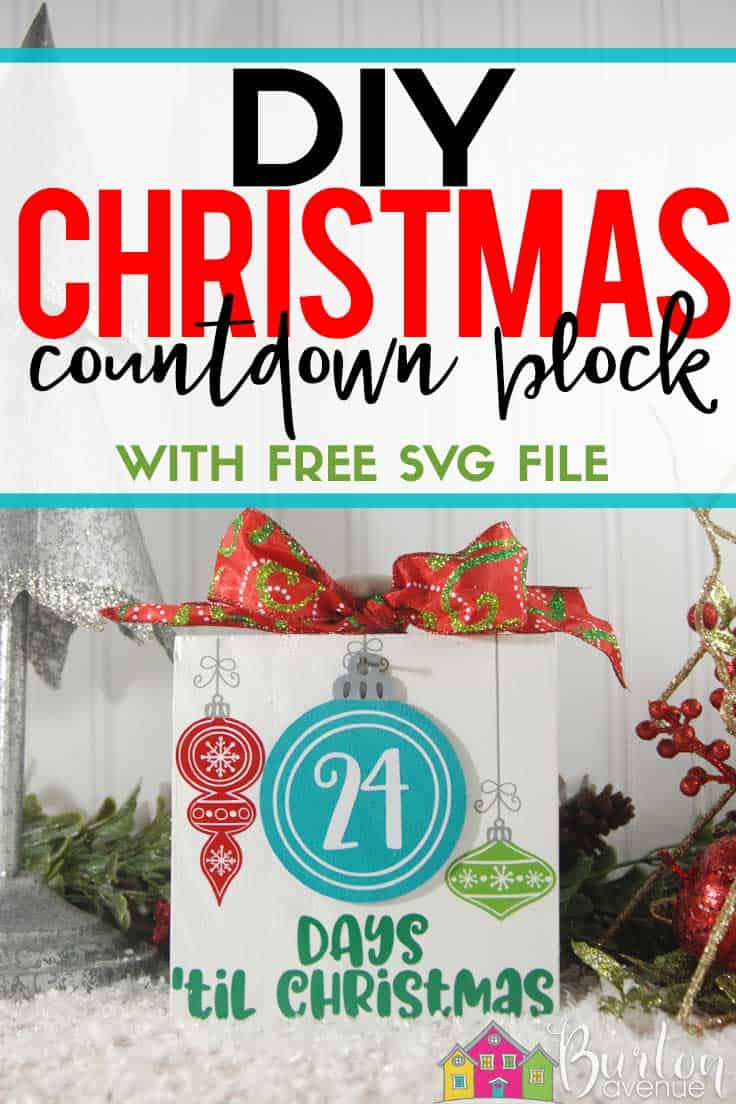
This ornament-themed Christmas countdown sign is bright, festive, and full of holiday cheer! The colorful ornaments and playful design make it a fun way to count down the days until Christmas. It’s easy to make, totally customizable, and adds a cheerful touch to your holiday décor. This DIY Christmas advent project is sure to become a favorite year after year. Read on for the full tutorial.

HERE’S WHAT YOU NEED
- Wood Block (5.5″ x 5.5″)
- Round Cabinet Knob
- Wood Glue
- Wood Ornament Blanks (you’ll need 13)
- 1″ Nails
- White Paint
- Aqua & Gray Paint
- Brush or Roller
- Vinyl (I used White, Red, Lime-Tree Green, Dark Green, and Metallic Silver Silver)
- Christmas Ribbon
- Transfer Tape
- Electronic cutter (cricut explore, silhouette or other cutter)
- Cut File (available for free in my resource library)
HERE’S WHAT YOU DO
The first thing you’ll need to do is get the free SVG file you’ll use for this project. I keep all the SVG files I use for the projects I make in my SVG Library. These SVG files work with Cricut and Silhouette machines, as well as many others. This library is open to everyone and is free! You can access the library here. Look for the file called Days Til Christmas w/Ornaments. It will either be listed under the Christmas category-25 Days of Craftmas 2018 – Day 5.
Use wood glue to attach the cabinet knob to the top of your wood block.

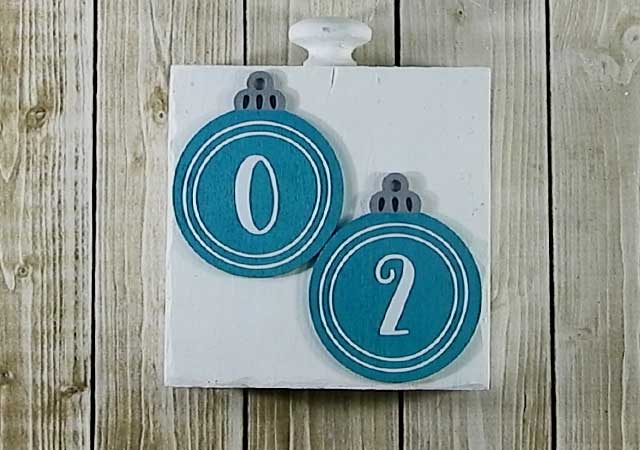
While the glue is drying, start painting the wood ornaments. Paint the aqua first, you only need to paint the circle, not the part above. Paint the fronts and backs of 13 ornaments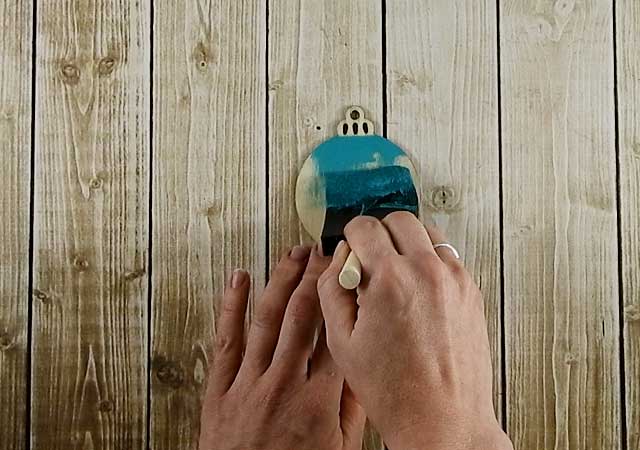
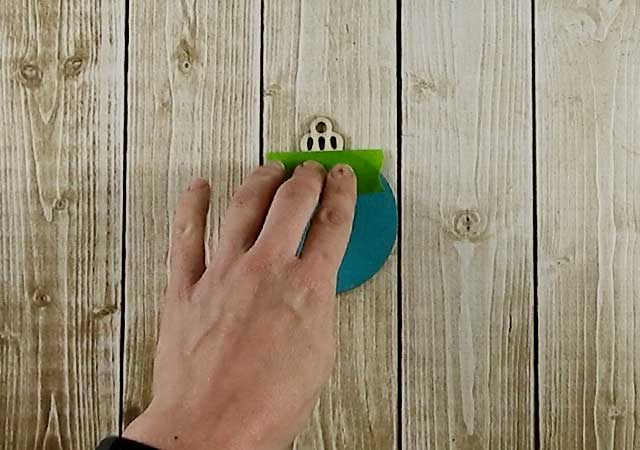
Then, add a piece of painters tape across the top of the circle
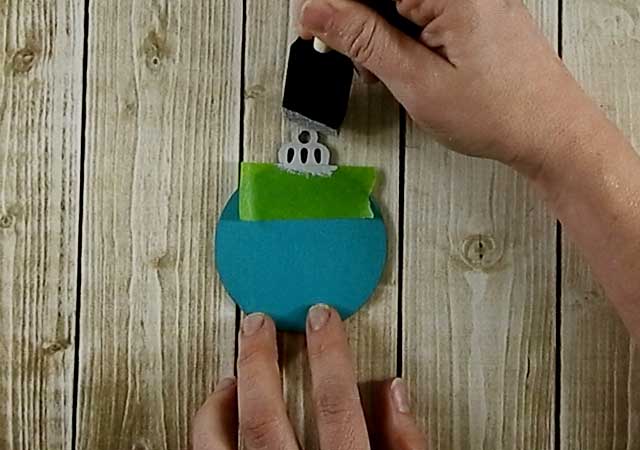
Paint the top gray.
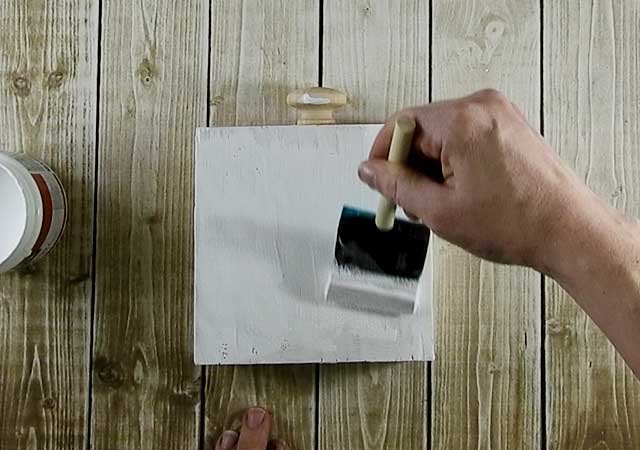
The wood glue should be dry, so you can also paint the wood block white.
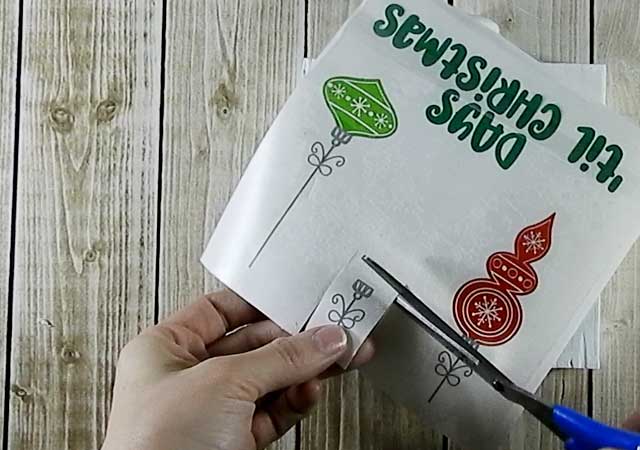
While you’re waiting for everything to dry, you can cut out the vinyl. The numbers should be 2.5″ x 2.5″ and the design should be about 5.4″ x 5.4″.
Do you need help cutting this multi-color design? Check out this step by step tutorial for Silhouette Users here and for Circut Users here.
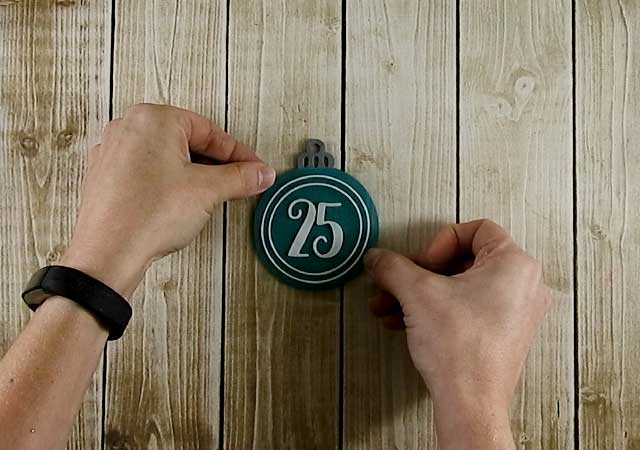
Start by applying the number 25 to one side of an ornament. Remove the transfer tape and flip it over.
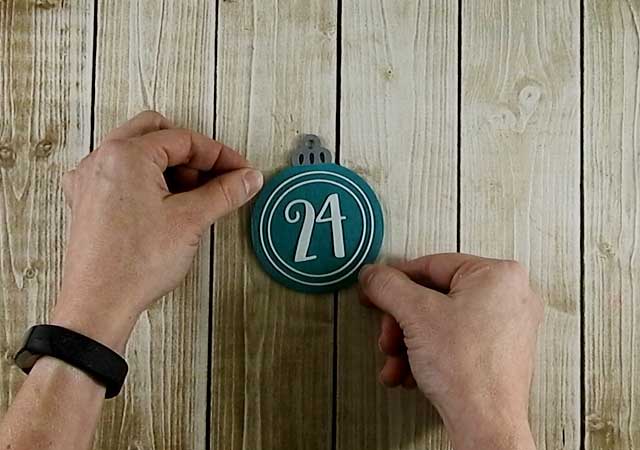
Add the number 24 to the other side. Repeat with all the numbers down to 0.
After you’ve layered the vinyl design, Cut out the middle ornament string.
Apply to vinyl to the wood block.
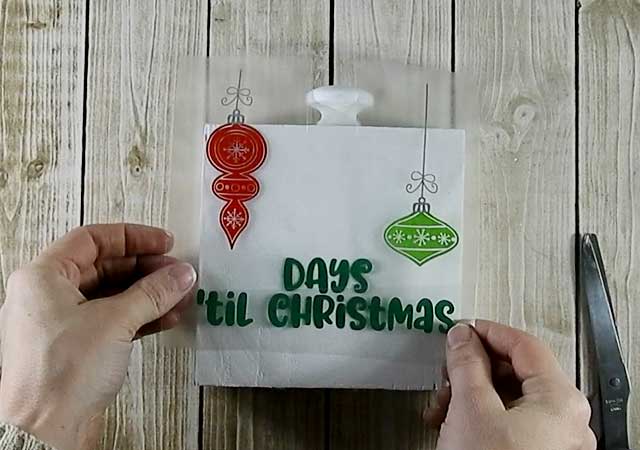
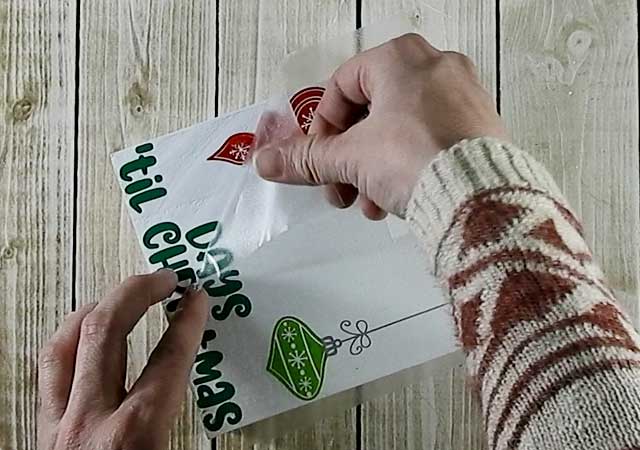
Remove the transfer tape.
Position the wood ornament on the block. Place a nail inside the circle of the ornament and hammer into place.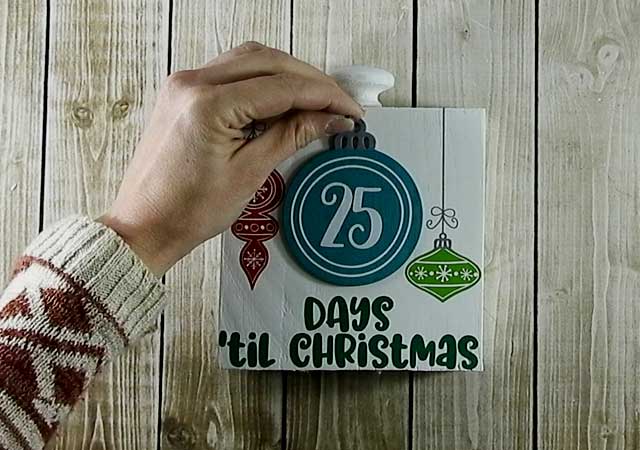
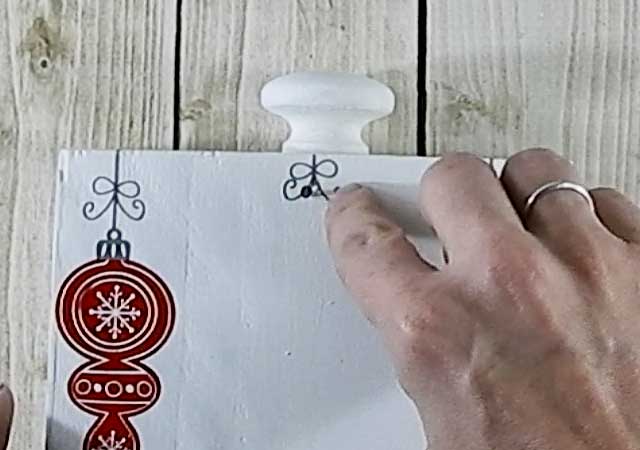
Trim down the vinyl bow so it fits right above the nail and adhere to the wood block.
Temporarily remove the nail on the front of the block and flip the block over. Place two ornaments on the back and add nails like you did on the front. This is where you can store all the numbers that aren’t being used. Isn’t that clever!
Replace the nail on the front and add a cute Christmas bow around the knob.

What do you think? It’s pretty cute, right?
And there’s the back with all the extra ornaments.
Did you enjoy this post? I’d love for you to pin it to your favorite pinterest board.