Here’s what I used:
– Wood strips for front (mine are approx. 3.75″ x 36″)
– Wood for frame
– Vinyl for stencil
– Paint and brushes
– Wood glue
– Brad nailer or hammer and nails
– Electronic cutter (cricut explore, silhouette or other cutter)
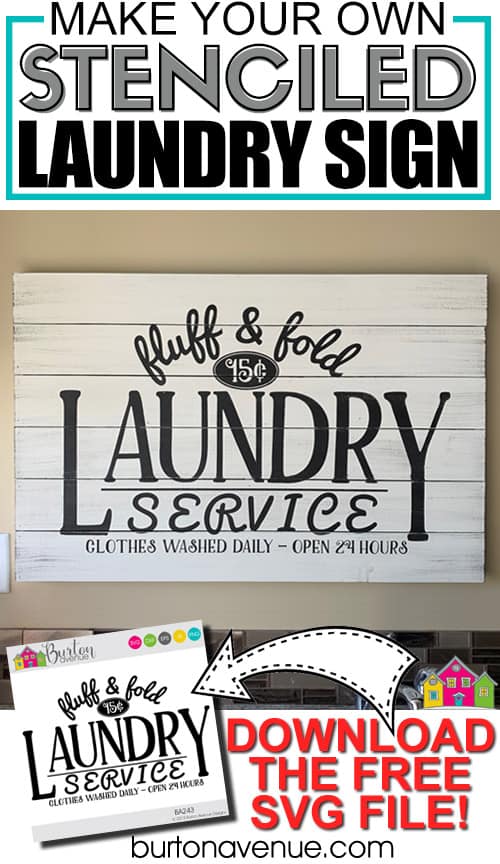
– Cut File – Fluff and Fold Laundry Service BA243 (click here to get the SVG file for free from my free SVG Library)
Disclosure: I was not compensated for this post, but will earn a small percentage for sales as an affiliate. As always, all opinions are 100% my own.
DOWNLOAD THE FREE SVG FILE
I keep all the SVG files I use for the projects I make in my SVG Library. These SVG files work with Cricut and Silhouette machines, as well as many others. This library is open to everyone and is free! You can access the library here.
Here is what I did:
1. I had a sheet of thin MDF sitting in the garage. I cut it down to strips approx. 3.75″ x 36″. I used pennies to provide the spacing I wanted and then measured the wood from top to bottom. 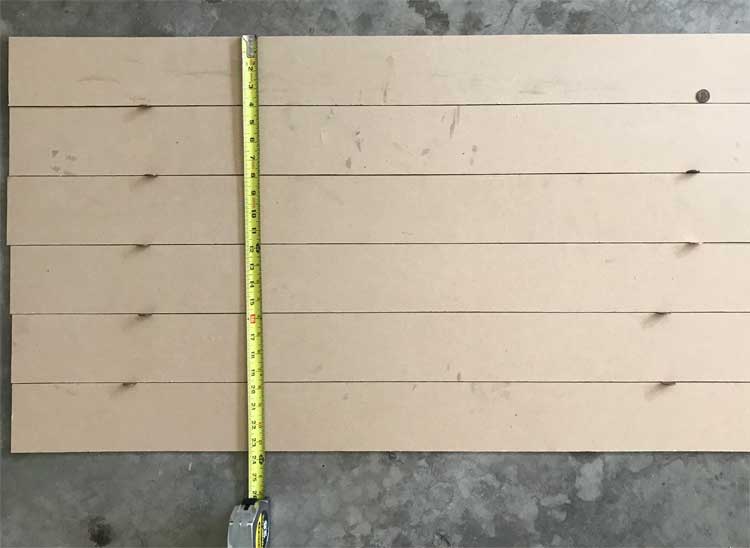
2. Once I had the dimensions of the wood strips, I was able to make a frame. The MDF strips were flimsy, so I added extra support with a strip of wood in the middle. I used wood glue and a brad nailer to put the frame together.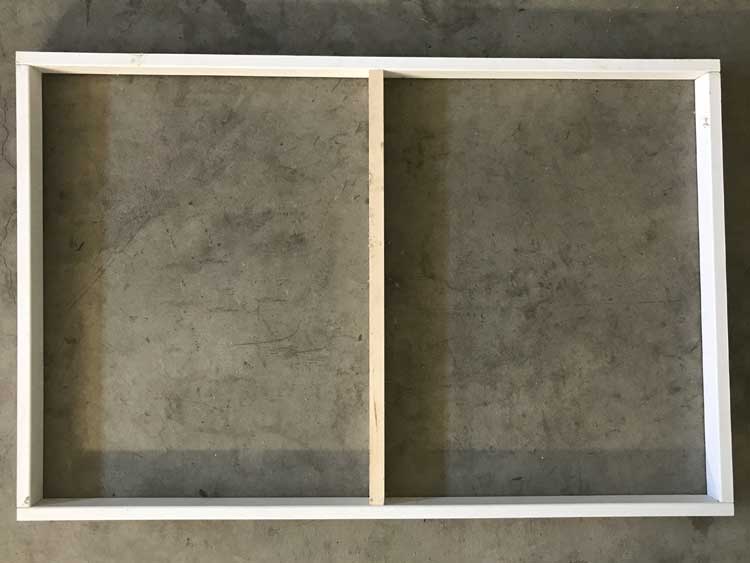
3. I glued on the wood strips onto the frame and nailed them in place, still using the pennies for spacing.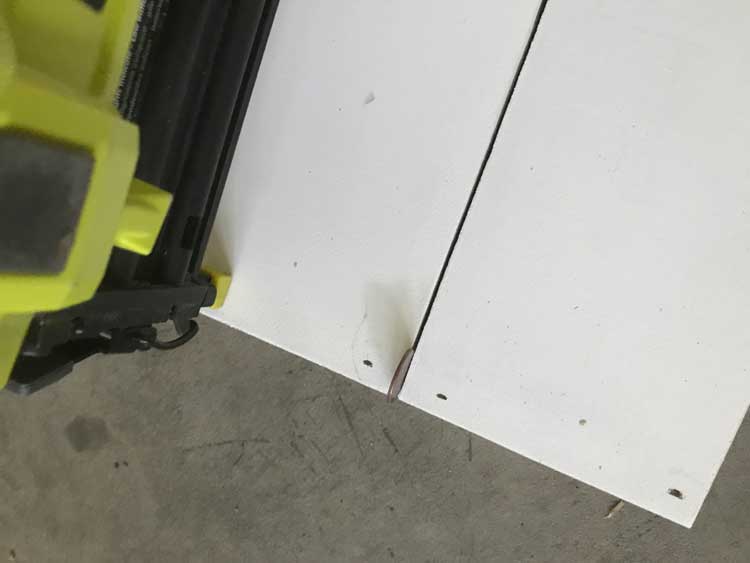
4. Once it was all assembled, I painted the entire sign white.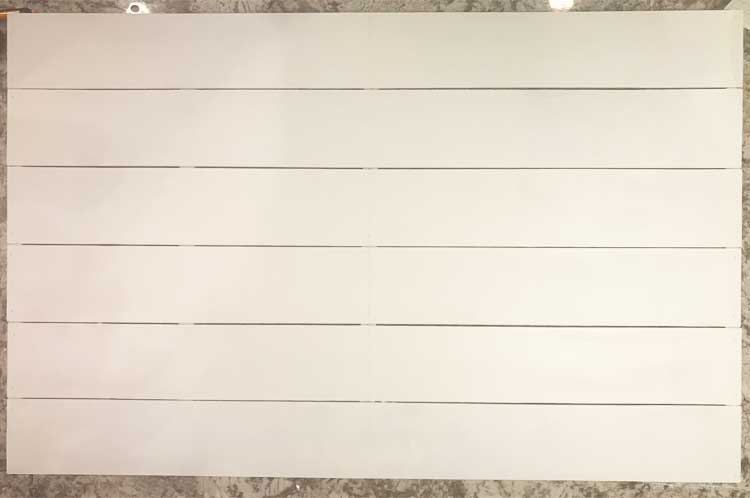
5. Since this sign is so large, and most cutters only cut about 12″ wide, I had to cut the stencil in 2 pieces.
6. I over-lapped the top and bottom stencils just slightly so paint wouldn’t leak where the two piece met.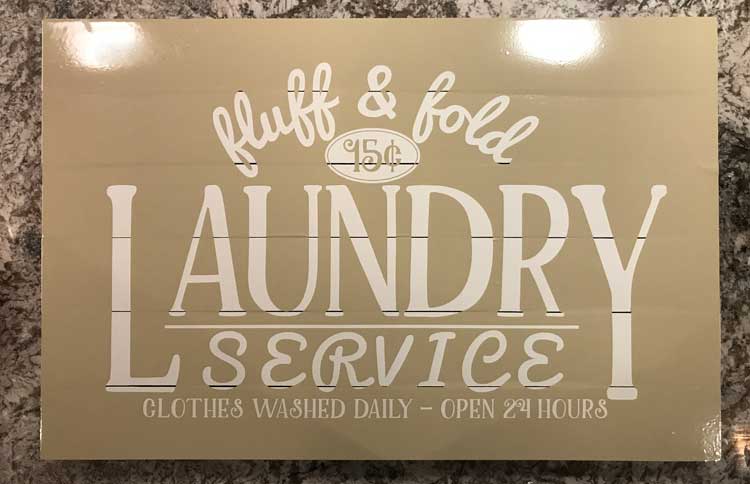
7. Next, I painted white paint (the base coat color) over the entire stencil. This helps to prevent bleeding.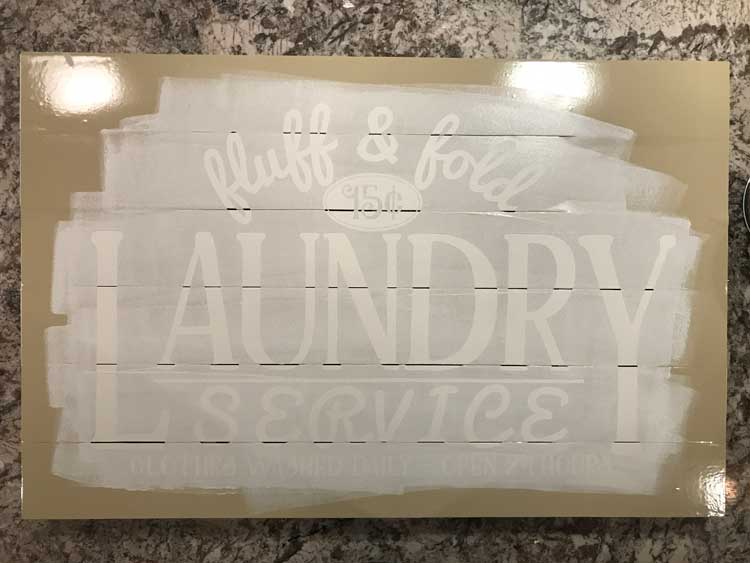
8. Once the white paint had dried, I painted several light coats of black paint.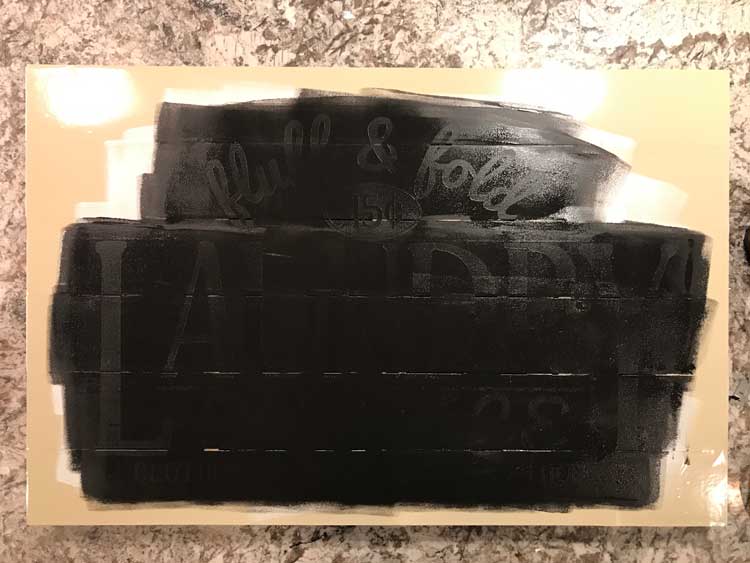
9. After the paint had dried for a few minutes, I removed the vinyl stencil.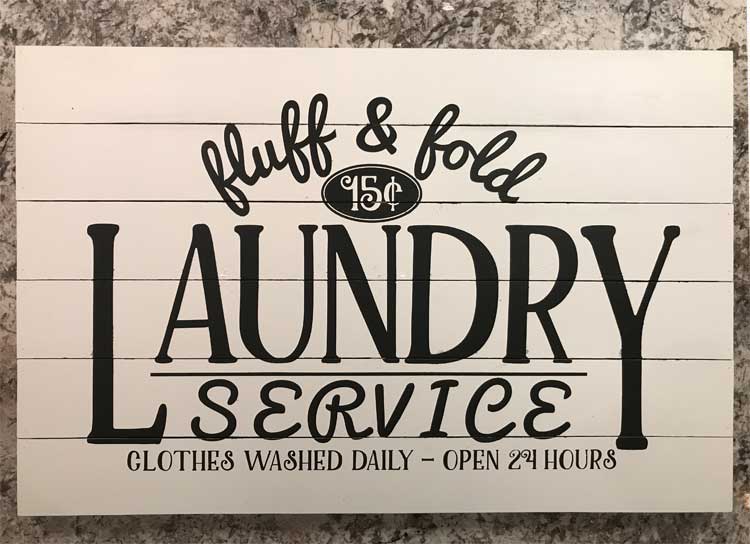
10. Next, I wanted to distress it a bit. I dipped a dry brush in black paint and wiped some of the paint off on a paper towel. Then, I dragged the brush across the wood strips.
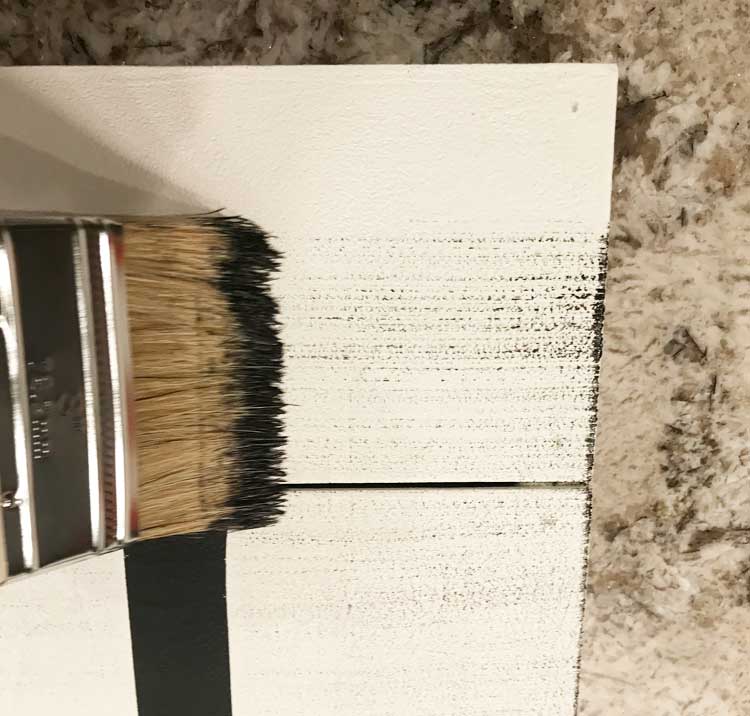
11. Finally, I lightly sanded the entire sign.
I really love how it turned out.
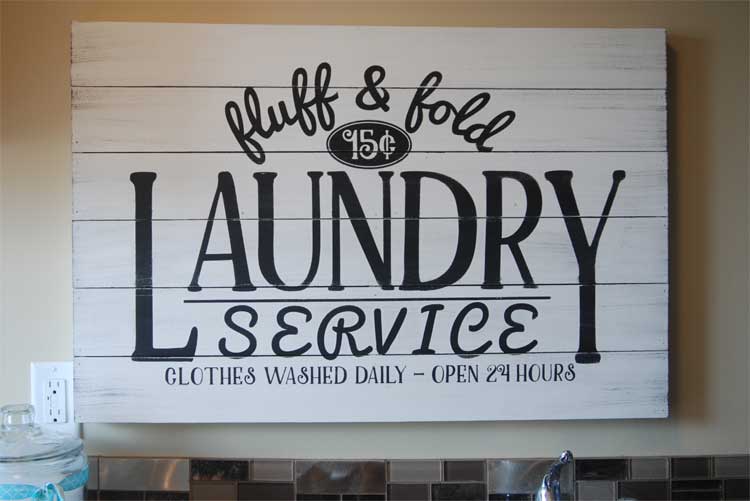
And since it was all made from leftover wood pieces, this sign was basically free!
Did you enjoy this post? Help spread the word! Share this post on your favorite Pinterest board. Thanks!
Thank you very much for this great file.
Thanks for the design. I really appreciate the step by step instructions, as I ‘m new to sign making. This is great!
Thank you for all your tutorials! You are better than Youtube! 🙂 Your files are amazing as well!
This tutorial shows how I make my signs. I use pine and 1x2s for the frame.
What a gorgeous sign, Angie!! I’ve seen a lot of laundry designs and this is definitely one of my favorites!!!
Thanks so much for the file…I will buy the commercial license for this design for sure!!
Thank you!
Hello! I am grateful for the free svg files but the download is not working as I end up with jibber jabber all over my screen. Am I doing something wrong?
Thank you!!
Cher
The scrambled letters usually happen when you try to download the files from within an app like facebook or pinterest. To fix the issue, once you get to the blog, click on the 3 dots in the upper right or left hand corner and choose open in safari. Then, you should be able to download the file.