This post contains affiliate links for your convenience (which means if you make a purchase after clicking a link I will earn a small commission but it won’t cost you a penny more)! Read my full disclosure policy.
HERE’S WHAT YOU NEED
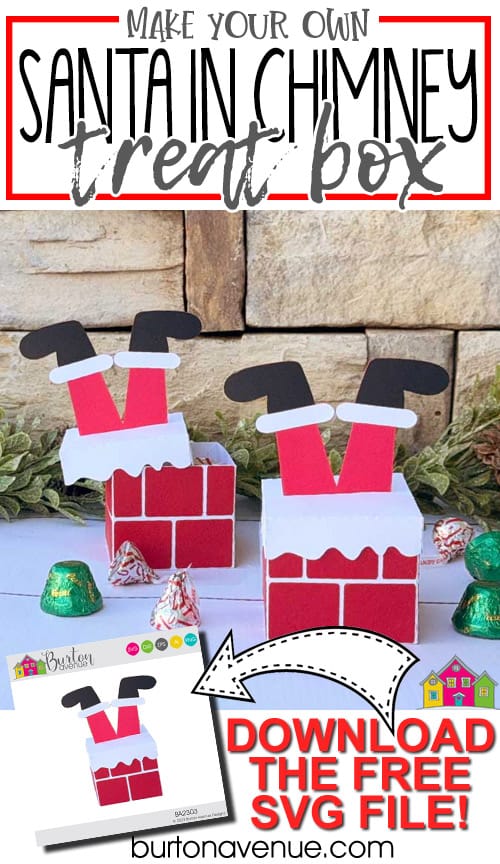
- Cardstock (I used black, 2 shades of red, and white)
- Liquid Glue
- Hot Glue Gun and Glue
- Christmas Candy or Treats
- Electronic cutter (cricut explore or maker, silhouette or other cutter)
- Cut File – Santa in Chimney Box BA2303 (click here to get the SVG file for free from my free SVG Library)
HERE’S WHAT YOU DO
STEP 1: DOWNLOAD THE FREE SVG FILE
The first thing you’ll need to do is get the free SVG file you’ll use for this project. I keep all the SVG files I use for the projects I make in my SVG Library. These SVG files work with Cricut and Silhouette machines, as well as many others. This library is open to everyone and is free! You can access the library here. Look for the file called Santa in Chimney Box BA2303. It will be listed under the Craftmas 2023 Category-Day 3.
STEP 2: CUT THE PIECES FOR THE BOX
Open the design in your software program. I resized the design to 11″ tall. This makes the size of the box about 2.5″ square. If you are using Cricut Design Space, you will need to ungroup and separate all of the layers. Then, select each white layer and the perforation lines and click attach. I cut Santa’s pants out of one shade of red and the bricks out of another.
Once the first piece of cardstock is finished cutting, remove it from the cutting mat. You’ll want to slightly bend the cutting mat and carefully pull off the cardstock.
Load on the next color and repeat until everything has been cut.
STEP 3: ASSEMBLE THE BOX
Glue the brick pieces to the sides of the box. On one row, you’ll glue two small pieces on the right and left sides and one large piece in the middle. On the other row, you’ll glue two large pieces side by side. Make sure as you are gluing on the pieces, they don’t go over the perforation lines.

Glue the bricks onto all four sides of the box. If you want to skip the bricks, you can just cut the box shape out of red cardstock.
 Next, fold along all the perforation lines.
Add some glue onto one of the tabs.

Glue two sides of the box together. Repeat with the other three sides.

Next, glue the pant cuffs and shoes onto the red background piece.

Assemble the lid, just like the box.
 Insert the legs about 1/8″ – 1/4″ through the slit on the lid.

Use hot glue inside the lid to keep the legs in place.

While the glue is cooling, make sure the legs are standing up straight.

Once the glue is cool, you can fill the box up with some Christmas candy.

And this treat box is ready to go!

Did you enjoy this post? Help spread the word! Share this post on your favorite Pinterest board. Thanks!