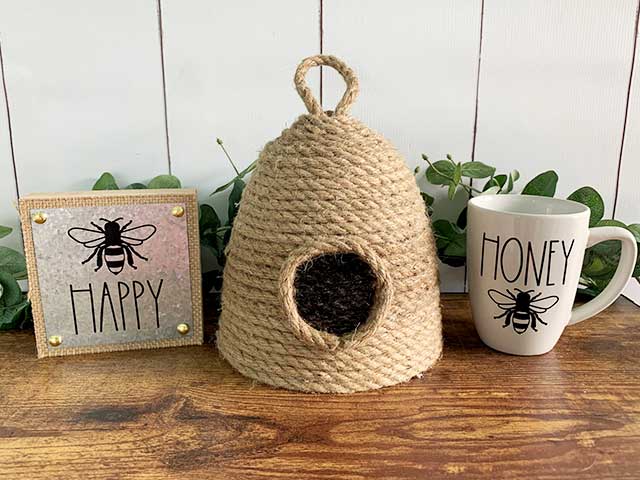
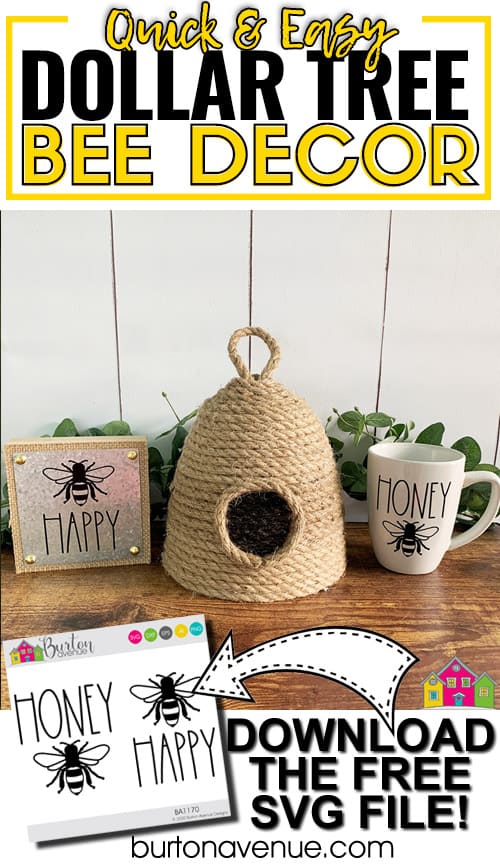
Over the past couple weeks, I’ve been making lots of new Bee themed SVG files. So, it seemed like a great time to add some bee decor to my home. I’m so excited with how everything turned out. It was super quick and easy – everything took less than 45 minutes to make! You just need a few supplies from Dollar Tree, a little bit of vinyl, and a cutting machine, like a Cricut or Silhouette. Read on for the full tutorial.
HERE’S WHAT YOU NEED
- Rope (I used 3-9.5′ packages)
- Small Plastic Planter (I found mine at Dollar Tree)
- Hot Glue & Glue Gun
- Black Marker
- Mini Plaque with Metal Sign
- White Mug
- Vinyl (I used Black)
- Transfer Tape
- Application Tool
- Weeding Tool
- Craft Knife
- Electronic cutter (cricut explore, silhouette or other cutter)
- Cut File (available for free in my free SVG library)
HERE’S WHAT YOU DO
STEP 1: DOWNLOAD THE FREE SVG FILE
The first thing you’ll need to do is get the free SVG file you’ll use for this project. I keep all the SVG files I use for the projects I make in my SVG Library. These SVG files work with Cricut and Silhouette machines, as well as many others. This library is open to everyone and is free! You can access the library here. Look for the file called Honey Bee-Bee Happy. It will either be listed under the most recent projects/cut files or under the Everyday category.
STEP 2: ADD VINYL TO MUG AND SIGN
Measure the dimensions of your sign blank and mug to determine how big to make your design. I made the design for the mug about 3″ wide and the design for the sign about 3.5″
After everything is sized correctly, it’s time to cut the vinyl. I cut the letters out of Black Vinyl. Once everything is cut, weed away the excess vinyl.
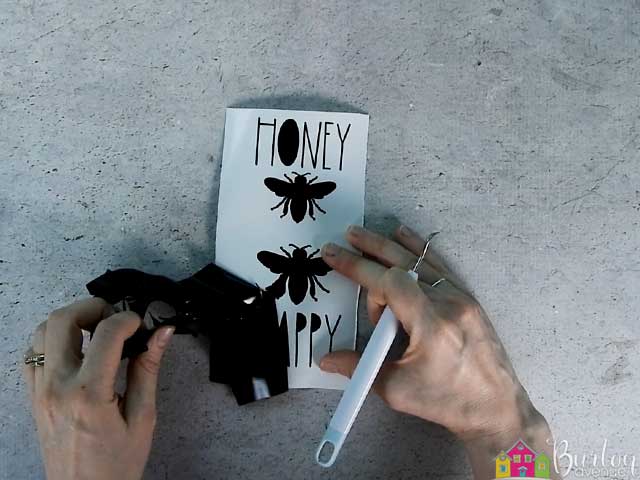
Use a weeding tool to remove the centers of the letters and the pieces inside of the bees.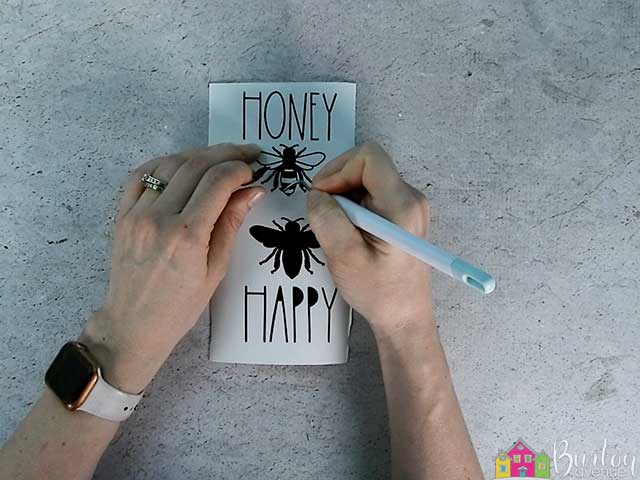
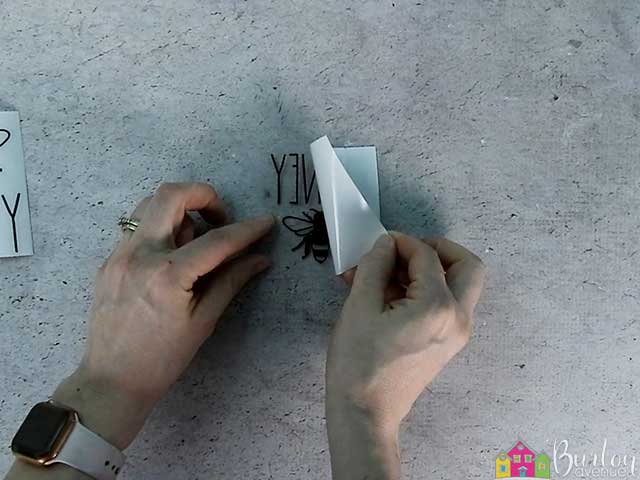
Cut a piece of transfer tape a little bigger than the design and place it on the vinyl.
![]()
Use an application tool and rub over the design.
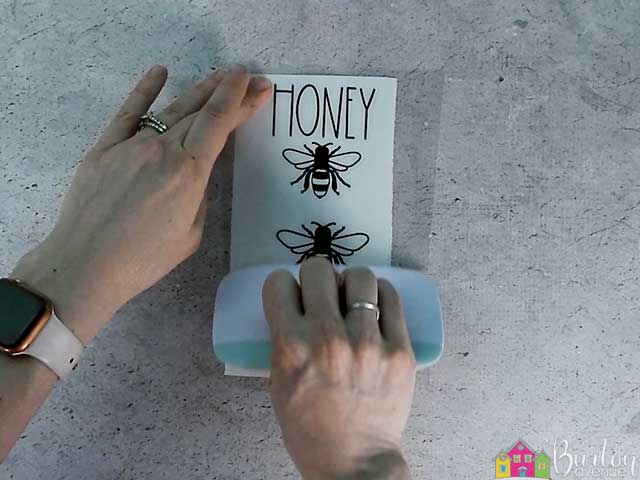
Cut off the excess transfer tape and cut apart the two designs.![]()
Flip the Honey Bee design over and carefully pull off the vinyl backing.
Center the design on the mug and press into place.
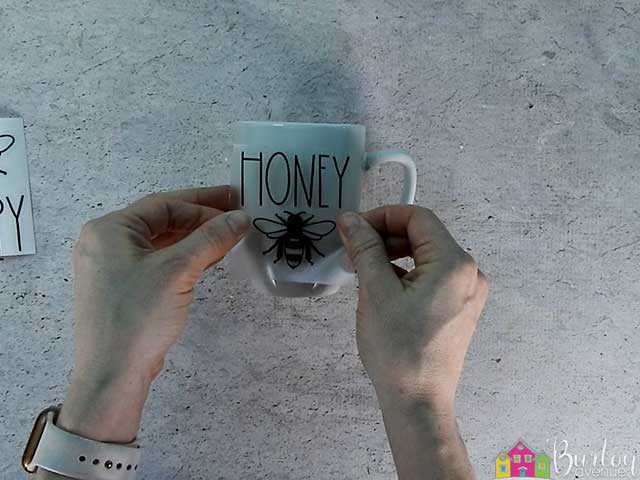
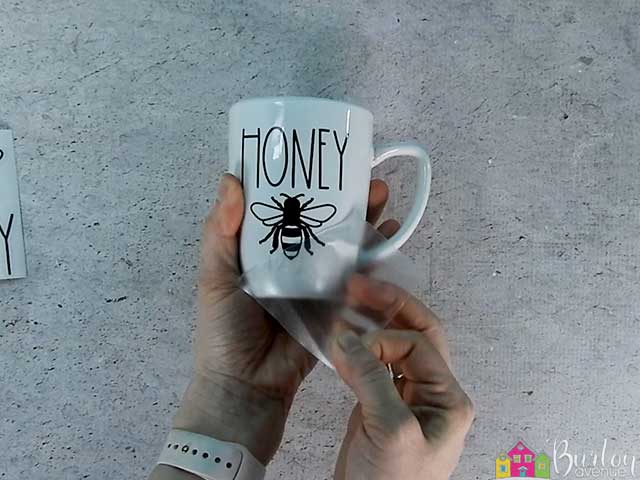
Use a scraper to rub over the design.

Then, pull off the transfer tape.
Now, let’s work on the little sign.
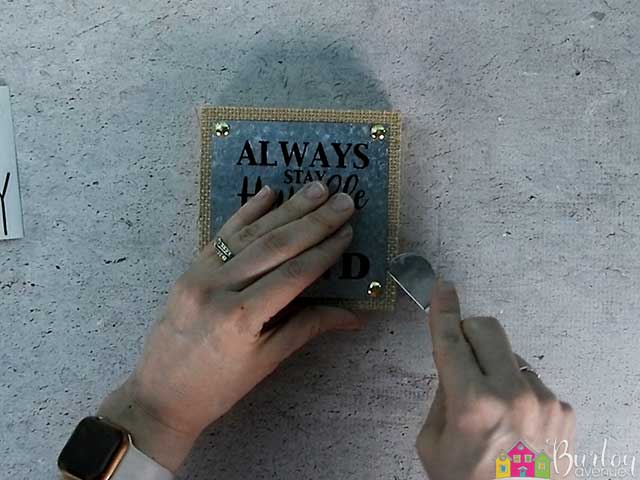
Use a spatula to pop out the tacks. Then flip the metal piece over to the blank side.
Remove the vinyl backing of the Bee Happy design.
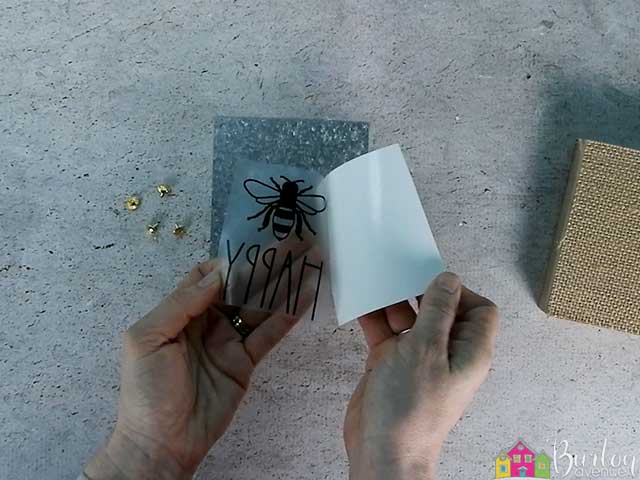
Center the design on the metal piece and press into place.
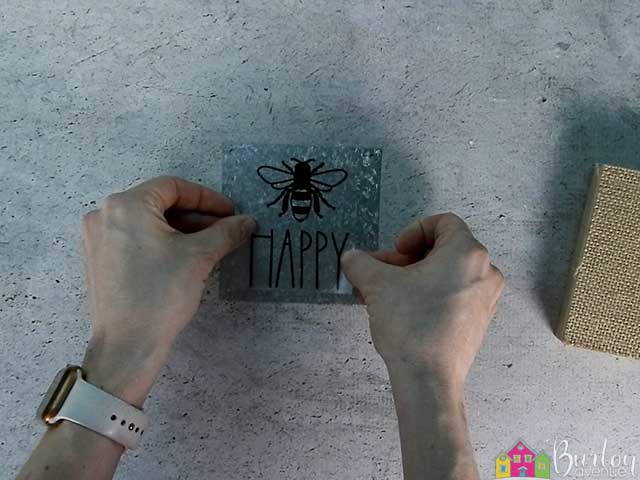
Rube over the design with a scraper and then pull off the transfer tape.
![]()
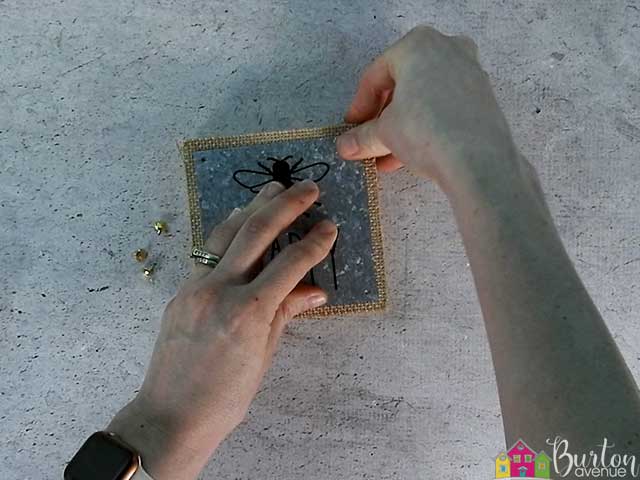
Put the metal piece back on the wood block and press the tacks back in place.
STEP 3: TIME TO MAKE A BEE SKEP
First of all, what is a bee skep? A bee skep is basically and upturned straw basket under which bees form their naturally curvy honey comb. I always just called this a bee hive, but I guess there’s better name. So, there you go, a little learning while creating!
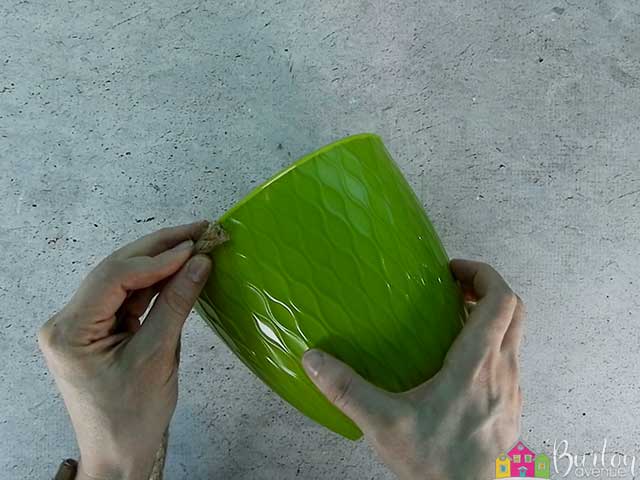
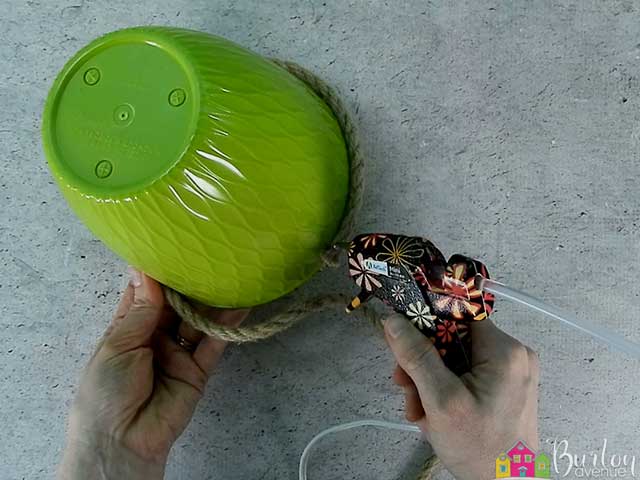
Start by adding a dab of hot glue to the end of the rope.

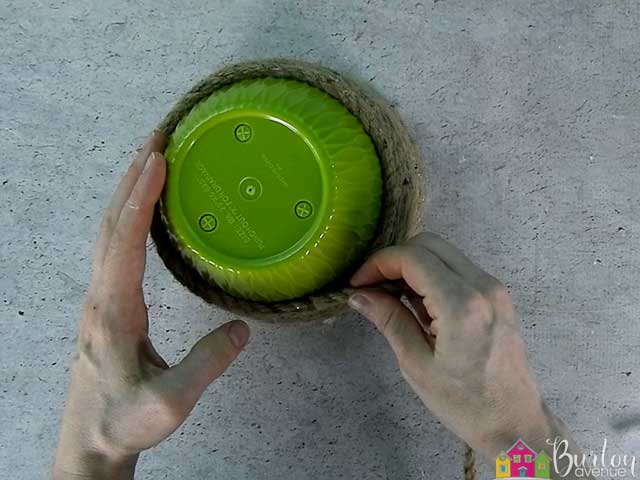
Place the rope on the bottom of a plastic planter. Hold in place until the glue hardens. This is the back of the skep.
Wrap the rope around the planter and glue in place.
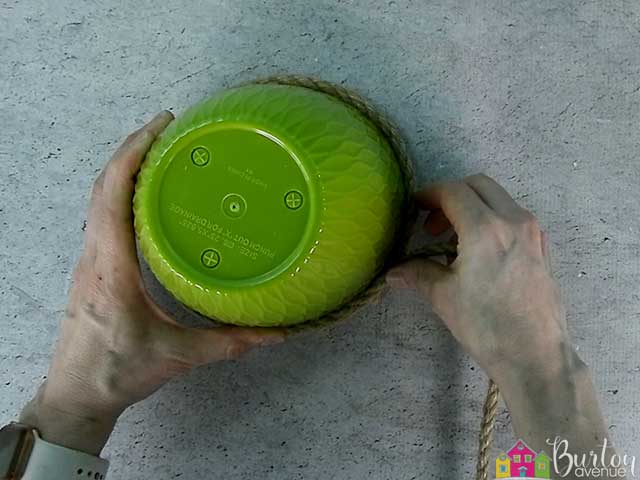
Now, continue adding glue, and wrapping the rope around the planter.
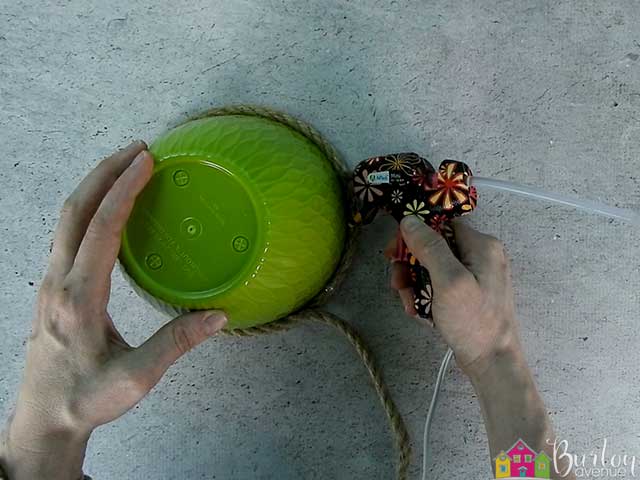
If you use small pieces of rope like I did, you’re going to have some seams. You want the seams to be on the back. If your rope ends on the front, trim off some of the rope so it ends on the back. Then, add some glue to the end of your next piece.
Place the end of the 2nd piece right up to the end of the 1st piece. Then, continue glue the rope around the planter.
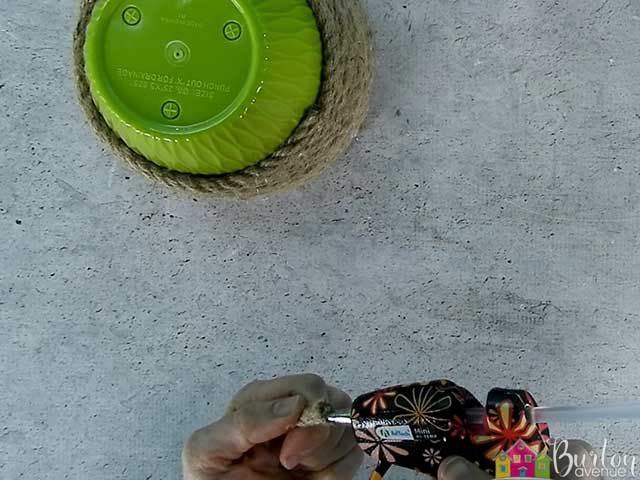
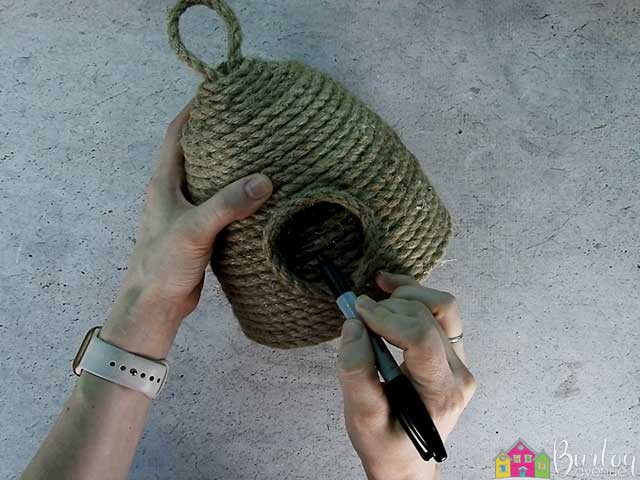
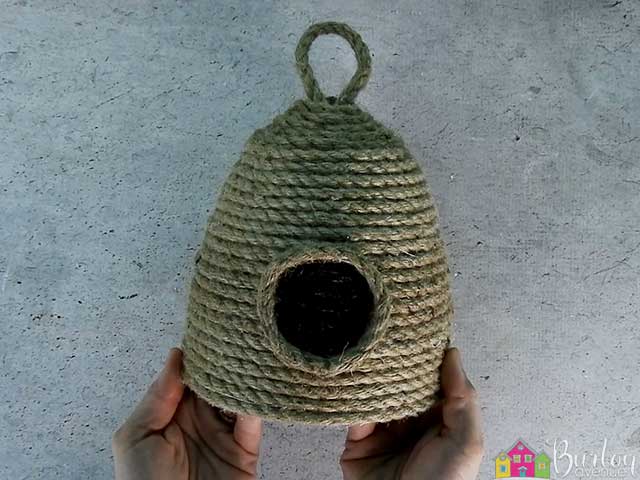
Once you get to the top of the planter, it’s time to close off the opening. Try to place the hot glue on the side of the rope, instead of on the top, like we were doing below. Keep gluing and wrapping the rope until you have just a small hole left.
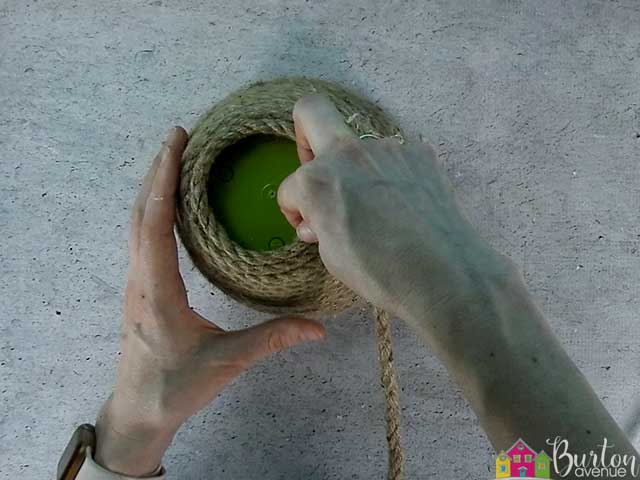
Cut off the excess rope, leaving only and inch or so, and tuck the excess inside the hole.
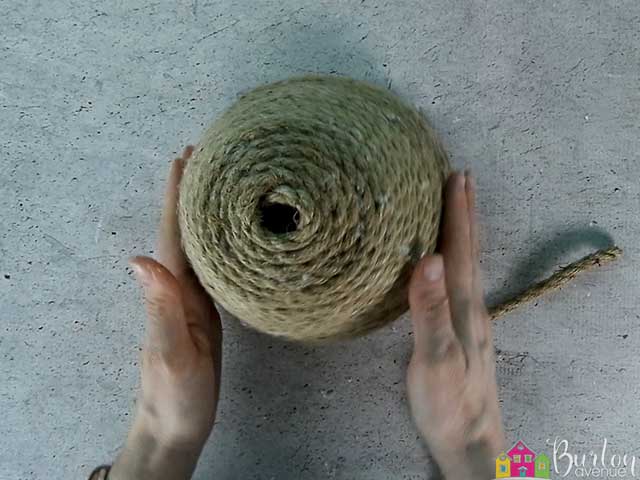
Make a loop with the rope and place it inside the hole.
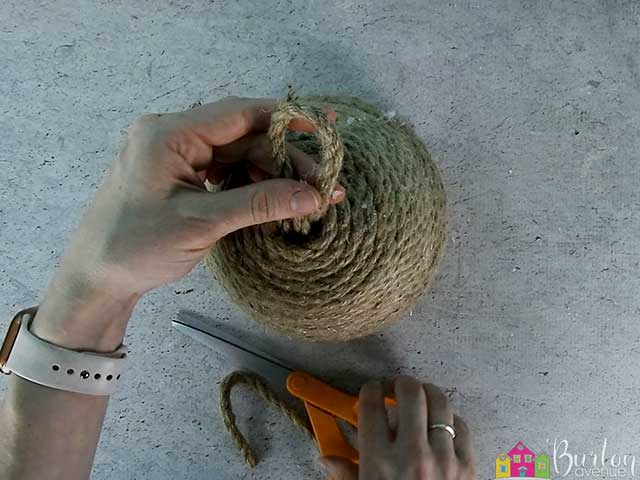
Use hot glue to secure the loop in place.
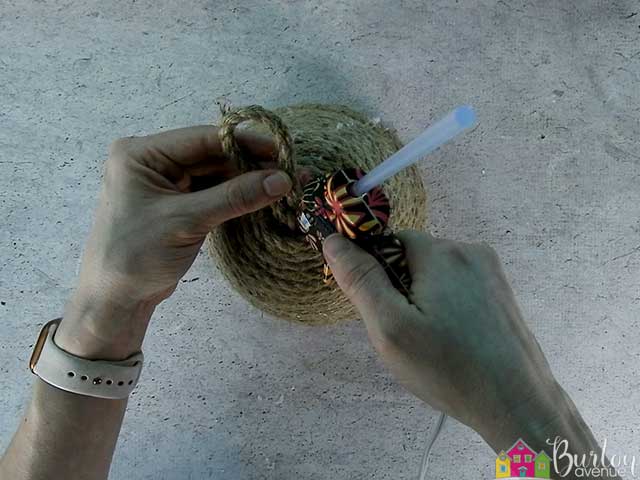
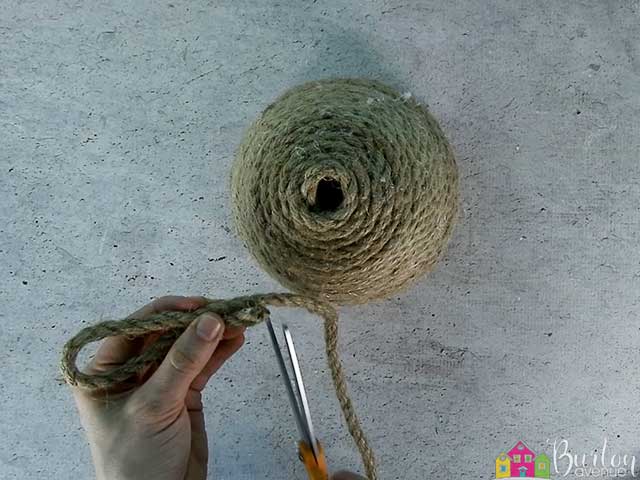
To finish it off, cut an 8″-9″ piece of rope and glue the ends together.
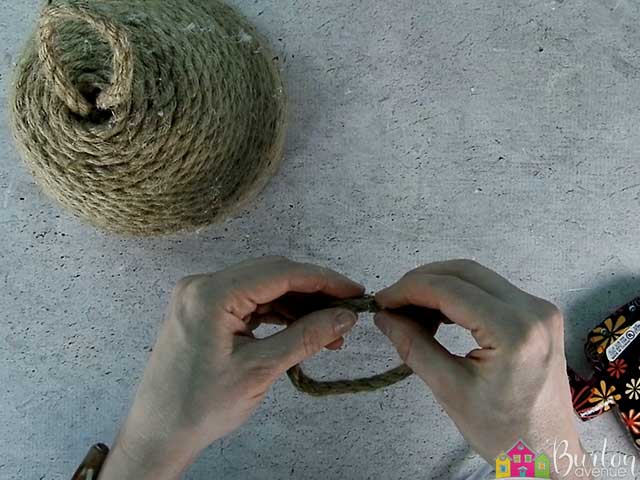
Make a circle and glue it in place.
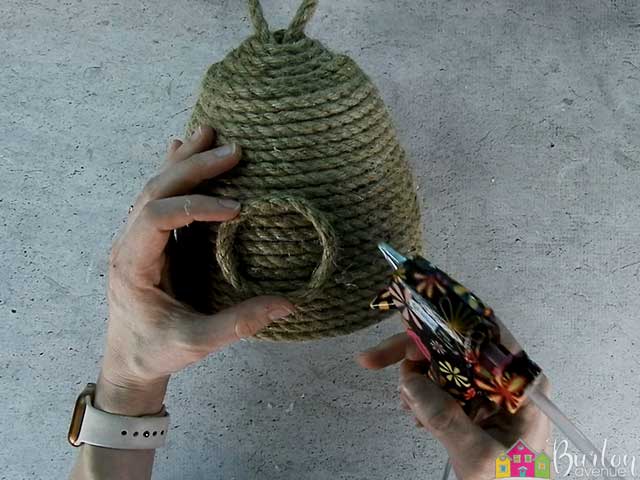
Use a black marker to fill in the area inside of the circle.
That’s it! Isn’t that a fun project?
Did you enjoy this post? Help spread the word! Share this post on your favorite Pinterest board. Thanks!
Want to make your own? Get the free cut file for this project in the resource library
Love this so much!
How cute is that! And simple. I love your ideas. Thank you for sharing and for the. Free svgs! Have a safe and blessed day.
Thank you!!