HERE’S WHAT YOU NEED
-
- Smooth sided quart mason jars (I found mine at Walmart)
- Cardstock
- Chalk Paint
- Paint Brush
- Vinyl
- Transfer Tape
- Weeding Tool
- Scraper
- Perfect Fit Kleenex Tissues (I found mine at Amazon)
- Embellishments (Optional)
- Electronic cutter (cricut explore, silhouette or other cutter)
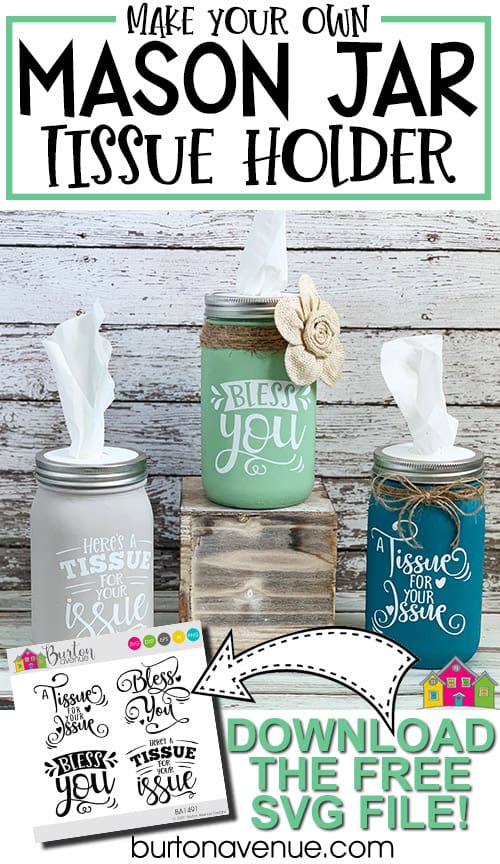
- Cut File – Tissue Jar Sayings BA1491 (available for free in my resource library)
HERE’S WHAT YOU DO
STEP 1: DOWNLOAD THE FREE SVG FILE
The first thing you’ll need to do is get the free SVG file you’ll use for this project. I keep all the SVG files I use for the projects I make in my SVG Library. These SVG files work with Cricut and Silhouette machines, as well as many others. This library is open to everyone and is free! You can access the library here. Look for the file called Welcome BA1480. It will be listed under the Everyday category.
STEP 2: CUT AND TAPE VINYL DESIGN
Open the design in your software program. Delete any sayings that you’re not going to use and resize the remaining quotes to 3.5″ wide. Resize the circle to 3.25″ and make a copy for each jar that you’re making.
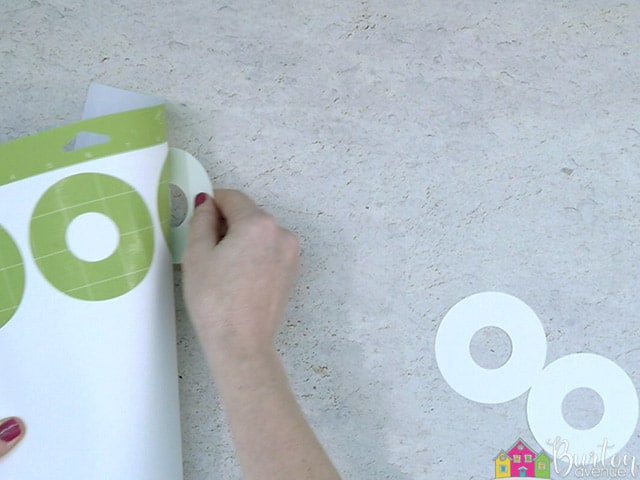
Cut the quotes out of white vinyl and the circles out of a heavy cardstock.
Remove the circles from your cutting mat and set aside for later.
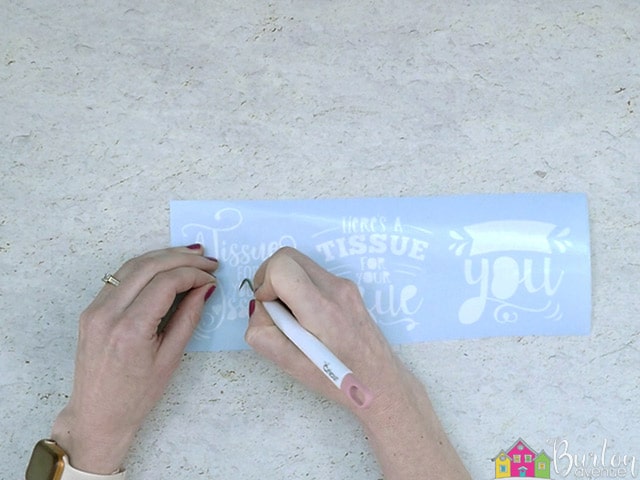
Weed away the excess vinyl from around the sayings.
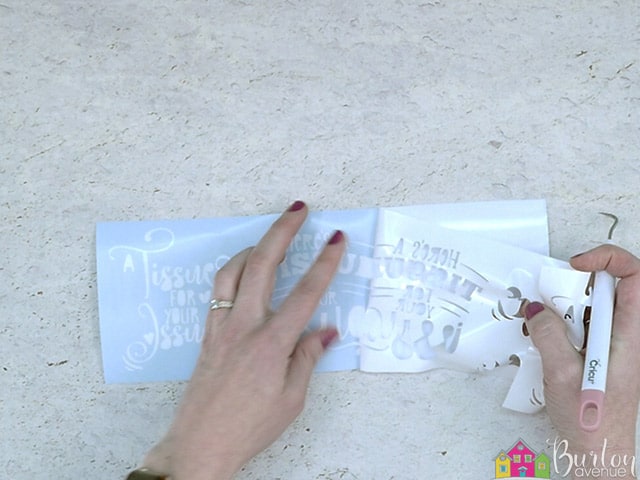
Use a weeding tool to pull out the tiny pieces inside of the letters..
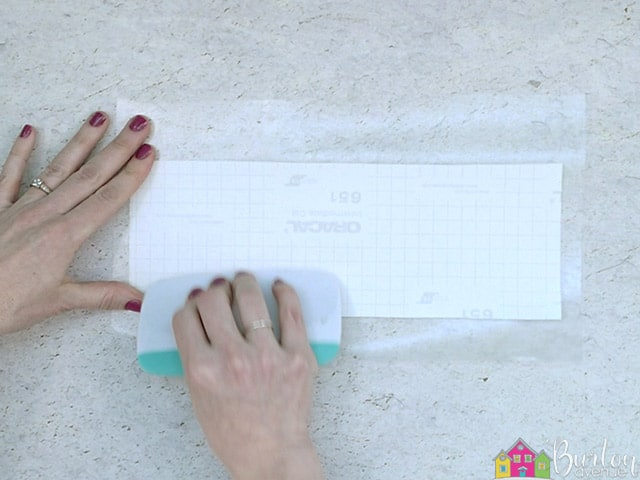
Cut a piece of transfer tape a little bigger than the design. Place the transfer tape sticky side up on your surface, then place the vinyl on top of the transfer tape and smooth it down.
![]()
Rub over the design firmly with your scraper tool.
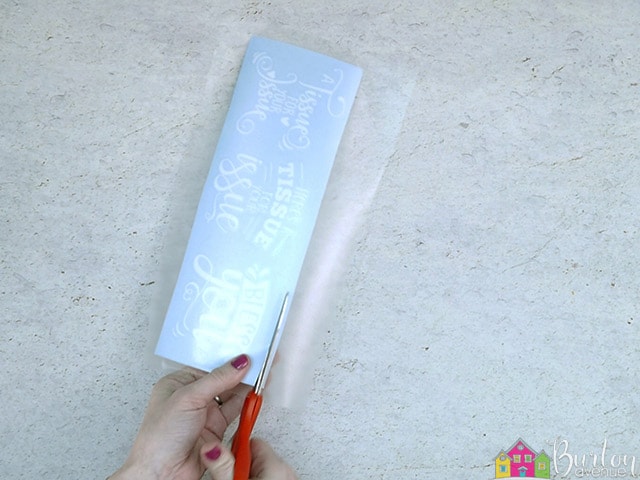
Then, trim off the excess transfer tape and vinyl backing and if you have more than one phrase, you can cut those apart.
STEP 3: PREPARE THE MASON JAR
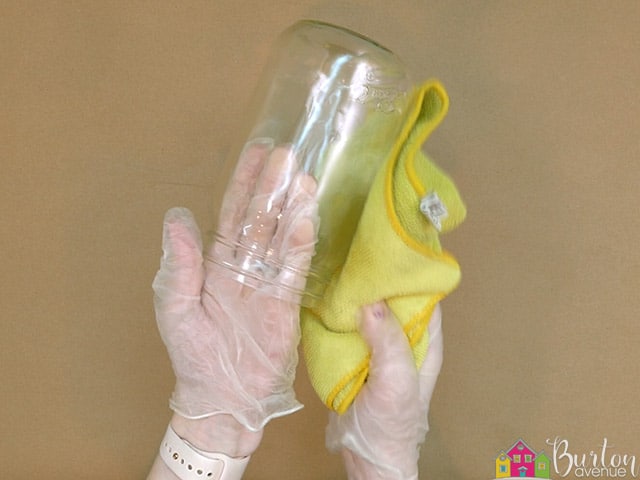
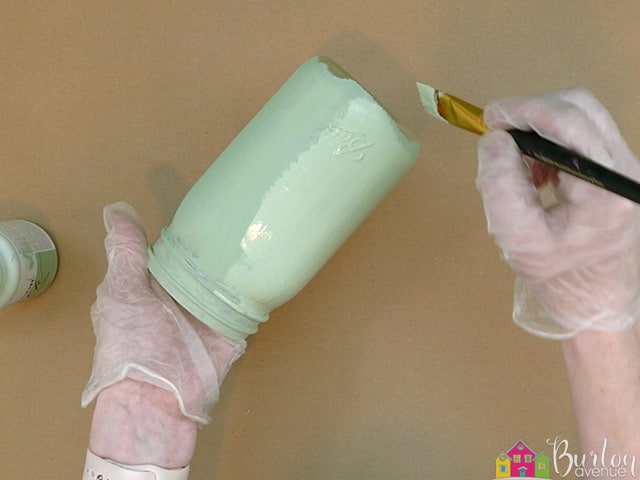
Remove the lids from your jar and clean it. You can use rubbing alcohol or just wipe it clean. To avoid getting fingerprints on the outside of the jar, I decided to wear gloves while painting.
Paint the jar with a nice even layer of paint and allow it plenty of time to dry.
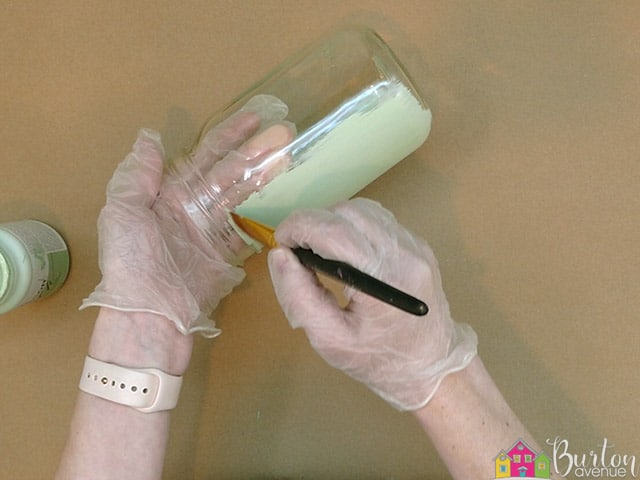
On the second layer, you’ll want to make sure you do long even strokes with your paint and try to only go over each area a couple of times. If you keep brushing back and forth, you’ll likely remove some of the paint.
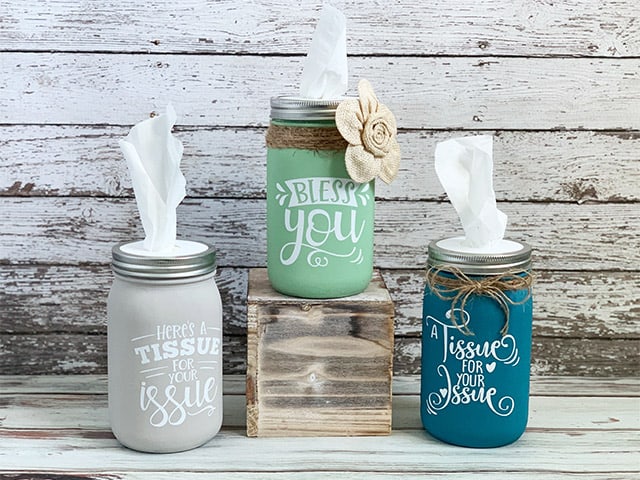
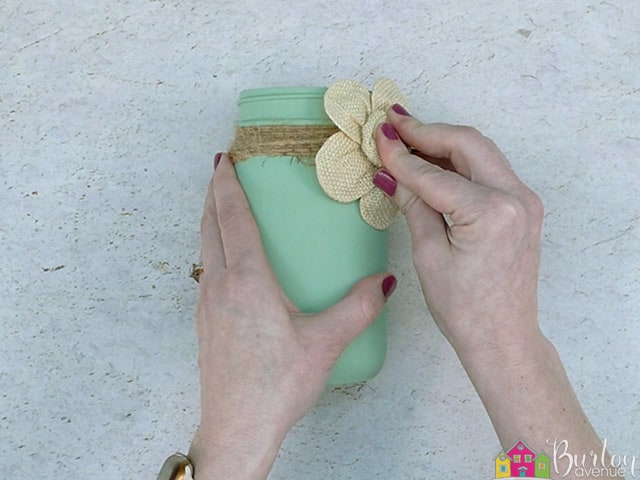
Once the paint is dry, you can add some cute embellishments to the jar. These jars look cute with twine wrapped around the top.

You can also add a cute flower or bow. But, these jars also look great with just the paint, so don’t feel like you have to add embellishments.
STEP 3: FINSH THE JAR
Remove the backing from your vinyl decal.
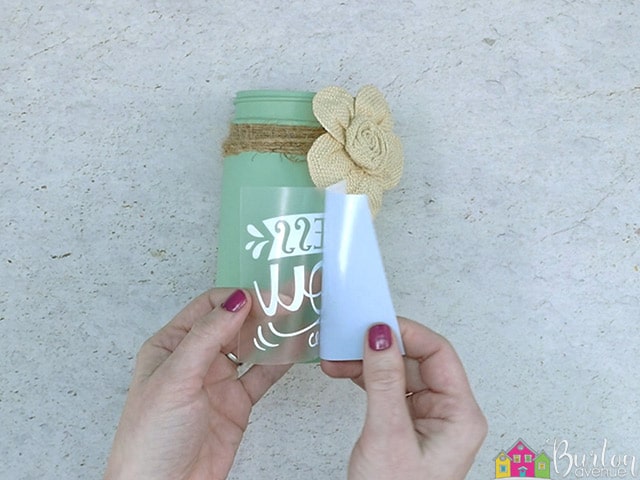
Position the quote on your mason jar.

Once it’s straight, rub over the vinyl with your scraper
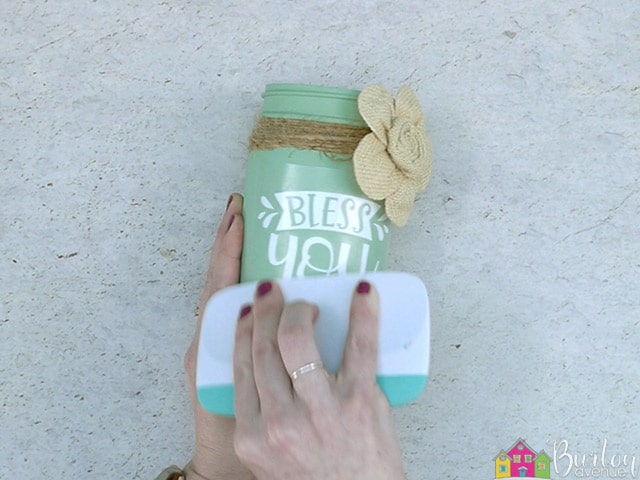
Then carefully pull off the transfer tape.
![]()
Remove the top from the original tissue container and then pull out the tissues.

Keep them folded and then place them inside your mason jar.
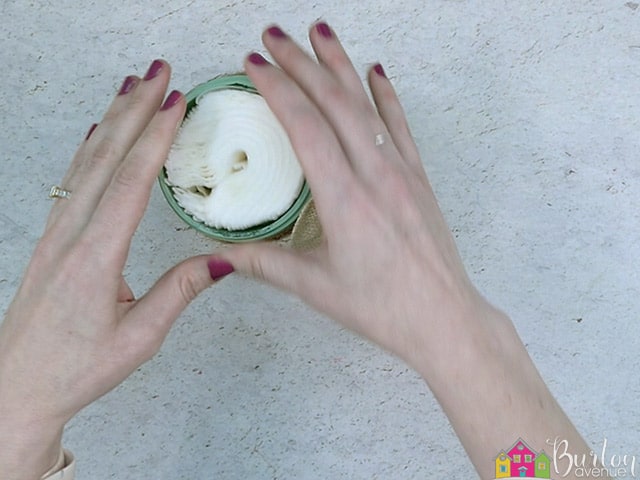
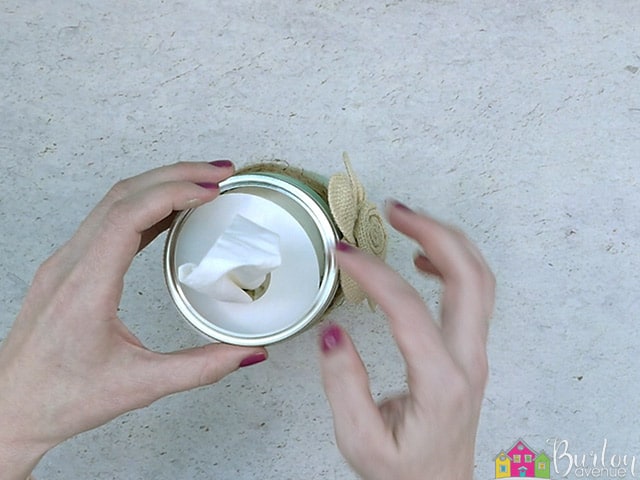
Feed a center tissue up through the hole of your cardstock cutout and then screw the lid into place.
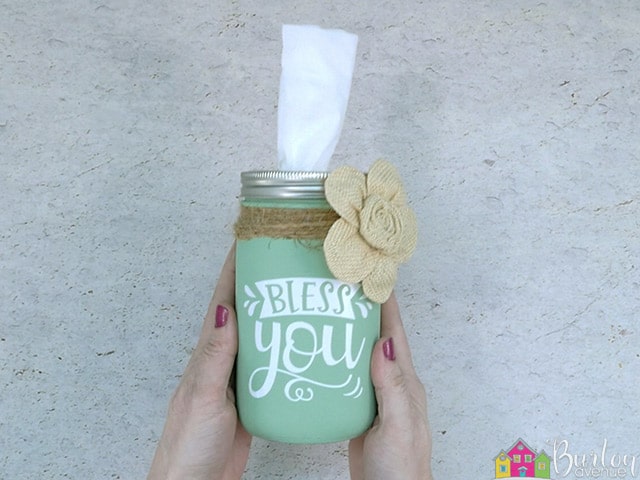
And that’s all there is to it. This project is finished and turned out so cute!
Did you enjoy this post? Help spread the word! Share this post on your favorite Pinterest board. Thanks!
So excited about making these. My mother-in-law uses so many Kleenex! She will love these.
I love this but I wish there were some way to download the written tutorial without all the ads.