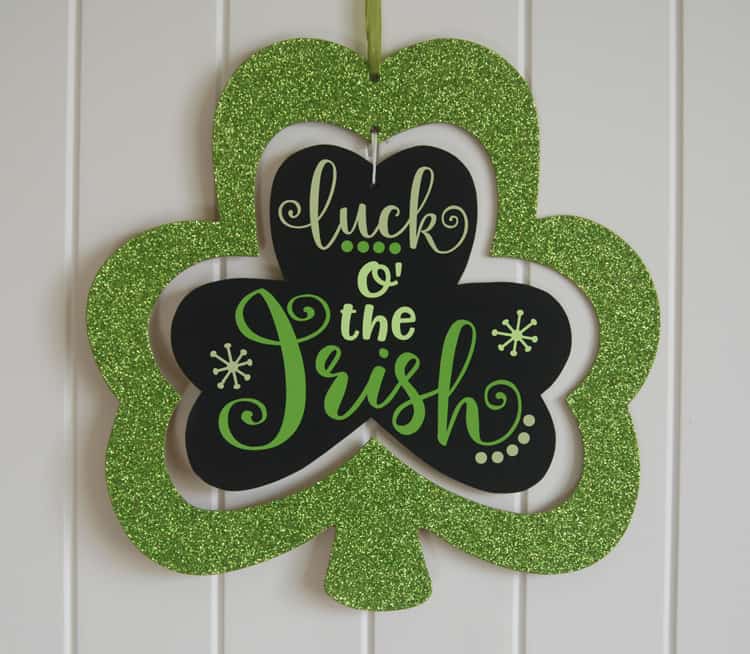
Here is a quick, easy, and mess-free project for St. Patrick’s Day. Do you decorate for St. Patrick’s? It’s so hard for me to decide…St. Patrick’s or Spring after Valentine’s Day? At least for the moment, my brain is thinking St. Patrick’s Day, so I decided to make this cute wall hanging. The best part is that it was so easy! No painting with this project, just a bit of vinyl and it was done! I love those kind of projects.


Here’s what you need:
- Electronic cutter (cricut explore, silhouette or other cutter)
- 3 Shades of Green Vinyl (I used Celedon, Key Lime Pie, and Lime Tree Green)
- Chalkboard Vinyl (you could also use Black Vinyl)
- Shamrock Cutout (I found this one at Dollar Tree)
- Cut File
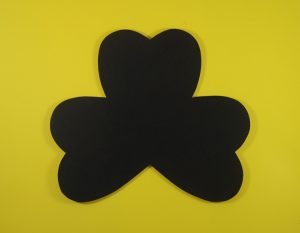
Start by taking out the center and then tracing the shape on the back of a piece of chalkboard vinyl.


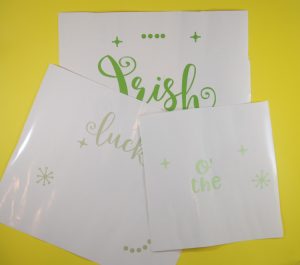
Normally, when I make a multi-colored sign, I follow this tutorial. But, since I wasn’t exactly sure how the vinyl would fit on the shamrock, I decided to layer the design before I put it on. I applied my clear transfer tape to the first layer, picked up the vinyl, and aligned with the second layer. Then, repeated with the third layer.


Want to make your own? You can purchase the cut file below.


Absolutely! Much better. Thank you.
Love this, thanks so much!