
HERE’S WHAT YOU NEED
-
- Frame (I found mine at Dollar Tree)
- Wood Slats (I used paint stir sticks)
- Vinyl (I used Oracal 631)
- Transfer Tape
- Paint & Brush (I used white)
- Weeding Tool/Craft Knife
- Scraper
- Tape & Glue
- Electronic cutter (cricut explore, silhouette or other cutter)
- Cut File – Family Wreath BA1477 (available for free in my resource library)
HERE’S WHAT YOU DO
STEP 1: DOWNLOAD THE FREE SVG FILE
The first thing you’ll need to do is get the free SVG file you’ll use for this project. I keep all the SVG files I use for the projects I make in my SVG Library. These SVG files work with Cricut and Silhouette machines, as well as many others. This library is open to everyone and is free! You can access the library here. Look for the file called Family Wreath BA1477. It will be listed under the Everyday category.
STEP 2: CUT AND TAPE VINYL DESIGN
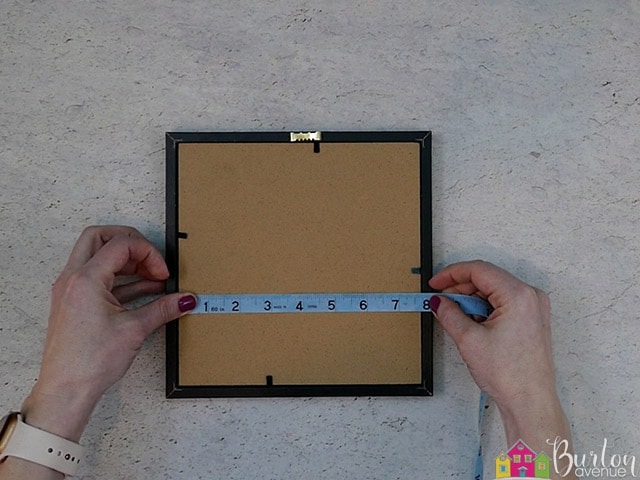
Open the design in your software program. Measure the space inside of your frame and make design a little bit smaller than that. The opening on my frame is about 7 5/8″, so I made my design to 7 1/4″.
Type out the family name and center it in the design.
Now that everything is sized correctly, you can cut the design with your Cricut or Silhouette.
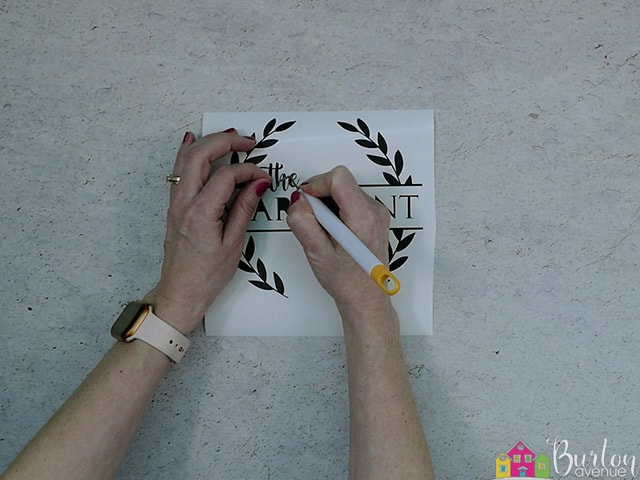
Once everything is cut, weed away the excess vinyl.

Use a weeding tool to pull out the tiny pieces inside of the letters..
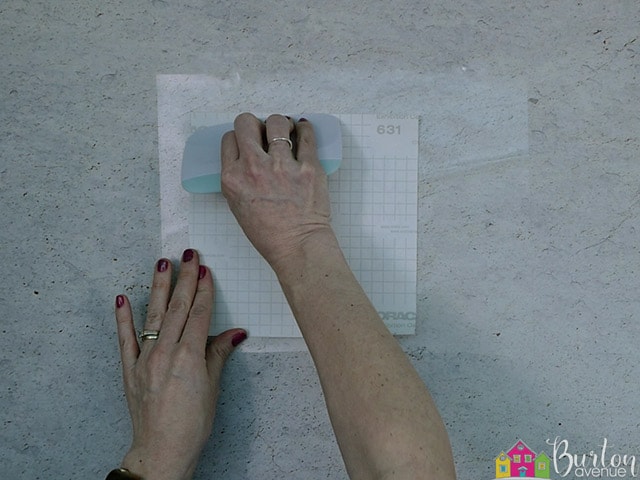
Cut a piece of transfer tape a little bigger than the design. Place the transfer tape sticky side up on your surface, then place the vinyl on top of the transfer tape and smooth it down.
![]()
Rub over the design firmly with your scraper tool.
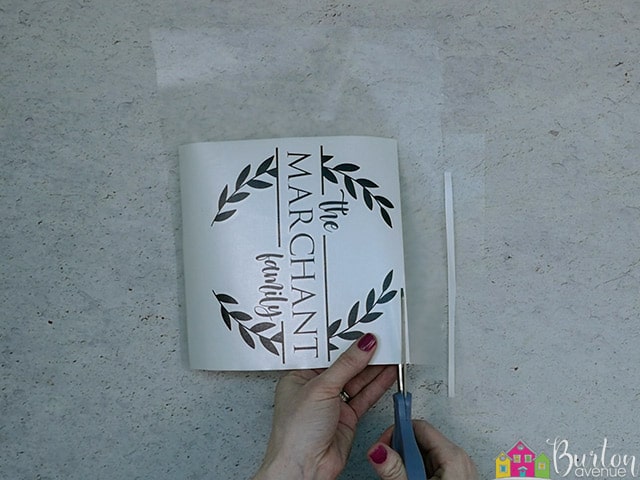
Then, trim off the excess transfer tape and vinyl backing.
STEP 3: PREPARE THE WOODEN SLATS
Grab your frame and flip it over to the back side.

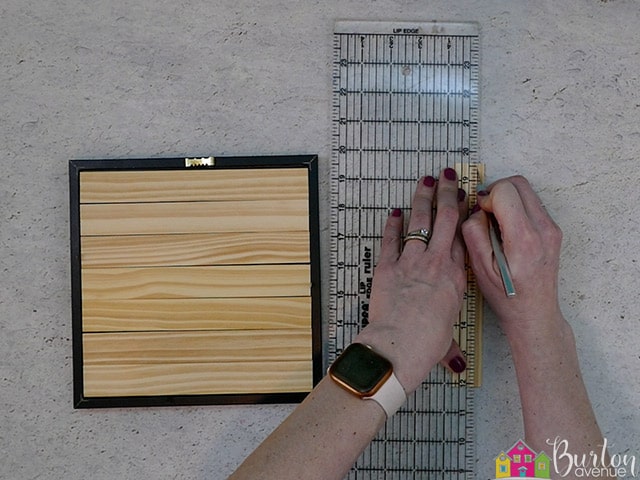
Measure the opening on the back of your frame. Cut several wood slats that will fit inside the frame.
Place the slats in the frame to see how they fit.
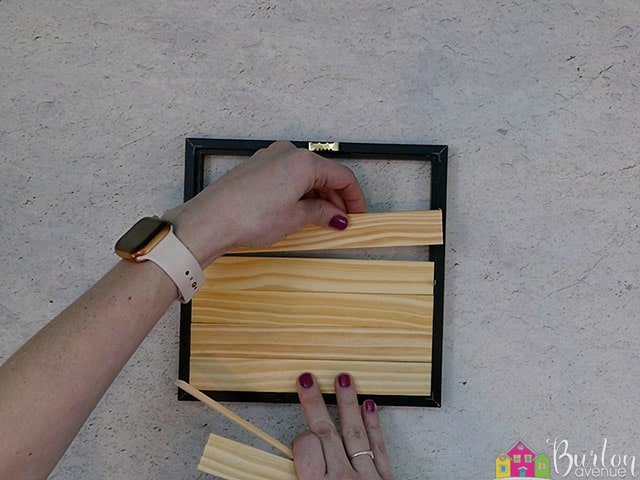
You can leave a small gap between the slats to help fill up the space. If you need to cut one of the slats lengthwise to help fill in your space and you don’t have a saw to do that, you can use a craft knife or utility knife to cut through the slats.
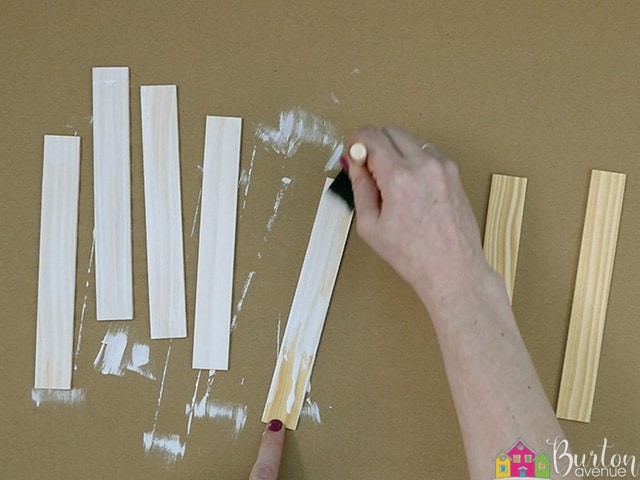
Paint the slats white. You’ll probably need to do a few coats to get a nice even coverage. I ended up doing 3 coats on the front and sides. I also did one coat on the back just to make everything look nice and clean.
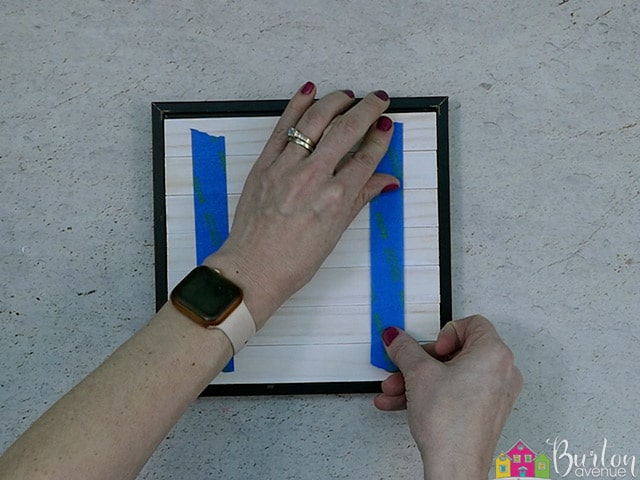
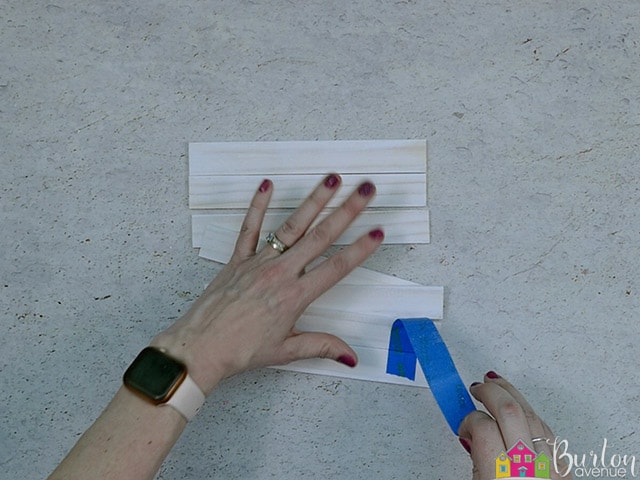
Once the slats have had plenty of time to dry, place them back inside of the frame. Make sure the back sides of the slats are facing up.
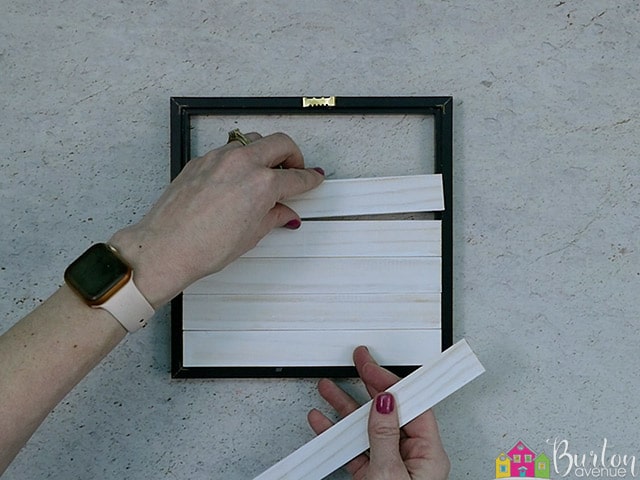 Then, use a couple of pieces of tape to hold the slats together.
Remove them from the frame and place them with their fronts facing up.
STEP 3: ADD VINYL DESIGN
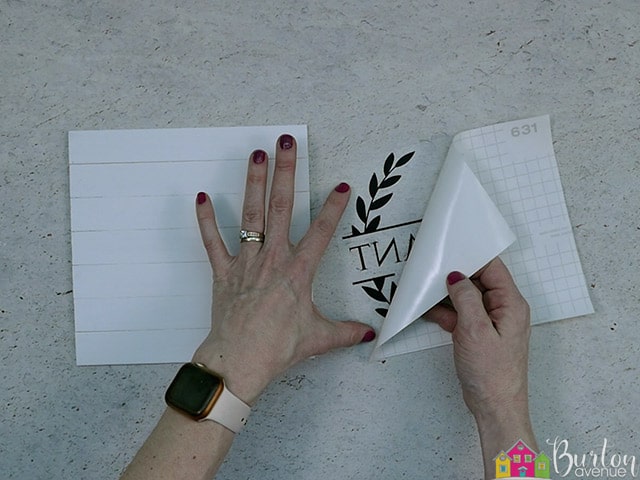
Grab your vinyl and remove the backing. I like to flip over the design and pull the backing away from the vinyl.
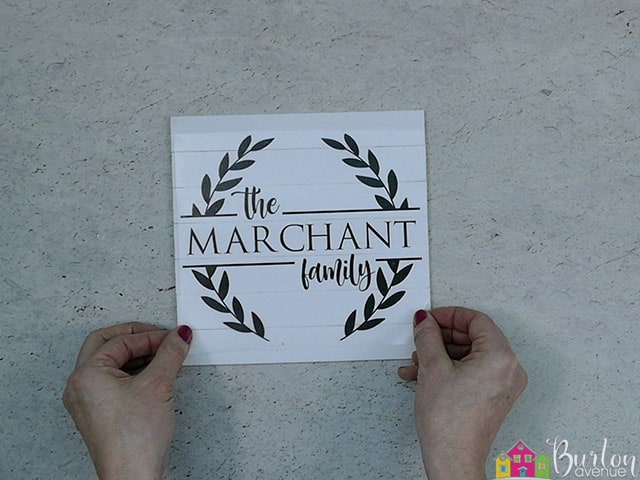
Place the vinyl over your slats of wood. Center the design and make sure it’s straight. You can use a ruler or you can just eye it.
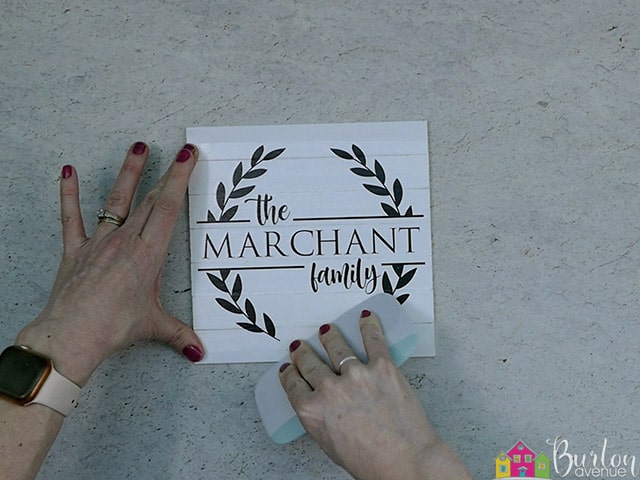
Rub over the vinyl to get it to stick to the wood pieces.
Carefully remove the transfer tape.
![]()
Use a craft knife to slice apart the vinyl that is over the gaps between the wooden slats.

Then, you can flip the slats over and pull off the tape.
STEP 3: ASSEMBLE THE FRAME
Add some glue onto the sides of the bottom slat.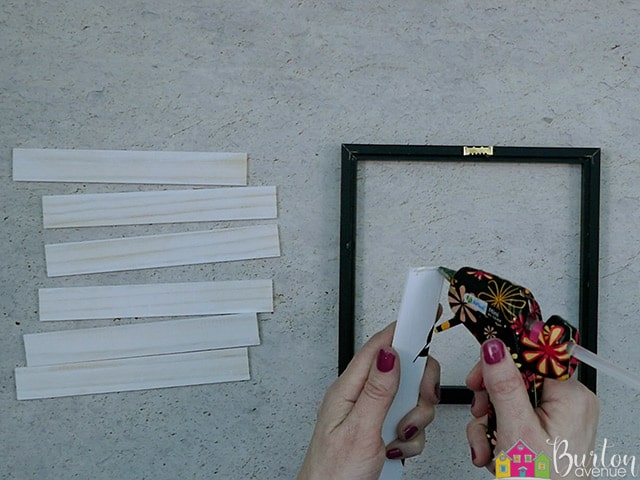
Place it inside of the frame and make sure it’s straight.
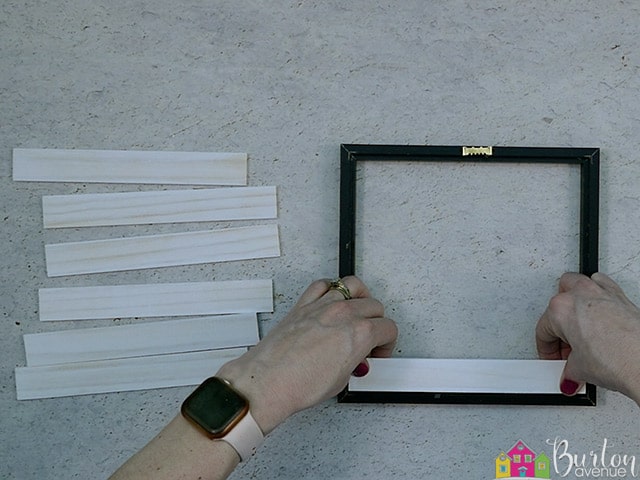
Repeat this step with all the slats until your frame is finished. If your frame has those metal tabs, you can press them down over the slats.

Flip the frame back over. If you see any glue, you can use your craft knife the slice it off and remove it.
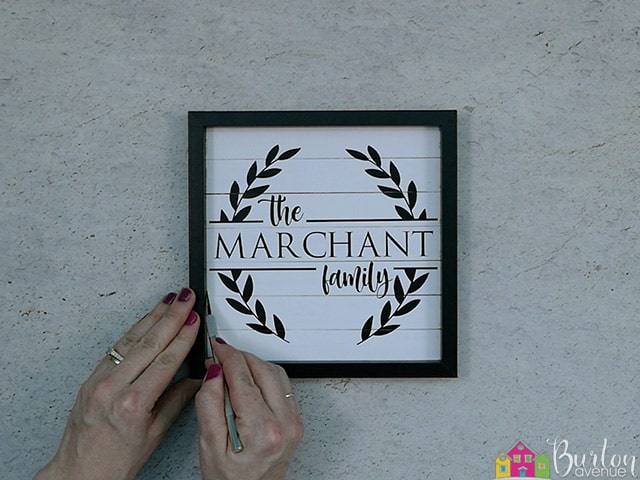
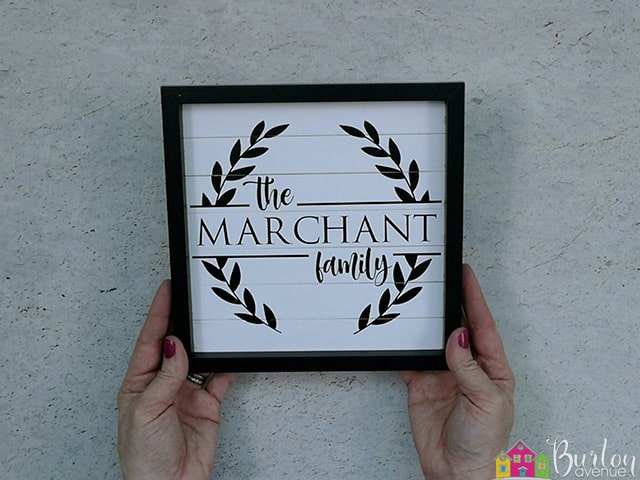
And, that’s all there is to it, this project is finished! This sign is great for you own home and it also makes a great gift for weddings or house warming parties!
Did you enjoy this post? Help spread the word! Share this post on your favorite Pinterest board. Thanks!