
HERE’S WHAT YOU NEED
- 4 – 21″ pieces of 4″ wood with 2 cut at 45-degree angles
- 1 -14″ piece of 4″ wood
- 2 – 30″ pieces of 2″ wood
- 2 – 11″ pieces of 2″ wood
- Adhesive Vinyl (color doesn’t matter)
- Transfer Tape
- Weeding Tool & Scraper
- Paint & Brushes
- Clear Protective Finish (Optional)
- Christmas Ribbon (I got it here)
- Pine Branches (I got them here)
- Berry Stems (I got them here)
- Rope (I got it here)
- Wood Glue
- Brad Nailer
- Electronic cutter (cricut explore or maker, silhouette or other cutter)
- Cut File – The North Pole Sled Co BA2125 (click here to get the SVG file for free from my free SVG Library)
HERE’S WHAT YOU DO
STEP 1: DOWNLOAD THE FREE SVG FILE
The first thing you’ll need to do is get the free SVG file you’ll use for this project. I keep all the SVG files I use for the projects I make in my SVG Library. These SVG files work with Cricut and Silhouette machines, as well as many others. This library is open to everyone and is free! You can access the library here. Look for the file called The North Pole Sled Co BA2125. It will be listed under the Craftmas 2022 Category-Day 25.
STEP 2: CUT THE VINYL DESIGN
Open the design in your cutting software. Size the design to fit on your wood. Mine design is about 11″ wide. Normally, I draw a box around the design to create a stencil, but there wasn’t enough room, so I had to skip that step. I cut the design on a 12″ x 12″ piece of vinyl and was able to make the stencil work using the edges of the vinyl.
Once everything is sized correctly, cut out the design with your Cricut or Silhouette.
Then, weed away the excess vinyl. Since this is a stencil, you’ll pull out the letters and design elements.


Cut a piece of transfer tape a little larger than your designs and place the vinyl on top of it.
![]()
Rub over the design with your scraper.
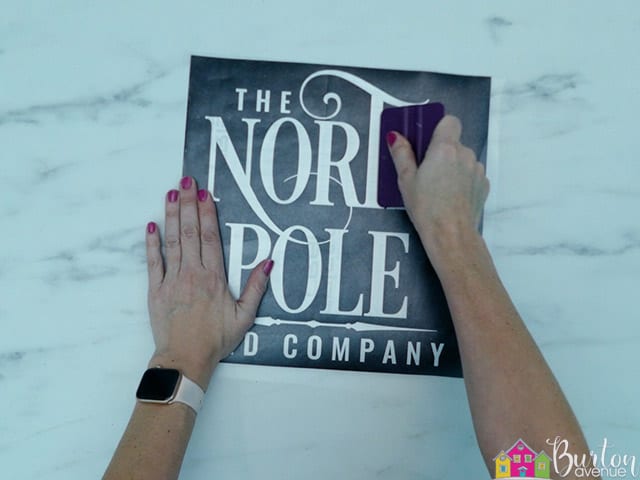
Trim off the excess transfer tape.
![]()
STEP 3: PREPARE THE WOOD PIECES
Next, let’s work on painting the wood pieces. You’ll need 4 – 21″ pieces of 4″ wood (which actually measures about 3.5″) with 2 cut at 45-degree angles for the sled base, 1 -14″ piece of 4″ wood for the brace at the top, 2 – 30″ pieces of 2″ wood (which measures closer to 1.5″) for the skis, and 2 – 11″ pieces of 2″ wood for the back supports.

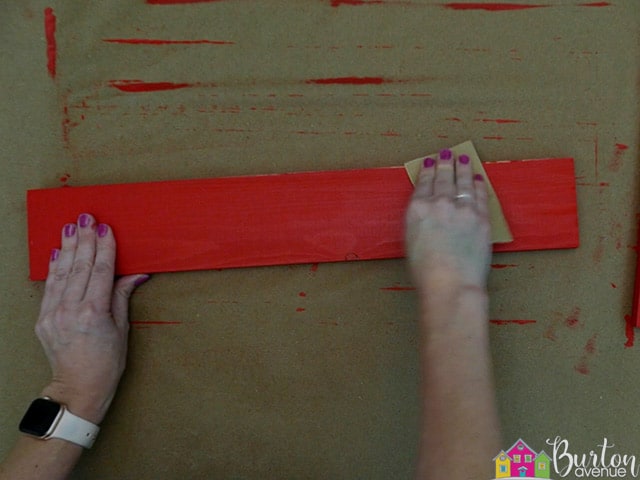
Start by painting the pieces for the sled base and top brace red. You’ll probably need to do 2-3 coats.

Once those are dry, you can lightly sand all the edges to expose some of the raw wood.
Then, paint all the other pieces black.

When the paint is dry, you can sand all the edges of those pieces, too.
Lay out the pieces of the sled base with the two angled pieces on the outside edges. The two pieces with straight cuts should be in the middle.

Add some glue onto the back supports and place them over all 4 pieces of the sled base.

Use a brad nailer to nail them in place.

STEP 4: STENCIL THE SLED
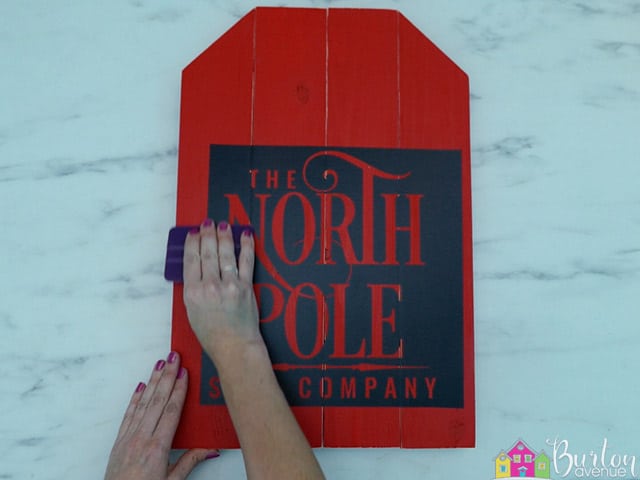
Flip the sled base over. Grab the vinyl stencil and pull off the vinyl backing.

Position the design on the wood. I centered it from left to right and put it about 3″ up from the bottom of the sled.

Rub over the design with your scraper.

Then, carefully pull off the transfer tape.
![]()
Rub over the design a few more times.
Next, you’ll want to paint over the stencil with a light coat of red paint This will help prevent bleeding.
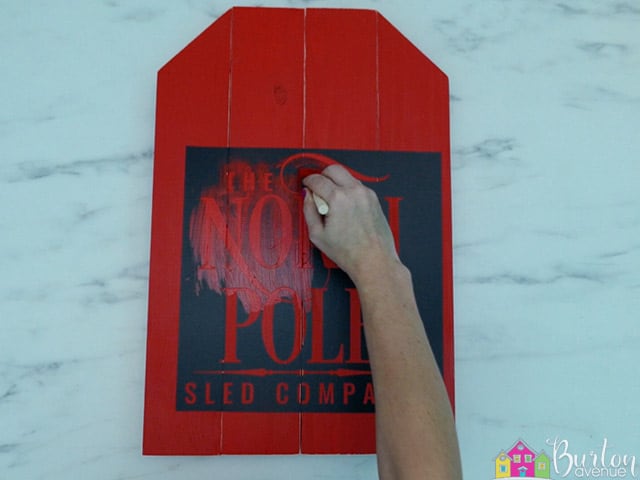
Once the red paint is dry, you can fill in the stencil with white and black paint. You’ll want to do a couple of light coats rather than one thick heavy coat.

When the paint is dry to the touch, you can carefully pull off the vinyl stencil.

Use a weeding tool or craft knife to remove any vinyl pieces left behind.
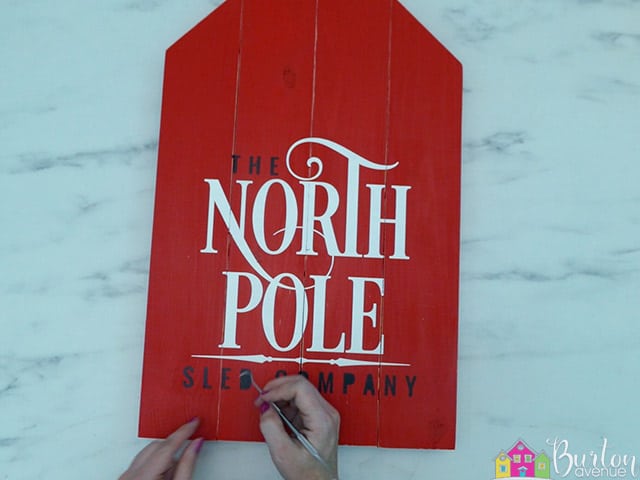
Lightly sand the entire design.

STEP 5: ASSEMBLE THE SLED
Flip the sled over and add some glue to the wood for the skis
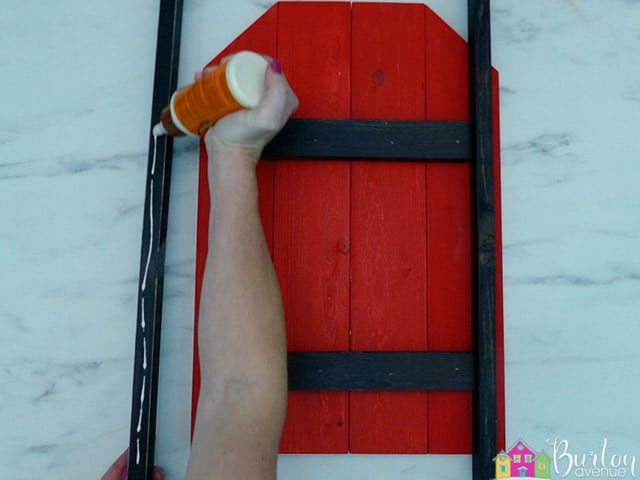
Put them right up against the back supports. The skis should extend past the bottom of the sled base by about 1.5″.
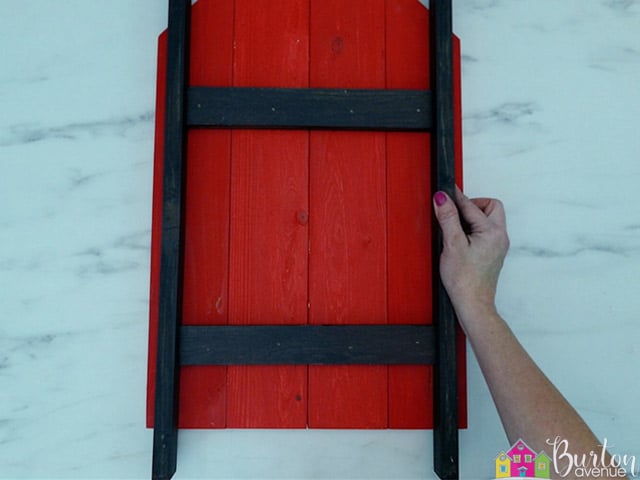
Use a brad nailer to attach the skis to the back supports.

Flip the sled back to the front. Add some glue to the top support and attach it to the top brace.

The brace should be about 1.5″ down from the top of the skis. If desired, you can spray on a protective finish at this point.
 Next, glue some Christmas embellishments to the top of the sled. I made a large bow out of black and white checked fabric. Then, I glued on some pine.

I also glued on a couple of stems of berries.

After the glue on the brace has dried, you can tie some rope around both sides of the brace.

Nail the brace onto the skis.

Then, glue the rope over the nail holes.

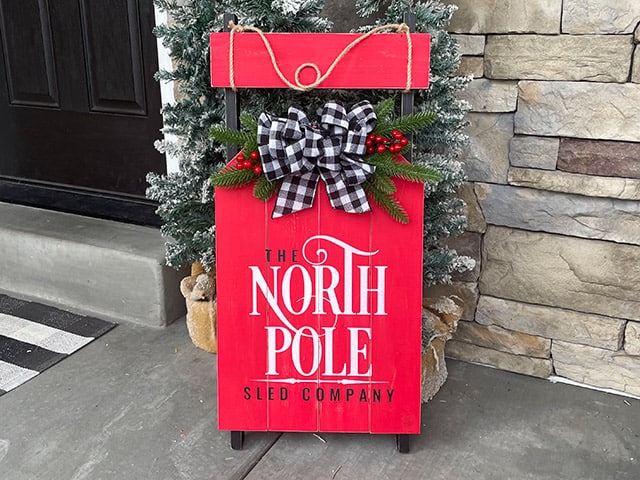
And that’s the last step, this project is finished! Don’t you just love how it turned out?

Did you enjoy this post? Help spread the word! Share this post on your favorite Pinterest board. Thanks!

Want to make your own? Get the free cut file for this project in the resource library