This week, I’m joining a group of bloggers in Craft Lightning, where we each share a patriotic project that can be completed in 15 minutes or less. What a great reason to get a jump start on some patriotic crafting!
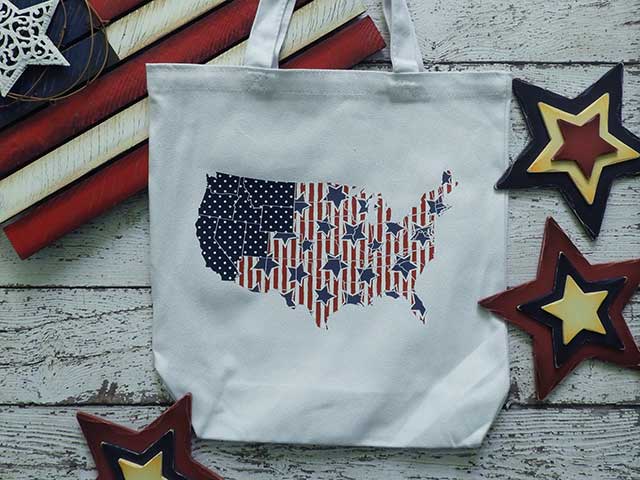
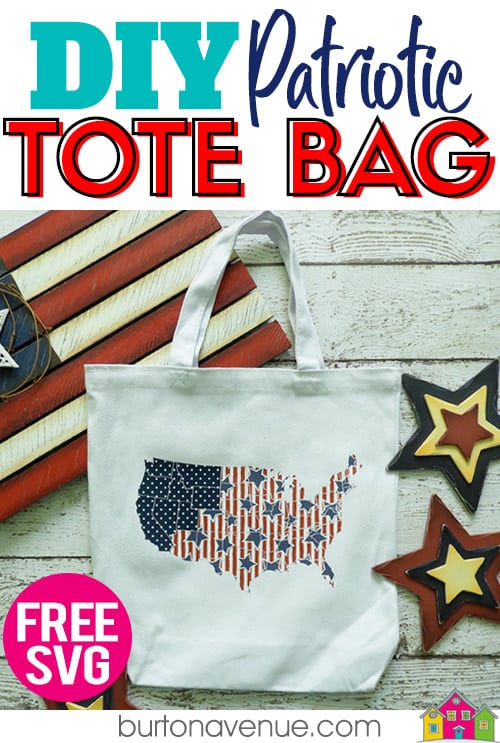
Today I’m showing how to make this patriotic tote bag with your Silhouette or Cricut. I used printed HTV and I love how it turned out. I’m also sharing the SVG file I used for FREE so you can make your own. You can grab it from the Free SVG Library
HERE’S WHAT YOU NEED
- White Canvas Tote Bag (I found mine at Michaels)
- Printed HTV Vinyl (I used Dark Blue Dots and Stars & Stripes)
- Ruler
- Teflon Sheet
- Weeding Tool
- Cutting Mat
- Electronic cutter (cricut explore, silhouette or other cutter)
- Cut File (available for free in my resource library)
HERE’S WHAT YOU DO
Start by measuring the dimensions of your bag to determine how big to make your design. The bag I used is about 13″ wide and I made my design about 10″ x 6″. After you have sized your design in your software program, you’ll need to reverse or mirror it before you send it to cut. Don’t forget this step or your design will end up looking backward. Once the design is sized and ready to go, put your HTV on your cutting mat, with the shiny side down, load the mat into the machine, and start the cutting process.
Do you need help cutting a multi-colored design? Be sure to check out these tutorials.
How to cut a multi-colored design in Cricut Design Space
How to cut a multi-colored design in Silhouette Studio
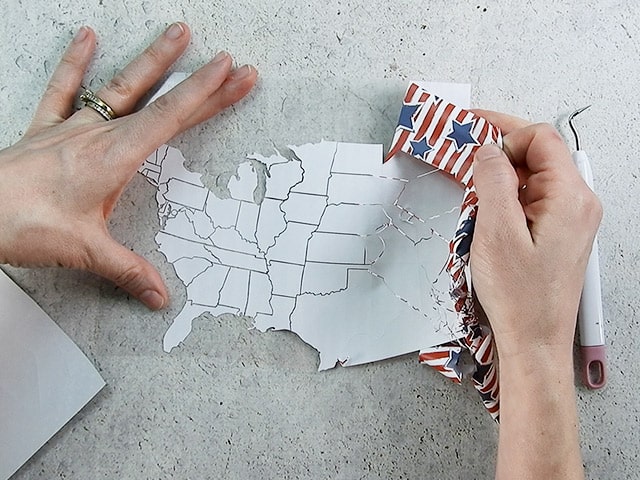
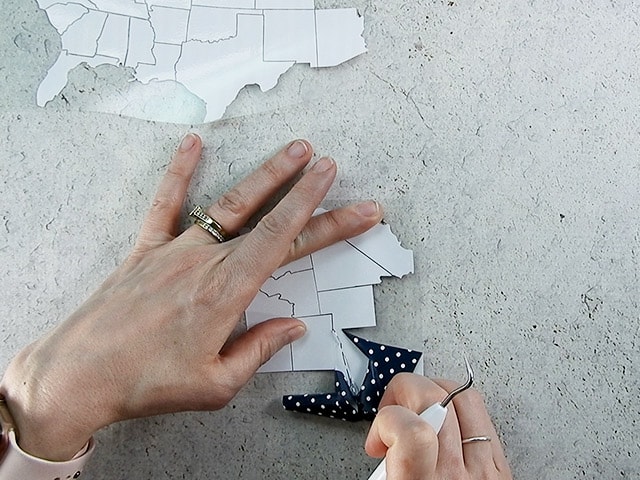
Cut out the different colors with your cutting machine and weed away the excess vinyl. I loved weeding this design. It was so cool to watch all the states appear as the border was pulled up.
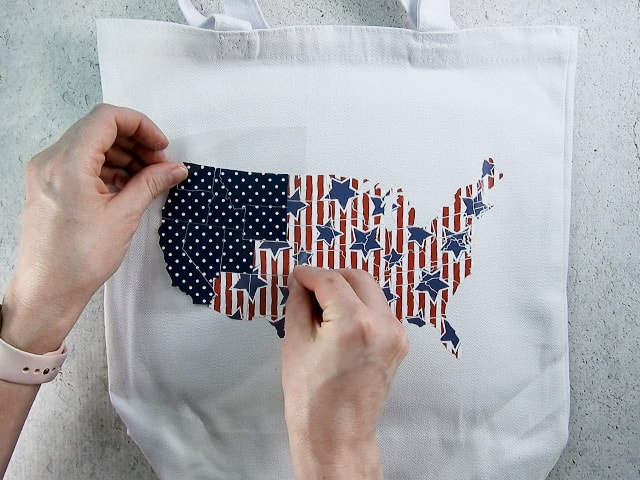
Now, take the blue layer and position it over the stars and stripes layer. It doesn’t have to be lined up perfect, just as close as you can get it. Doing this makes it easier to position the design on the bag.
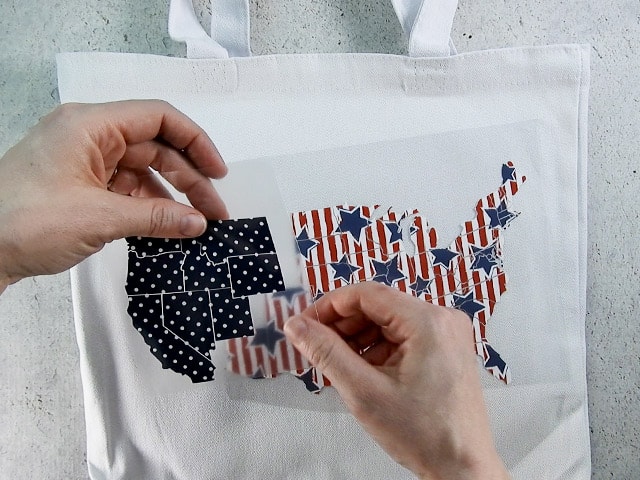
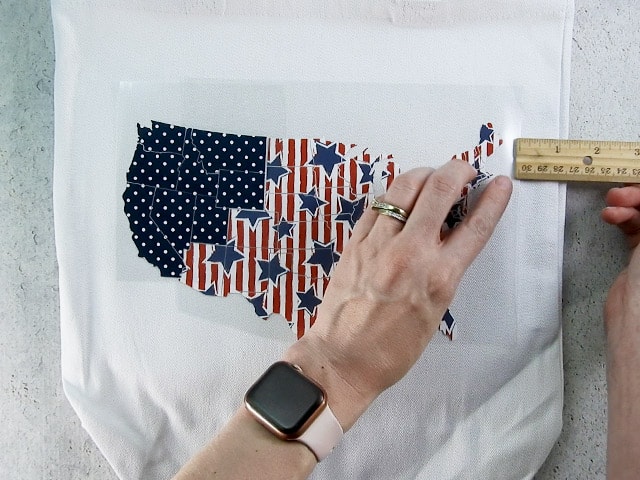
Place the design on the bag and use a ruler and make sure the design is centered.
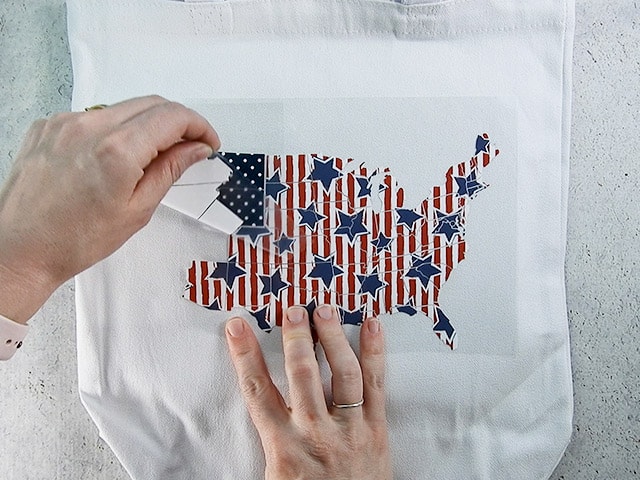
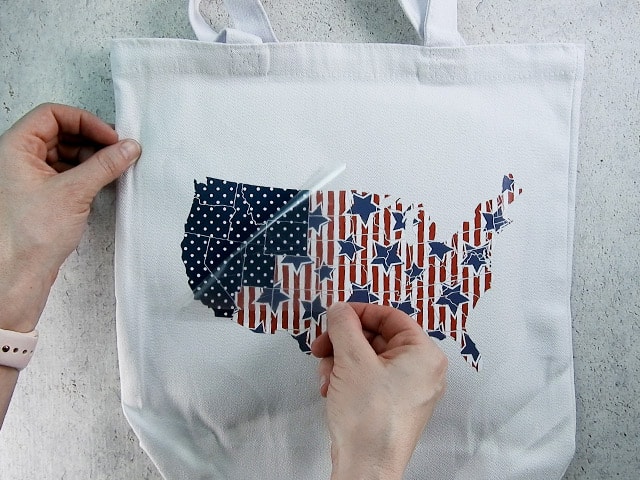
Once the design is centered, carefully lift off the blue layer. You want to make sure the stars and stripes layer doesn’t move.
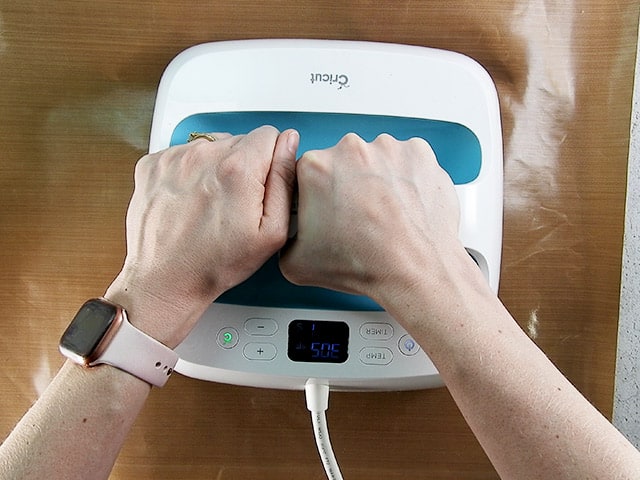
Cover the design with a piece of Teflon (or even copy paper) and iron according to the manufacturer’s directions.
Once you’ve pressed for the correct amount of time, remove the clear carrier sheet.
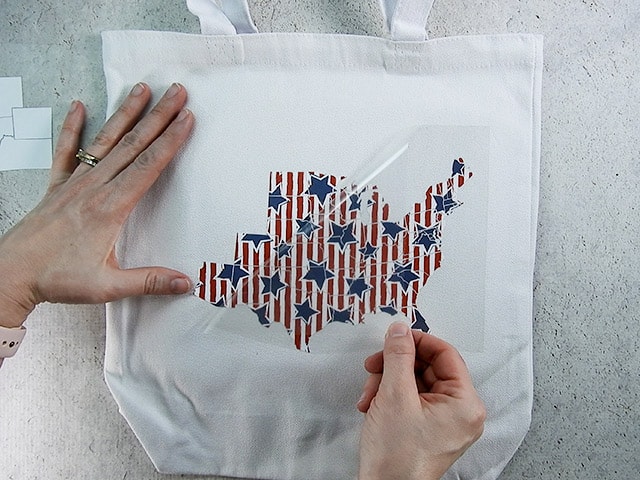
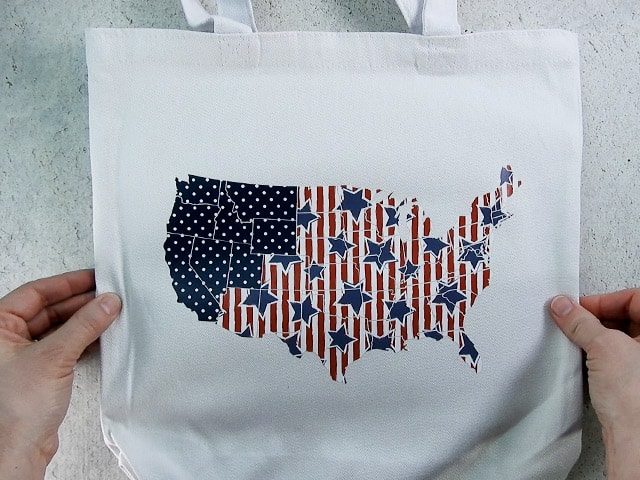
Now, position the blue layer where it needs to go. Once it’s in place, cover with your Teflon sheet and iron again.
Then, remove the clear carrier sheet from the blue layer.
Now, you’ve got a super cute patriotic bag that you made in less than 15 minutes!

Did you enjoy this post? Help spread the word! Share this post on your favorite Pinterest board. Thanks!
Want to make your own? Get the free cut file for this project in the resource library
That is super cute!! I love how it turned out.
That vinyl is amazing! Thanks for joining in!
Super cute! Thanks!
How cool is this!!!! loving the pattern htv!