HERE’S WHAT YOU NEED
- Wooden Box (Mine measured about 11″ x 3.5″ x 5″)
- Wood Glue
- Nail Gun or Hammer & Nails
- Vinyl for Stencil and Words on Tags (I used white)
- Acrylic Paint & Brushes (I used White and Red)
- Sandpaper
- Black Card Stock
- Mason Jars
- Hot Cocoa Supplies (Hot Cocoa, Marshmallows, Candy Canes)
- Bakers Twine
- Application Tool
- Transfer Tape
- Electronic cutter (cricut explore, silhouette or other cutter)
- Cut File (available for free in my resource library)
HERE’S WHAT YOU DO
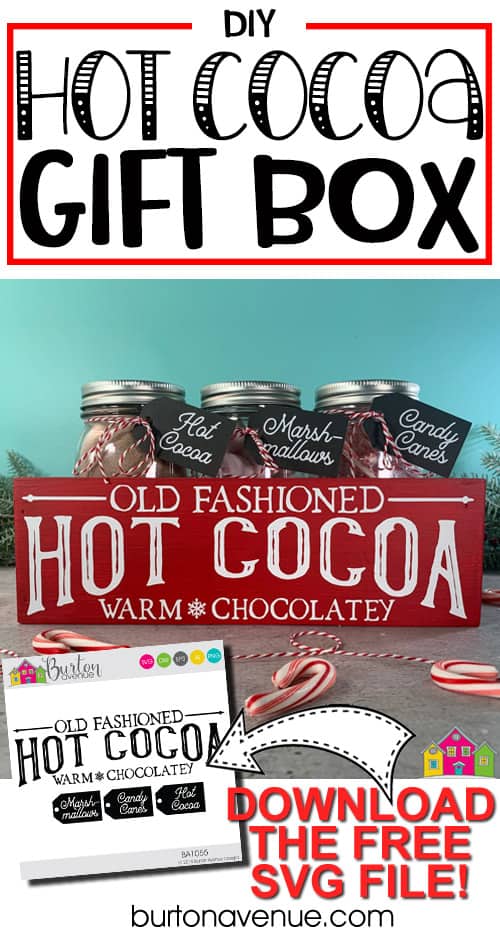
STEP 1: DOWNLOAD THE FREE SVG FILE
The first thing you’ll need to do is get the free SVG file you’ll use for this project. I keep all the SVG files I use for the projects I make in my SVG Library. These SVG files work with Cricut and Silhouette machines, as well as many others. This library is open to everyone and is free! You can access the library here. Look for the file called Hot Cocoa Kit. It will either be listed under the most recent projects/cut files or under the Christmas category.
STEP 2: BUILD THE WOOD BOX
This wood box is really easy to make because it’s all straight cuts. If you don’t want to make your own, you could probably find something similar at the craft store.
Cut your wood pieces down to size. You’ll need the following
2-11″ x 3.5″ for the front and back
1- 9.5″ x 3.5″ for the bottom
2 3.5″ x 3.5″ for the sides
Add some wood glue along the bottom of the side piece.

Use a nailer (or hammer and nails) to secure the side piece to the bottom of the box. Repeat with the other side.

Add wood glue to the bottom and sides of the front piece and nail into place. Repeat with the back piece.

Once your box is all put together, it’s time to sand. Use some sandpaper and lightly sand over all the areas of the box. Make sure the front (where your stencil will be) is nice and smooth.

Paint just the front of the box white. You’ll probably need to do a couple of coats to cover the wood.

STEP 3: CUT AND TAPE VINYL STENCIL
While the white paint is drying, open the design in your software program and size it to fit in your box (I sized my design to about 10.5″ wide).
When everything is sized correctly, cut the design with your Cricut or Silhouette. You’ll want to cut the design out of white vinyl and the little tags out of black cardstock. Once everything is cut, weed away the excess vinyl.

Cut a piece of transfer tape a little bigger than the design. Place the transfer tape on vinyl and smooth it down. Rub over the entire design with a scraper. Then, trim off the excess transfer tape and cut apart the design from the words for the tags.
![]()
STEP 4: APPLY VINYL TO BOX
Be sure to let your box dry completely before applying the vinyl. It will stick much better if everything is totally dry. Place the vinyl so it’s facing down, and then pull off the vinyl backing. I like to do it this way so the vinyl doesn’t curl.

Center the vinyl design on the front of the box. Your stencil will be white, but since white is hard to see on white paint, I cut mine out of black so you can see it better on the box.
Use a scraper and firmly rub over the vinyl again.

Carefully, pull off the transfer tape and rub over the design one last time.
![]()
STEP 5: PAINT THE BOX
Next, we’re going to paint over the design with white paint. This is to help prevent bleeding. Sometimes there are little gaps between the vinyl and the wood. We want the white paint to fill in these gaps instead of the red paint we’ll be doing next.

When that white paint is dry, you can paint the entire box red. It’s best to do a couple of lights coats of red rather than one heavy coat.


Once the red paint is dry to the touch, it’s time to pull off the vinyl. This is my favorite part. You can use a weeding tool or needle to help you pull off the vinyl. Look at those nice clean lines!

STEP 6: ASSEMBLE THE HOT COCOA SUPPLIES
Now that the box is done, it’s time to put together the hot cocoa supplies. Fill up your jars with hot cocoa, candy canes, and marshmallows.

Next, we’re going to make the labels for the jars. Pull off the vinyl backing and apply the words to the little black tags.


Rub over the words with a scraper and then pull off the vinyl backing.
![]()
Attach the tags to the jars with some bakers twine.

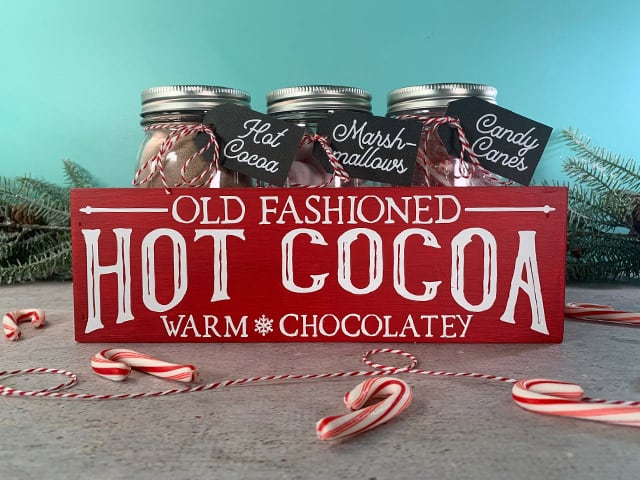
Place the jars inside the box and your gift is done.

Did you enjoy this post? Help spread the word! Share this post on your favorite Pinterest board. Thanks!