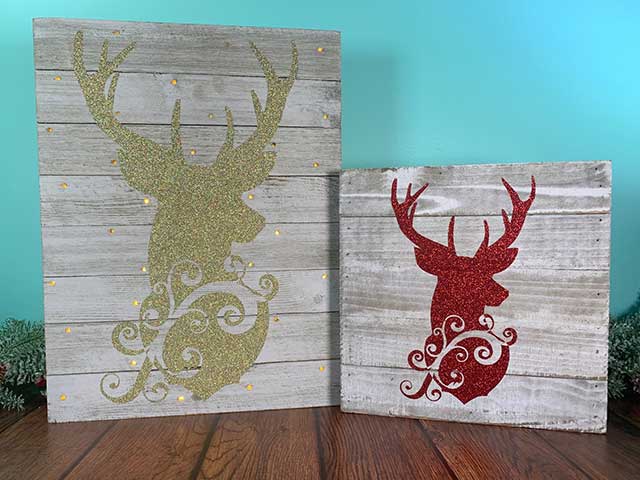
 This post contains affiliate links for your convenience (which means if you make a purchase after clicking a link I will earn a small commission but it won’t cost you a penny more)! Read my full disclosure policy.
HERE’S WHAT YOU NEED
- Pallet Sign – Mine is approx. 12″ x 16″(I found it here)
- Glitter HTV (I used gold)
- Iron or Easy Press
- Weeding Tool
- Battery Operated Light Set (I found mine here)
- Hot Glue & Glue Gun
- 3/8″ Drill Bit & Drill
- Weeding Tool
- Electronic cutter (cricut explore, silhouette or other cutter)
- Cut File (available for free in my resource library)
HERE’S WHAT YOU DO
STEP 1: DOWNLOAD THE FREE SVG FILE
The first thing you’ll need to do is get the free SVG file you’ll use for this project. I keep all the SVG files I use for the projects I make in my SVG Library. These SVG files work with Cricut and Silhouette machines, as well as many others. This library is open to everyone and is free! You can access the library here. Look for the file Reindeer Silhouette with Flourish. It will either be under the most recent projects/cut files or under the Christmas category-25 Days of Craftmas 2019 – Day 22.
STEP 2: PREPARE THE VINYL DESIGN
Open the design in your software program and size it to fit on your pallet sign. The sign I used is 12″ x 16″, so I sized the design to be about 15″ tall. Before you send the designs to your machine to cut, be sure to mirror everything.
When everything is sized correctly, you can cut the stencil with your Cricut or Silhouette. Once it has finished cutting, weed away the excess vinyl.
Use a weeding tool to pull out the little shapes inside the reindeer.
STEP 3: PRESS THE HTV ONTO THE SIGN
Position the design onto the pallet sign so it looks straight and centered.
Use an iron or easy press and apply firm pressure to the glitter htv. The hardest part of putting htv is on pallet wood is making sure the entire design gets enough pressure. Since some of the slats are a little higher than the others, try to apply pressure to each slat individually. I pressed each section for about 15 seconds at 320 degrees.

Once all of the sections have been pressed, pull off the clear carrier sheet.
STEP 4: DRILL HOLES ADN ATTACH LIGHTS
Use a drill and drill 20 (or the number of lights on your set) small holes in random places all over the sign.
Before you start gluing the lights in place, map out the path the light strand will follow. It might be tight from one hole to another, so you want to make sure everything will fit before you start gluing
Once you figured out the path for the lights, use hot-glue to attach the lights. I kind of folded the wire over the light and then pushed it inside the hole. Then, I put some hot glue over the hole to keep the light in place.
Once all the lights are in place, glue the battery pack to the back of the sign.


