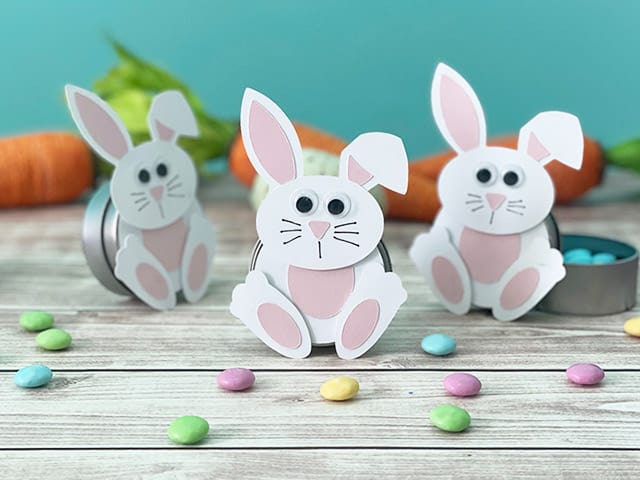
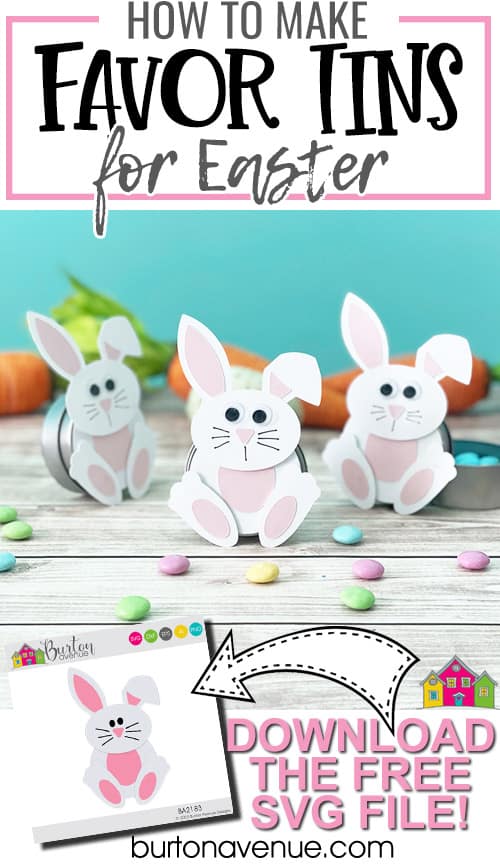
Today, I’m showing you how to make these cute bunny favor tins for Easter with your Cricut or Silhouette. I’ve made favor tins for a couple of other holidays and they were so cute! I knew I needed to make a bunny one for Easter and I love how they turned out! I’m excited to show you how to make your own. Read on for the full tutorial!
HERE’S WHAT YOU NEED
- Cardstock (white and pink)
- Googly Eyes
- Fine Point Marker or Pen
- Foam Sticky Tabs
- Favor Tins (I found mine at Dollar Tree)
- Glue
- Easter Candy or Toys
- Electronic cutter (cricut explore or maker, silhouette or other cutter)
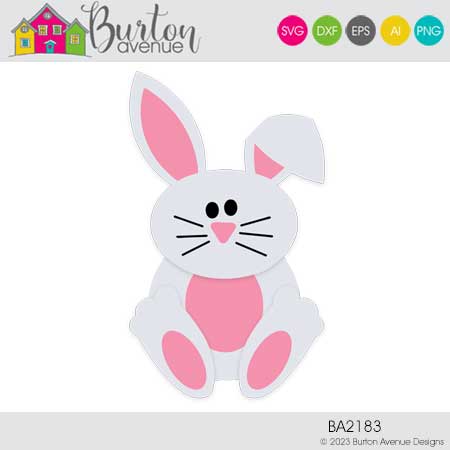
- Cut File – Bunny Favor Tin BA2183 (click here to get the SVG file for free from my free SVG Library)
HERE’S WHAT YOU DO
STEP 1: DOWNLOAD THE FREE SVG FILE
The first thing you’ll need to do is get the free SVG file you’ll use for this project. I keep all the SVG files I use for the projects I make in my SVG Library. These SVG files work with Cricut and Silhouette machines, as well as many others. This library is open to everyone and is free! You can access the library here. Look for the file called Bunny Favor Tin BA2183. It will be listed under the Easter Category.
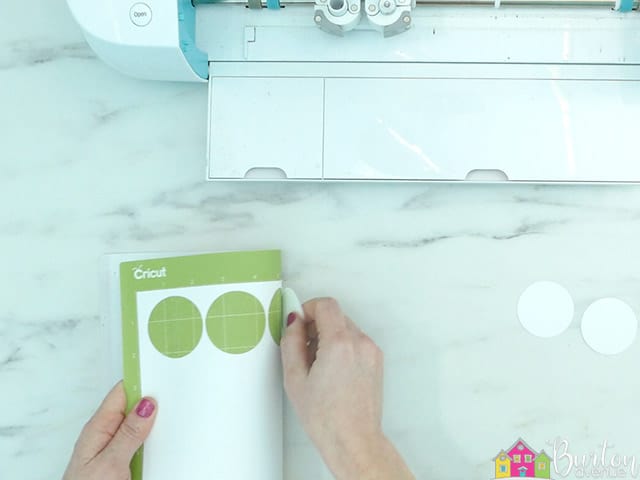
STEP 2: CUT THE CARDSTOCK PIECES
Open the designs in your software program. Keep everything grouped together and resize the design to 1.95″ high (or .05″ smaller than the diameter of your tin). You can delete the black portion of the design if you’re using googly eyes and drawing the whiskers with a pen. If not, you’ll want to cut the black part of the design out of vinyl and the pink and white parts out of cardstock.
Once the cardstock is finished cutting, remove it from the cutting mat. You’ll want to slightly bend the cutting mat and carefully pull off the cardstock.
STEP 3: ASSEMBLE THE BUNNY PIECES
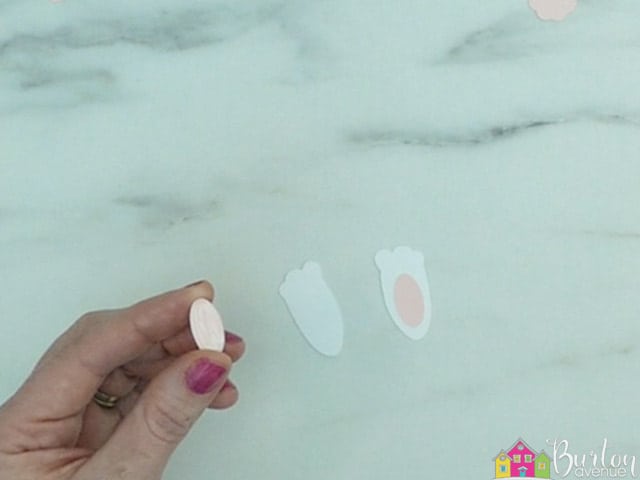
For each bunny, you’ll need the following pieces: 4 pieces for the ears, 4 pieces for the feet, 2 pieces for the body, 2 pieces for the back, the head, nose, and eyes.
I used a combination of dimensional foam tabs and glue to assemble the bunnies. You can use just glue, but I liked the added dimension the foam tabs give the bunnies.
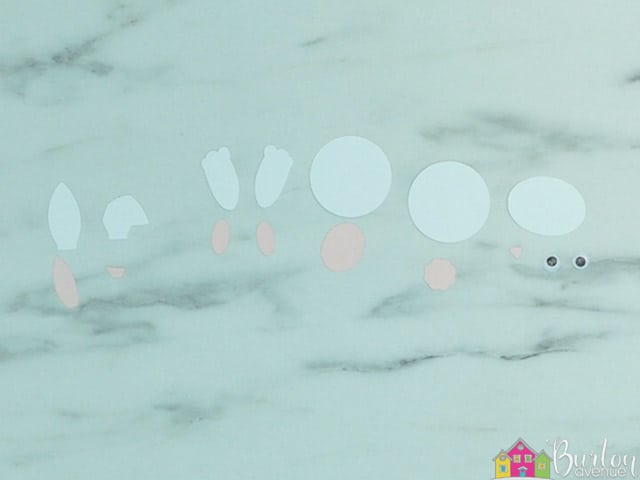
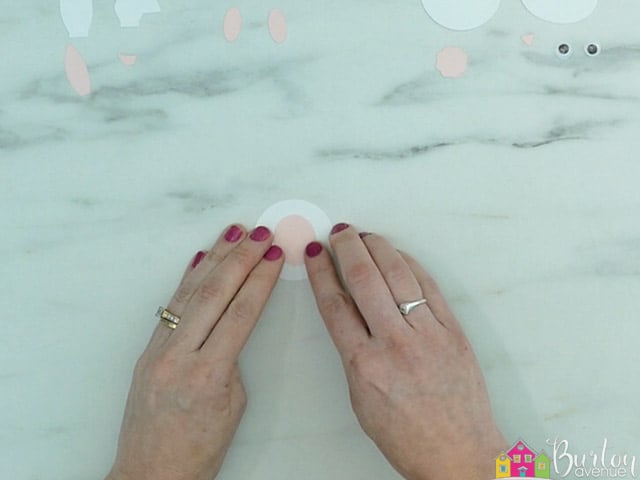
Start by gluing the larger pink oval onto the large white circle to create the body.
Then, glue the smaller pink ovals onto the feet.
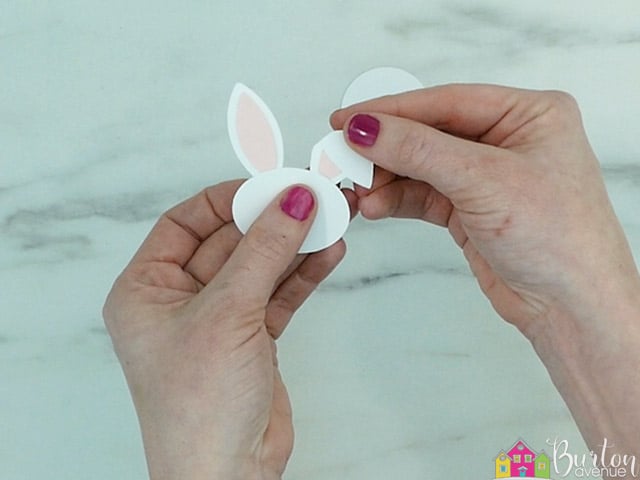
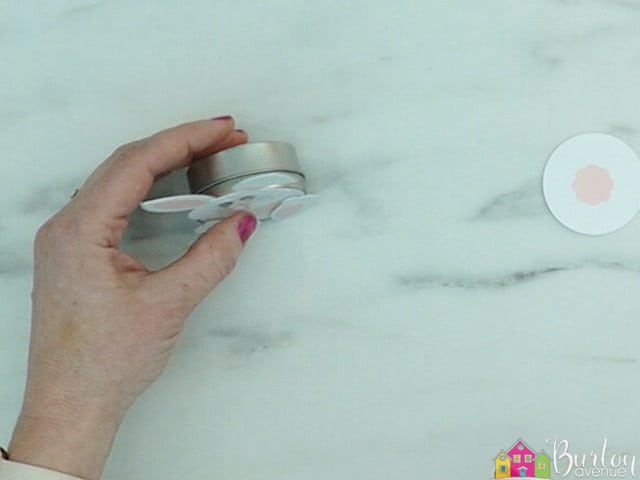
Glue the white part of the ears to the back of the white oval to create the head. You can tell there is a small straight section at the bottom of each ear, that is where you want to put the glue and attach to the back of the head.

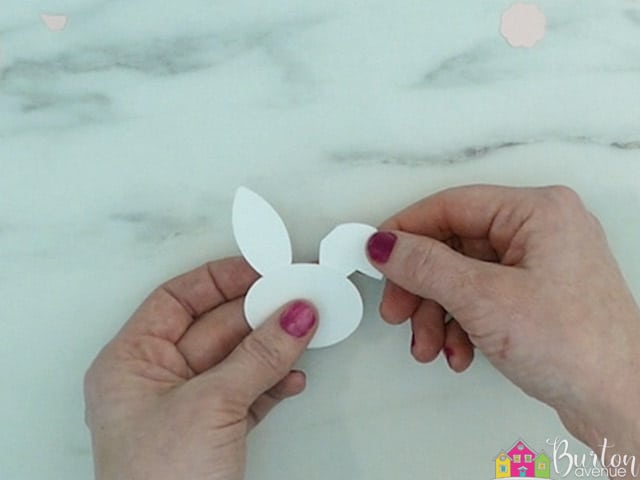
Now glue on the pink sections of the ears. The bottom of each piece should match up with the top of the white oval.
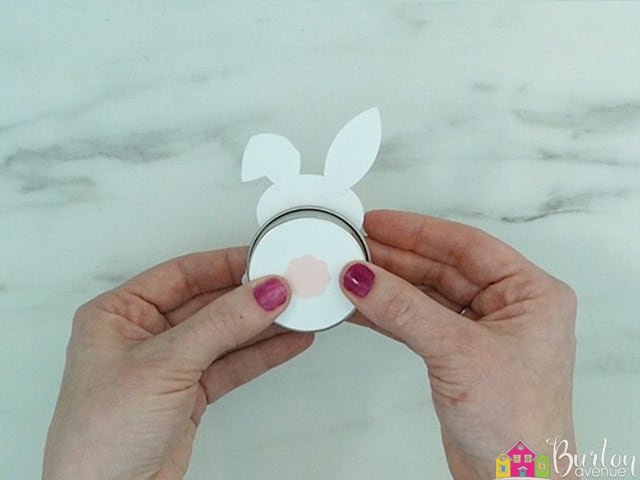
Position the googly eyes and nose onto the head piece.
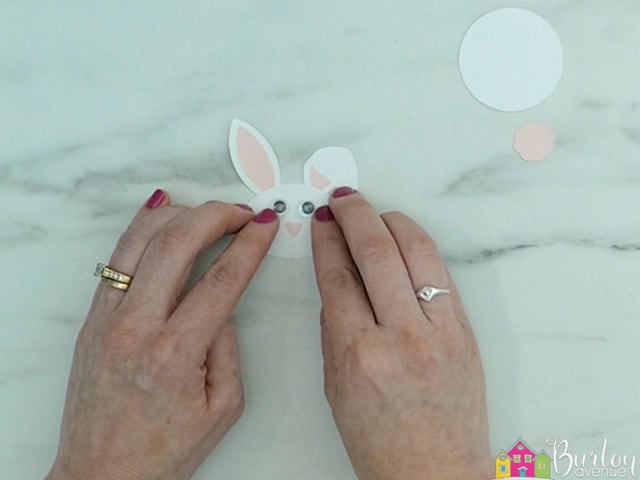
When you’re happy with the position, glue the eyes and nose into place.
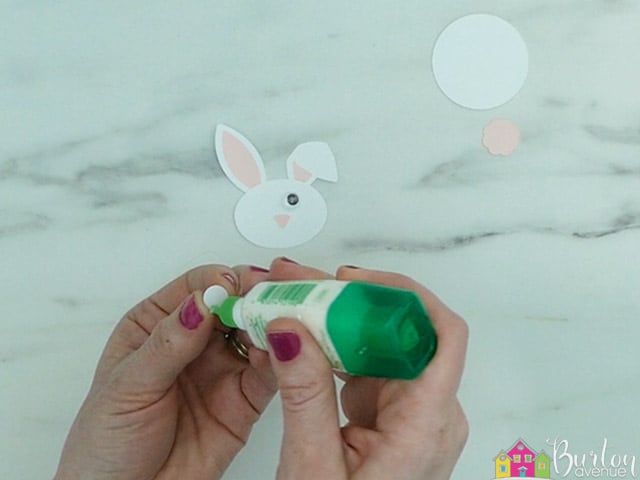
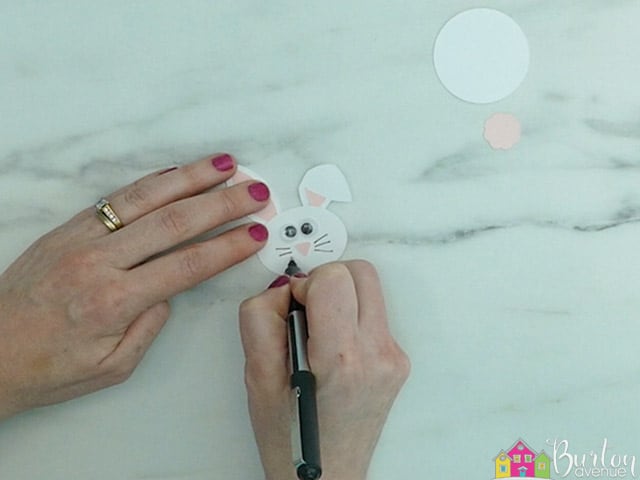
For the whiskers and mouth, I just drew some lines with a black pen. If you don’t want to use googly eyes or draw your own whiskers and mouth, you can cut the pieces out of adhesive vinyl, instead.
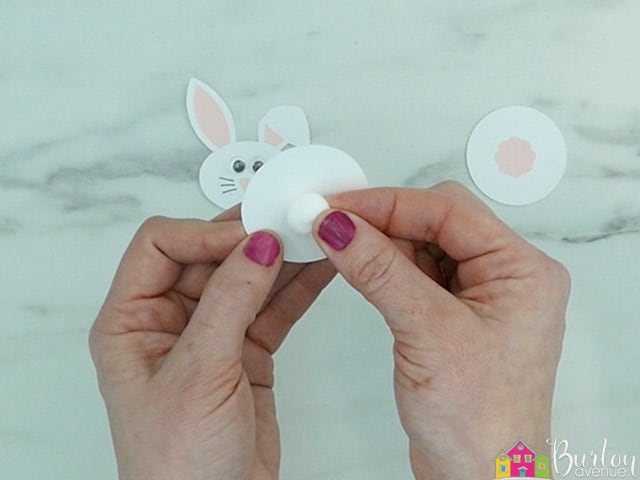
For the last circle (which is the back of the bunny), you can either glue on the cardstock tail piece,
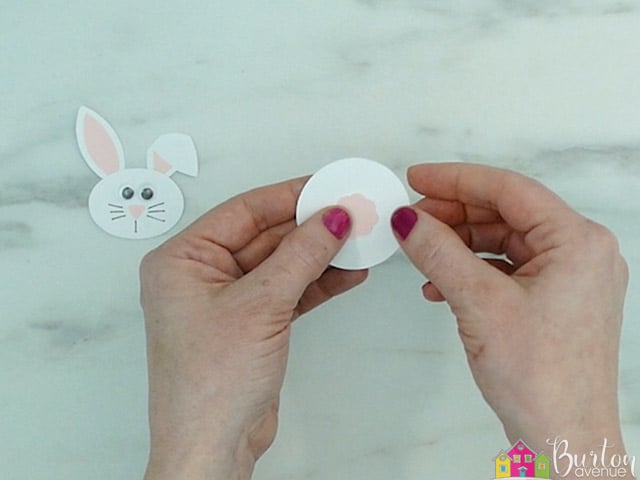
or glue on a small pom pom ball.
STEP 4: ASSEMBLE THE FAVOR TINS
Now that all the pieces are assembled, let’s make the favor tin!
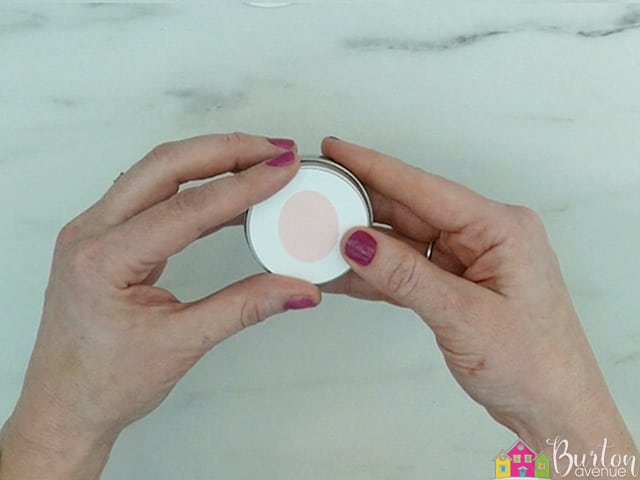
Glue the white circle, the one without the tail, to the lid of the favor tin.
Use a foam tab to attach the head to the body.

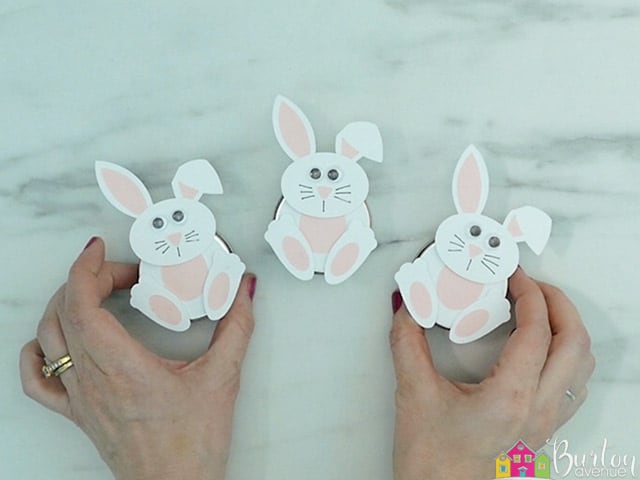
Next, add some foam tabs to the back of the feet.
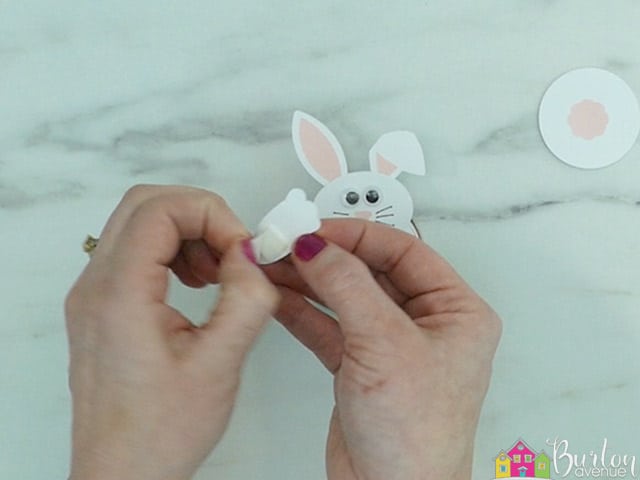
Attach those to the bottom of the circle. The feet need to extend past the tin a little bit.
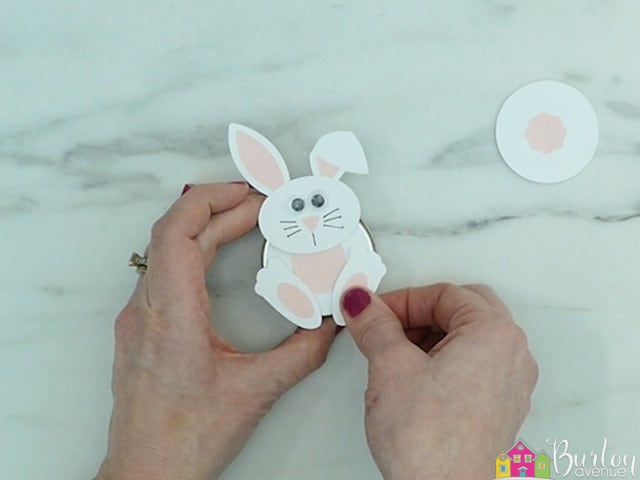
Doing this should stop the tin from rolling when it’s standing up.
Glue the circle with the tail to the back of the tin.
Fill the tin with some Easter candy.

Put the lid back on and these cute bunny favors are ready to go!
Did you enjoy this post? Help spread the word! Share this post on your favorite Pinterest board. Thanks!
Want to make your own? Get the free cut file for this project in the resource library