This week, I’m joining a group of bloggers in Craft Lightning, where we each share a painted rock project that can be completed in 15 minutes or less (excluding drying time). What a great reason to try something new!
When I first saw the theme of the Craft Lightning, I wondered what I could do to incorporate rock painting and a cutting machine. I remembered seeing some etched rocks my husband ordered with some fun little sayings on them. I don’t have a way to etch rocks, but I do have vinyl and paint. So, it gave me the idea of using vinyl to put words on the rocks.
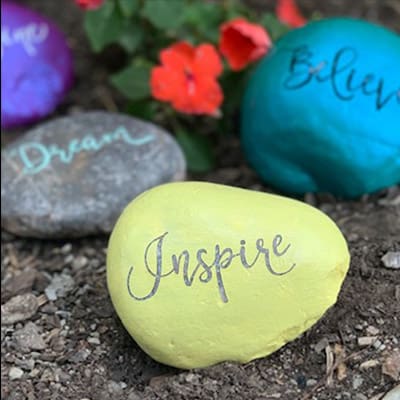
So, today I’m showing how to make these cute motivational rocks. I used a few different techniques and I think they all turned out great. I’m also sharing the SVG file I used for FREE so you can make your own. You can grab it from the Free SVG Library

HERE’S WHAT YOU NEED
- Large smooth rocks
- Paint and brushes (I used Folk Art color shift and Folk Art Chalk Paint)
- Vinyl for Stencil (Color Doesn’t Matter)
- Application Tool
- Transfer Tape
- Mod Podge
- Mod Podge Ultra Gloss Spray
- Electronic cutter (cricut explore, silhouette or other cutter)
- Cut File (available for free in my resource library)
HERE’S WHAT YOU DO
STEP 1: DOWNLOAD THE FREE SVG FILE
The first thing you’ll need to do is get the free SVG file you’ll use for this project. I keep all the SVG files I use for the projects I make in my SVG Library. These SVG files work with Cricut and Silhouette machines, as well as many others. This library is open to everyone and is free! You can access the library here.
STEP 2: WASH AND DRY ROCKS
Wash the rocks and let them dry thoroughly before you add the vinyl.
STEP 3: CUT AND WEED VINYL
Open the design in your software program. You’ll need to measure your rocks and size the designs accordingly. If you’re making stencils, you’ll need to add a rectangle around the design.
When everything is sized correctly, you can cut the vinyl with your Cricut or Silhouette.
Once it has finished cutting, weed away the excess vinyl.
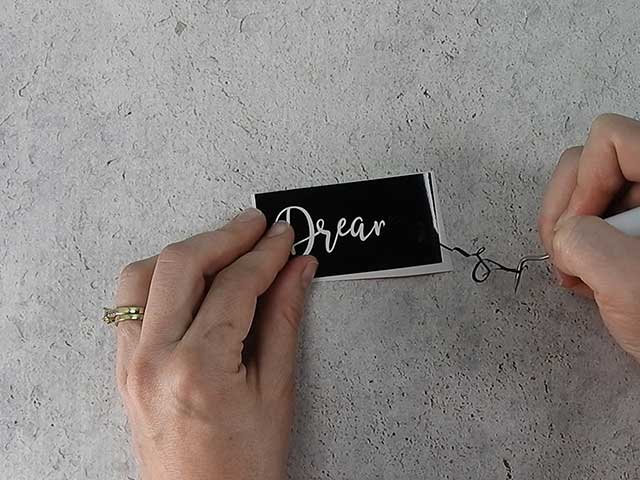
STEP 4: APPLY TRANSFER TAPE
Cut a piece of transfer tape a little larger than the design and place the vinyl on top of the transfer tape. I like to use transfer tape that is on the roll without any backing. I just unroll the amount I need, place the vinyl down, and cut it to size.
![]()
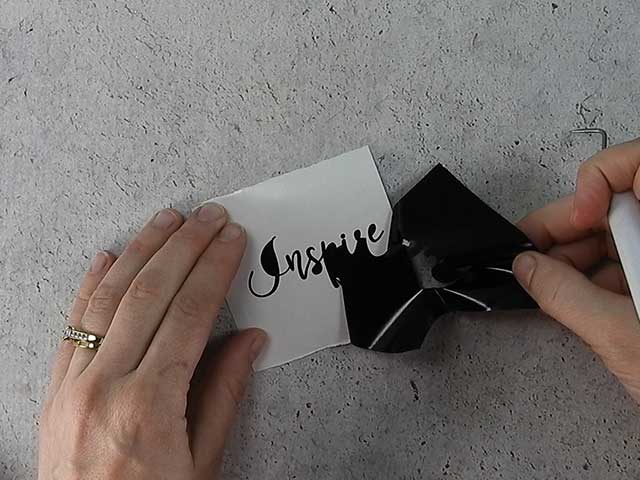
STEP 5: REMOVE VINYL BACKING OF STENCIL
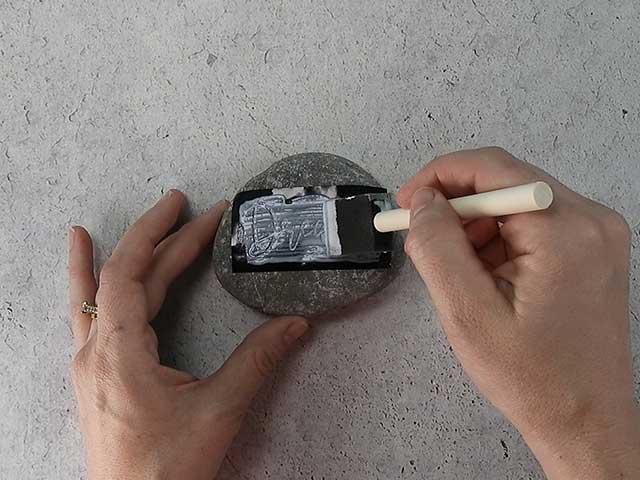
Rub over the design a few times with a scraper or application tool (you could even use a credit card). Then, flip the design over and pull off the vinyl backing.

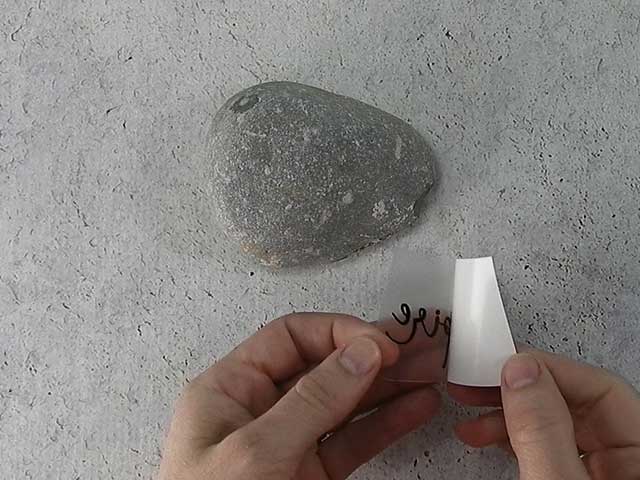
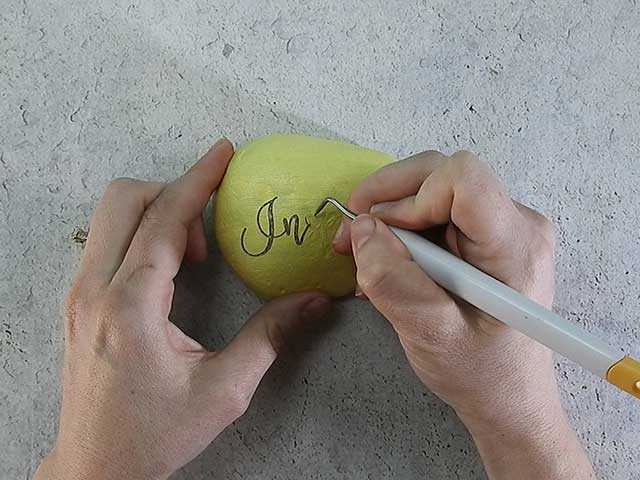
STEP 6: POSITION VINYL ON ROCKS
Center the design on the rocks and press into place.
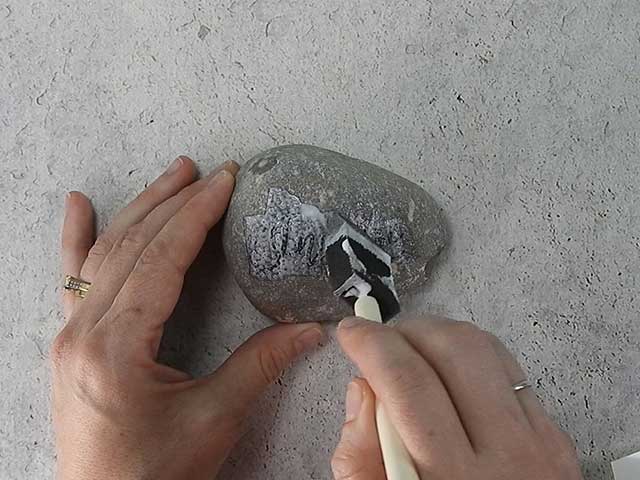
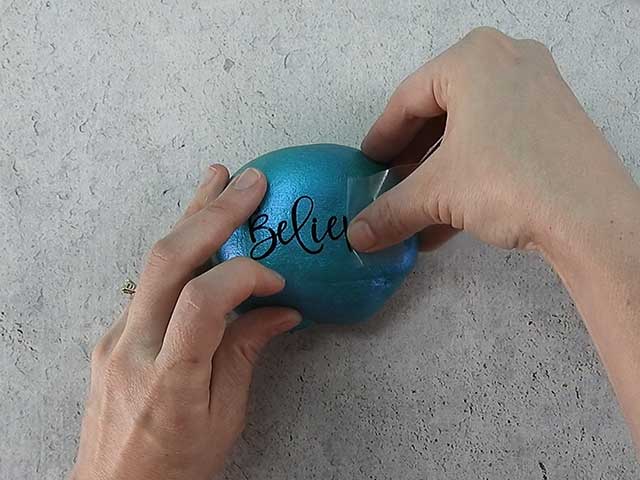
STEP 7: REMOVE TRANSFER TAPE
Rub over the design with your fingers to help it stick to the rocks. Then, pull off the transfer tape. You’ll probably need to use your fingers to help keep the vinyl on the rocks.
![]()
![]()
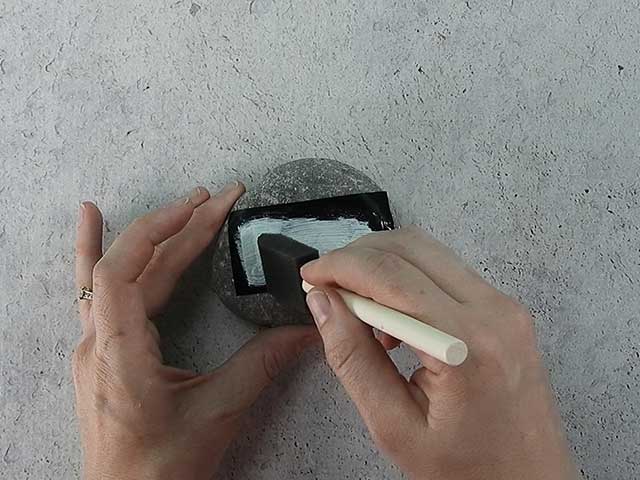
STEP 8: APPLY A LAYER OF MOD PODGE
Apply a layer or two of Mod Podge over the vinyl. This will help prevent paint from leaking under the vinyl.
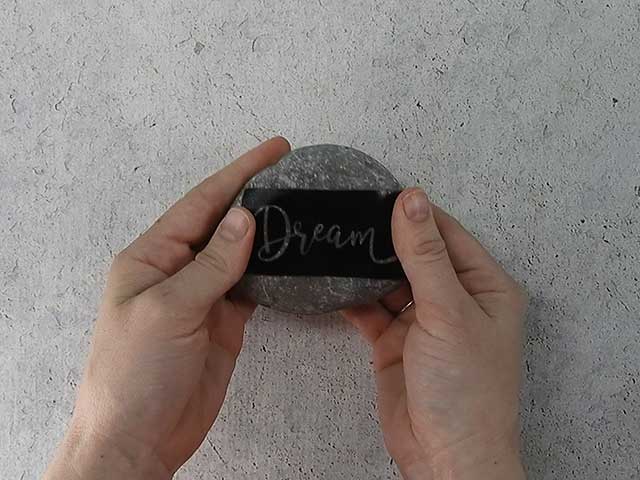
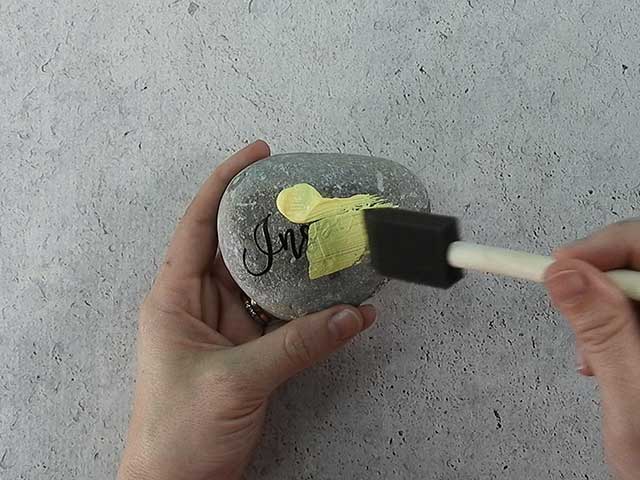
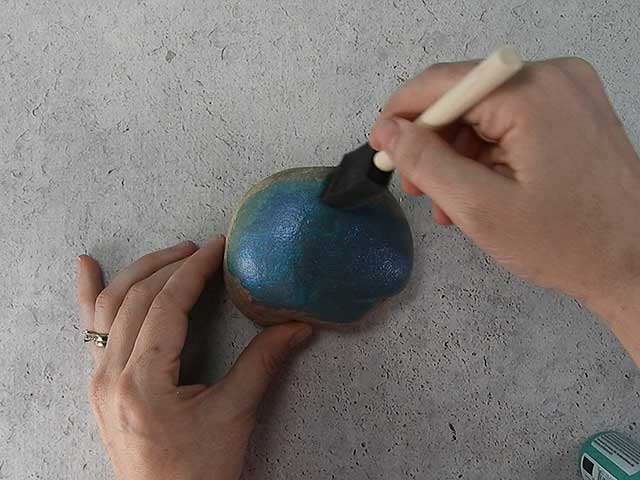
STEP 9: PAINT OVER STENCIL
Once the Mod Podge has completely dried, paint the rocks. For the word dream, you’ll just need to paint inside the stencil. For the word inspire, you’ll need to paint the entire rock. It will probably take a couple of coats of paint.
STEP 9: REMOVE VINYL
When the paint is dry, use a weeding tool to remove the vinyl.

STEP 10: SPRAY WITH A CLEAR FINISH
I used a clear spray finish to spray the rocks.

You can also just paint rocks and add vinyl sayings to the top. I used color shift paint and it turned out so pretty. It took about 4 coats of paint to cover the rock and then I just added vinyl.
They all turned out so pretty.

Did you enjoy this post? Help spread the word! Share this post on your favorite Pinterest board. Thanks!

Love the purple and blue metallic paints. And great step-by-step instructions. Mavy have to make some myself. TFS!