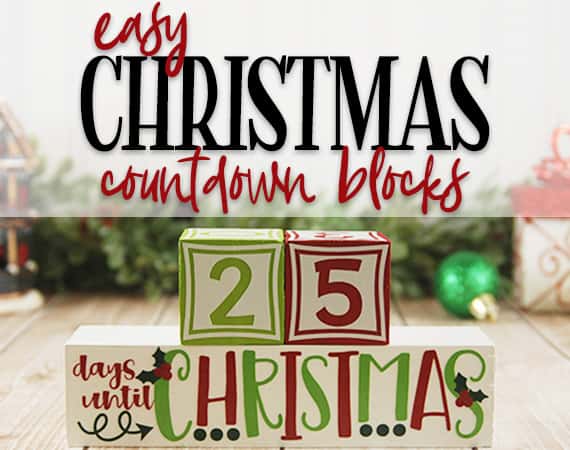
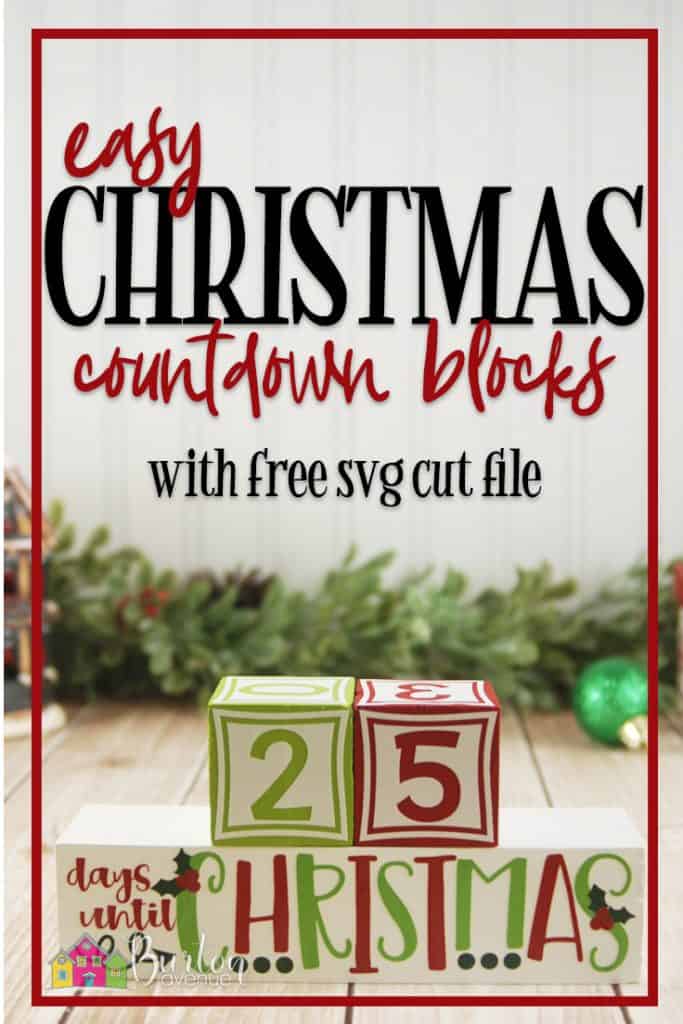
Christmas advent calendars are a fun and festive way to count down the days until Christmas, and these DIY Christmas countdown blocks are one of the easiest to make! They’re cute, compact, and fit perfectly on a shelf, mantel, or countertop. Measuring about 6″ x 3″, this project can be made with simple wood blocks you might already have on hand—or easily pick up at your local craft store. It’s an inexpensive and charming Christmas countdown craft you’ll want to display year after year. Read on for the full tutorial!
HERE’S WHAT YOU NEED
- Wood (2″ x 2″ Furring Strip Board)
- Paint & Paint Brush
- Vinyl (I used White, Brick Red, Dark Green, and Lime-Tree Green)
- Transfer Tape
- Electronic cutter (cricut explore, silhouette or other cutter)
- Cut File (available for free in my resource library)
HERE’S WHAT YOU DO
The first thing you’ll need to do is get the free SVG file you’ll use for this project. I keep all the SVG files I use for the projects I make in my SVG Library. These SVG files work with Cricut and Silhouette machines, as well as many others. This library is open to everyone and is free! You can access the library here. Look for the file called Days Until Christmas for Blocks. It will either be listed under the Christmas category-25 Days of Craftmas 2018 – Day 1.
Cut your wood into 3 pieces. You’ll need 2 – 2″ x 2″ pieces and 1 – 6″ x 2″ piece. Paint one square red and the other green. Then paint the longer piece white. I painted two coats on each piece.

While the paint is drying, cut out your 4 colors of vinyl. The size of the wood is actually 1.5″ instead of 2″, so I sized the numbers at 1.35″ x 1.35″ and the days until Christmas was 5.75″ x 1.35″. Weed away the excess vinyl and apply the transfer tape.
Do you need help cutting this multi-color design? Check out this step by step tutorial for Silhouette Users here and for Circut Users here.
Once the paint is dry, you can add the vinyl to the wood.

Apply the numbers 0,1,2,3,4, & 5 to one of the blocks. Then, add the numbers 0,1,2,6,7,& 8 to the other block.

The block with the 6 will also double as the 9.

With these blocks, you’ll be able to count down from 32 to 0

Wasn’t that easy? The only hard part will be remembering to change the number each day;)

Did you enjoy this post? I’d love for you to save it to your favorite Pinterest Board!
This is really cute. Would make a nice gift too!