

HERE’S WHAT YOU NEED
- Wood for Signs (See step 3 for details)
- Paint and Brush (I used white acrylic paint)
- Black Vinyl
- Scraper
- Weeding Tool
- Transfer Tape
- Hot Glue Gun & Glue
- Christmas Embellishments
- Wood Glue
- Electronic cutter (cricut explore, silhouette or other cutter)
- Cut File (available for free in my resource library)
HERE’S WHAT YOU DO
STEP 1: DOWNLOAD THE FREE SVG FILE
The first thing you’ll need to do is get the free SVG file you’ll use for this project. I keep all the SVG files I use for the projects I make in my SVG Library. These SVG files work with Cricut and Silhouette machines, as well as many others. This library is open to everyone and is free! You can access the library here. For this project, you’ll want to download 2 files. Look for files called Be Merry and Merry and Bright. They will be listed under the category-Craftmas 2020 – Day 25.
STEP 2: PREPARE VINYL
Open the design in your software program. Size the Merry and Bright to 4″ wide and Be Merry to 5″ wide.
When everything is sized correctly, you can cut the design with your Cricut or Silhouette.
Once everything is cut, weed away the excess vinyl.
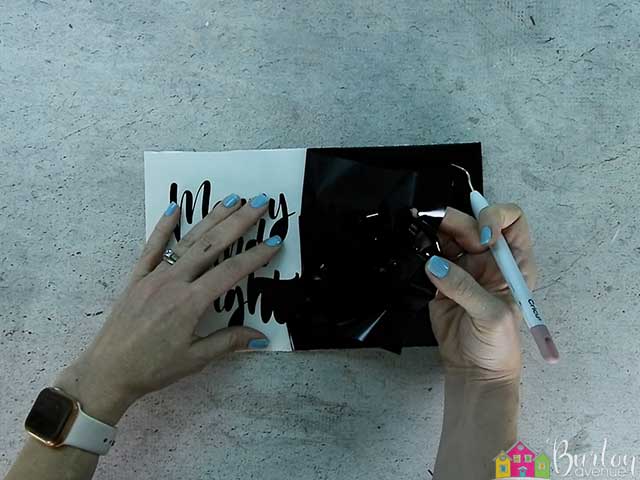
Use a weeding tool to pull out the small pieces inside the letters.
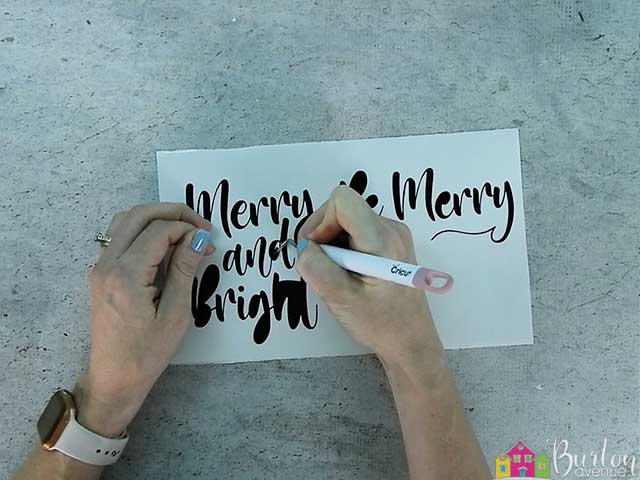
Place a piece of transfer tape over the designs and smooth it down.
![]()
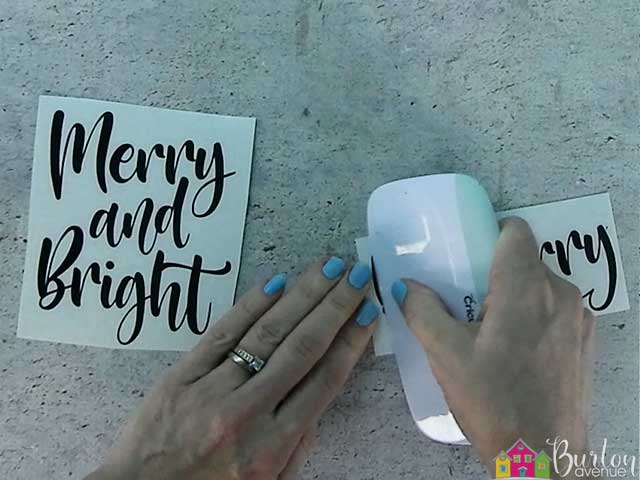
Trim off the excess transfer tape and vinyl backing and then cut apart the phrases.

Rub over both designs with your scraper.
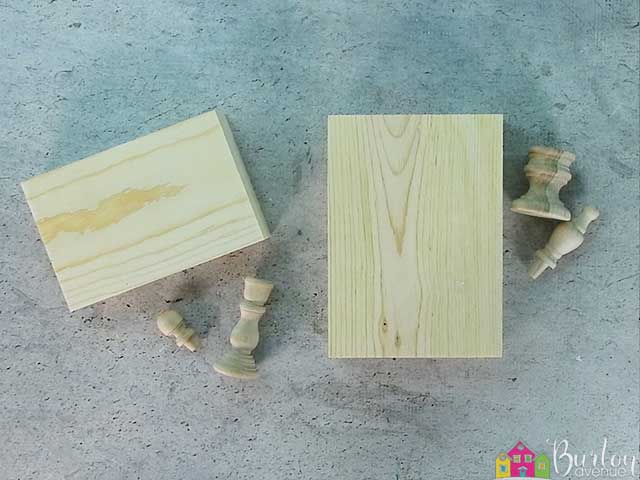
STEP 3: PREPARE THE WOOD FOR SIGN
For the vertical sign, I used a Candle Cup, a Large Finial, and a 5×7 Vertical Block with Hole
For the horizontal sign, I used a 3″ candlestick, a Medium Finial, and a 4×6 Horizontal Block with Hole
I got these supplies at a local craft shop. You can also make similar looking signs with this wood finial set, a 4×6 wood block, & 5×7 wood block
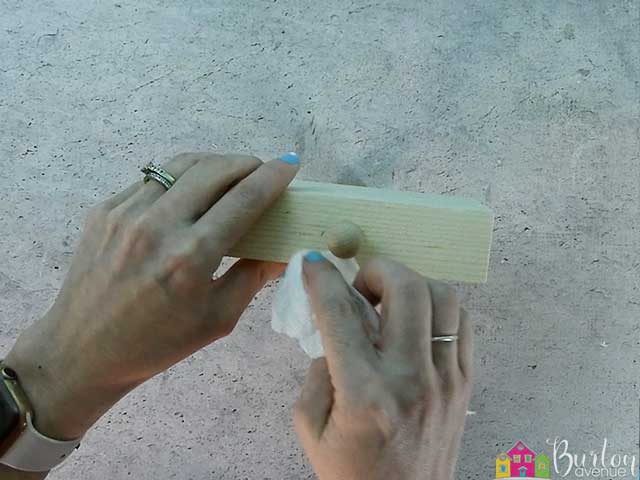
Apply some wood glue to the wooden finials and glue them into place.
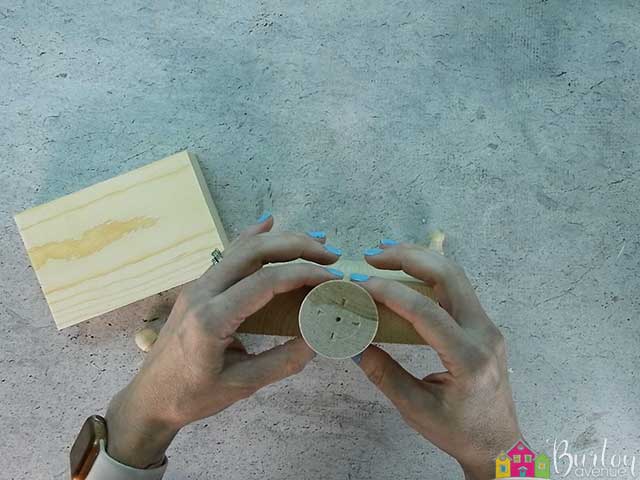
Then, glue the finials onto the top. Once everything has dried for a few minutes, go back and wipe away any excess glue.
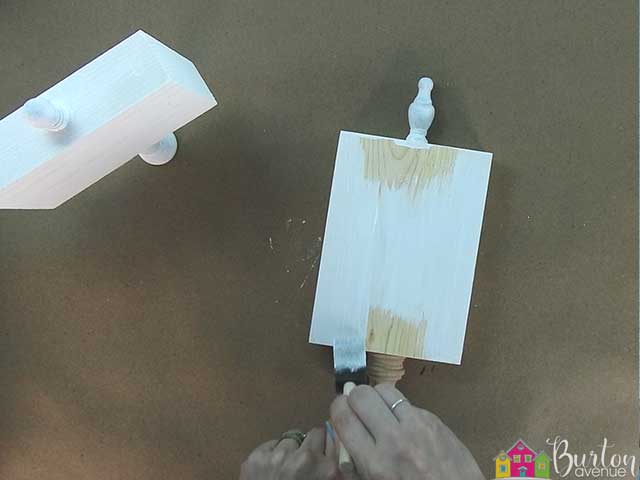
After the glue has had plenty of time to dry, it’s time to start painting. We’re going to paint both of the signs white.
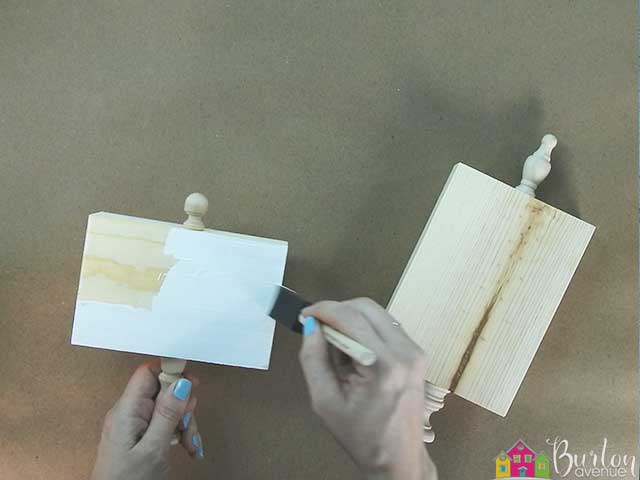
You’ll need to do at least two coats to get good coverage.
STEP 4: APPLY VINYL TO THE WOOD SIGN
Once the paint has dried completely, it’s time to add the vinyl lettering. So, grab one of your phrases and pull off the vinyl backing. Position the vinyl on the sign. Since we’re going to be adding some embellishments at the top of the sign, you want to place your vinyl towards the bottom and then center from right to left.

Rub over the design with the scraper.
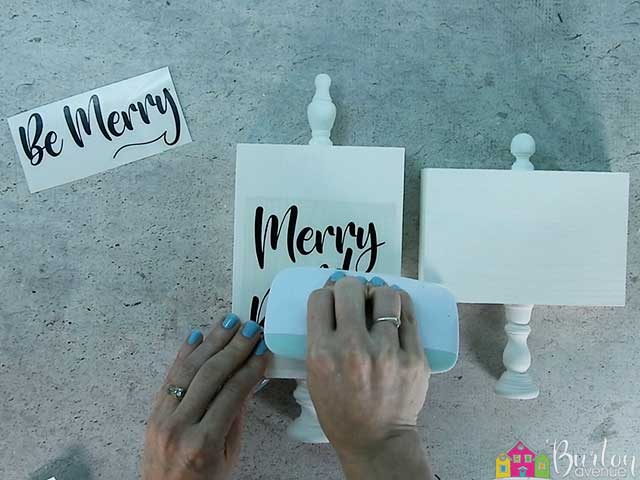
Then pull off the transfer tape.
![]()
Repeat with the other phrase.

STEP 5: ADD CHRISTMAS EMBELLISHMENTS
We’re going to finish off the signs by gluing on some Christmas embellishments.

I actually pulled these pieces off some old Dollar Tree Christmas decorations.

They were the perfect size and make these signs look so cute.

And that’s all there is to it! Such a cute decoration for Christmas!

Did you enjoy this post? Help spread the word! Share this post on your favorite Pinterest board. Thanks!

Want to make your own? Get the free cut file for this project in the resource library