 This post contains affiliate links for your convenience (which means if you make a purchase after clicking a link I will earn a small commission but it won’t cost you a penny more)! Read my full disclosure policy.
HERE’S WHAT YOU NEED
-
- Cardstock (Orange, Green, Off-White)
- Glue
- Tootsie Pops
- Ink Pad (for distressing)
- Raffia
- Electronic cutter (cricut explore, silhouette or other cutter)
- Cut File – Pumpkin Favor BA1719 (available for free in my resource library)
HERE’S WHAT YOU DO
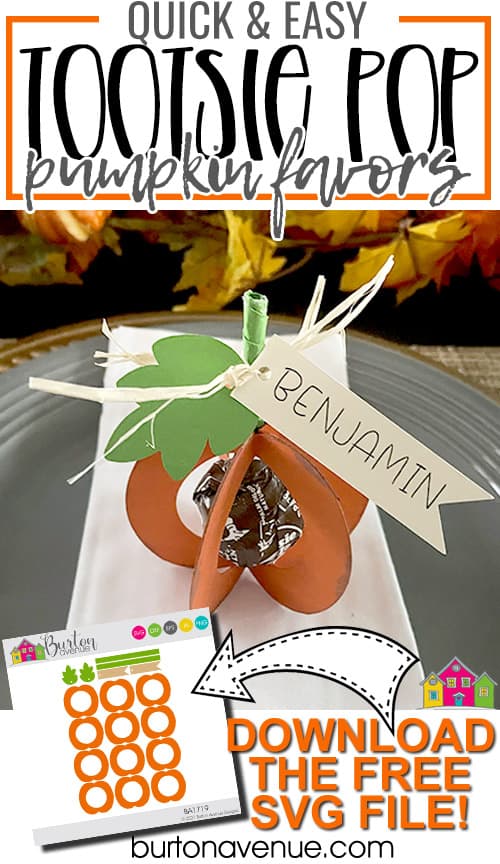
STEP 1: DOWNLOAD THE FREE SVG FILE
The first thing you’ll need to do is get the free SVG file you’ll use for this project. I keep all the SVG files I use for the projects I make in my SVG Library. These SVG files work with Cricut and Silhouette machines, as well as many others. This library is open to everyone and is free! You can access the library here. Look for the file called Pumpkin Favor BA1719. It will be listed under the Thanksgiving category.
STEP 2: CUT THE PIECES FOR THE PUMPKINS
Open the design in your software program. There are enough pieces to create 2 pumpkin favors. Resize everything to 9.5″ wide. This will make the pumpkins big enough for a tootsie pop to fit in the center.
I used the pen tool in my Cricut to write the names on the tags, but you can also write them by hand.
I used the Pinsetter Line font – which is a single-line font – and is perfect for writing with the machine.
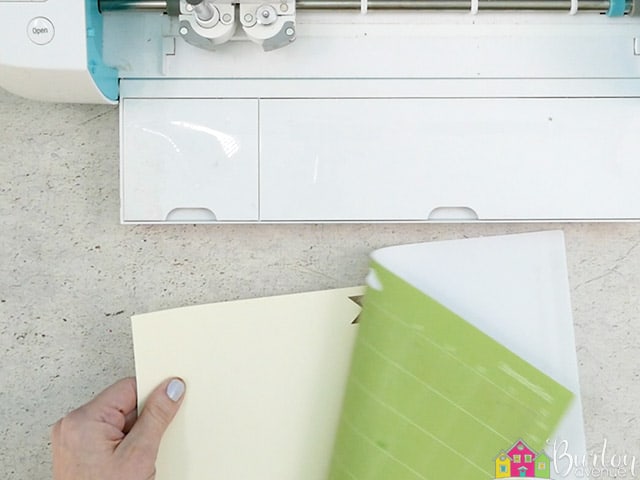
Once the first piece of cardstock is finished cutting, remove it from the cutting mat. You’ll want to slightly bend the cutting mat and carefully pull off the cardstock.
Remove any inside pieces that didn’t come off with the mat and load on the next color. Repeat until everything has been cut.
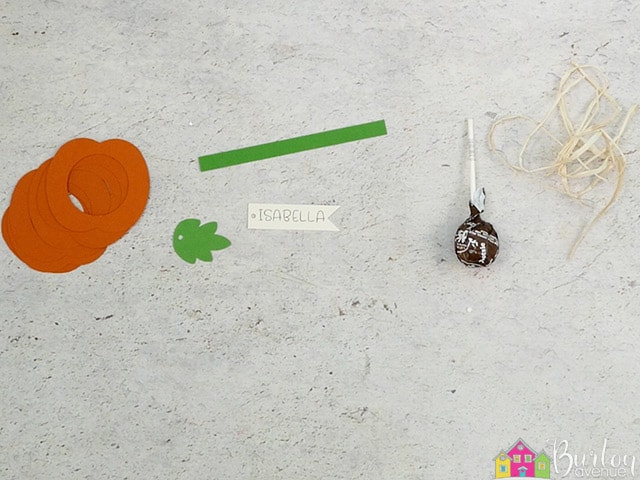
Each pumpkin will use 6 orange pieces, 1 leaf, 1 tag, and 1 rectangle strip. You’ll also need a tootsie pop and raffia to finish it off.
STEP 3: ASSEMBLE FAVORS
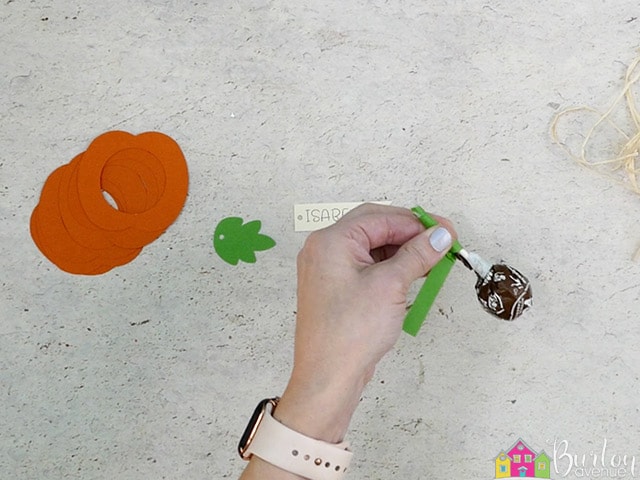
Start by gluing the green rectangle around the tootsie pop stick to make it look like the stem. Before I wrapped the stick, I trimmed off a little of the stick so it wasn’t quite so long.
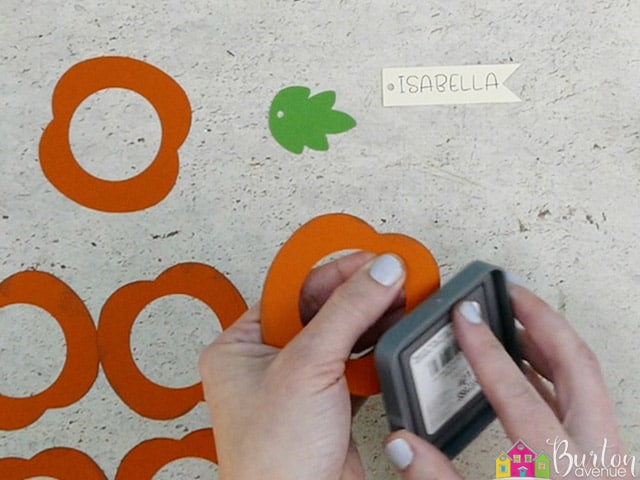
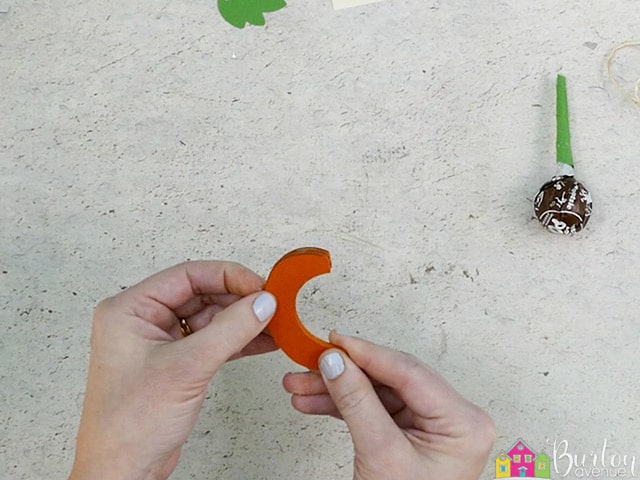
Next, we’re going to distress the edges of the pumpkins. I used an ink pad and brushed it back and forth along the edges until some of the color transferred onto the cardstock. You only need to distress the edges on the front of each pumpkin shape.
Now, with the distressed sides facing up, fold all the pumpkins in half along the perforation marks.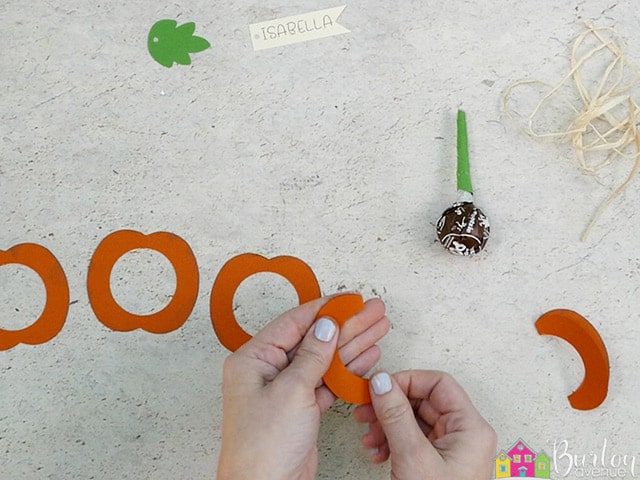
Glue two of the pieces together. The pieces are symmetrical so it doesn’t matter which end is the top or bottom.
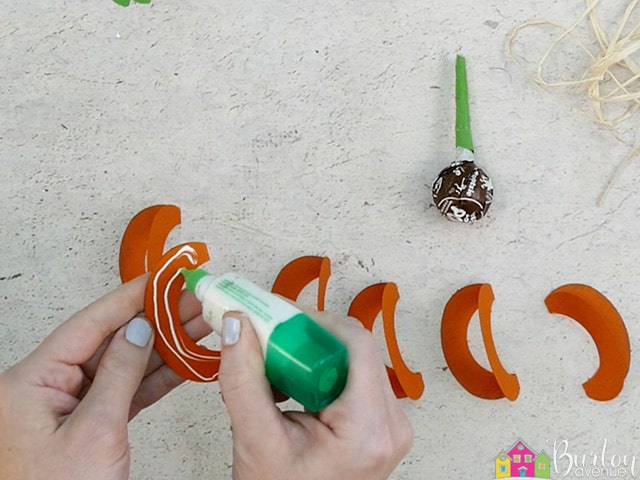
When you’re adding the glue to the top of the piece, leave a small gap so the glue doesn’t go all the way to the edge of the paper. This will just make it a little easier to put the tootsie pop inside of the pumpkin.
Glue all six pieces together so you end up with a stack like this.
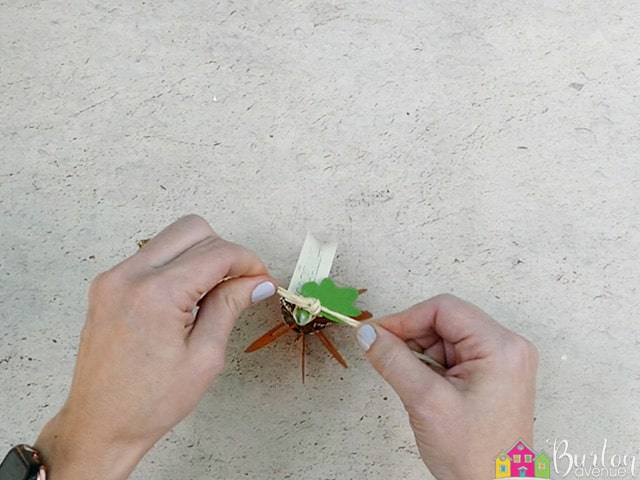
Now, place the tootsie pop in the center and wrap the cardstock around the stick.
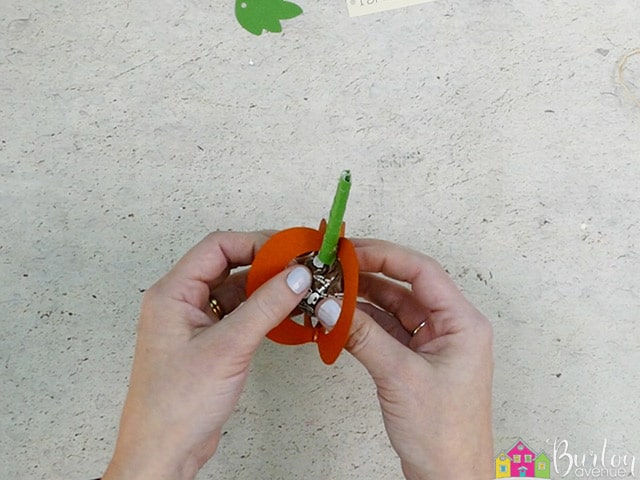
Glue the two pieces together.

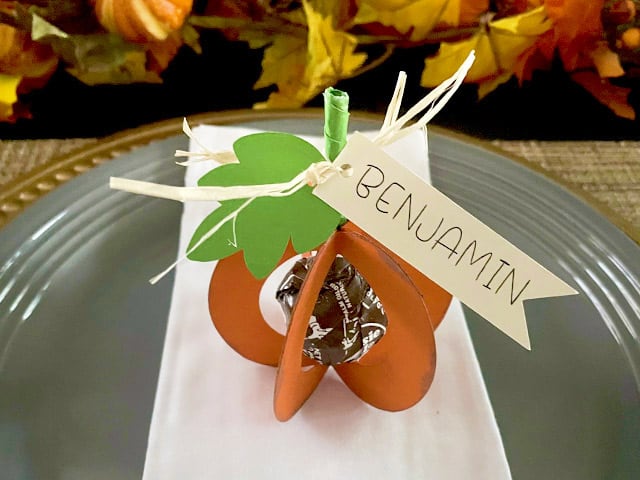
STEP 4: ADD FINISHING TOUCHES
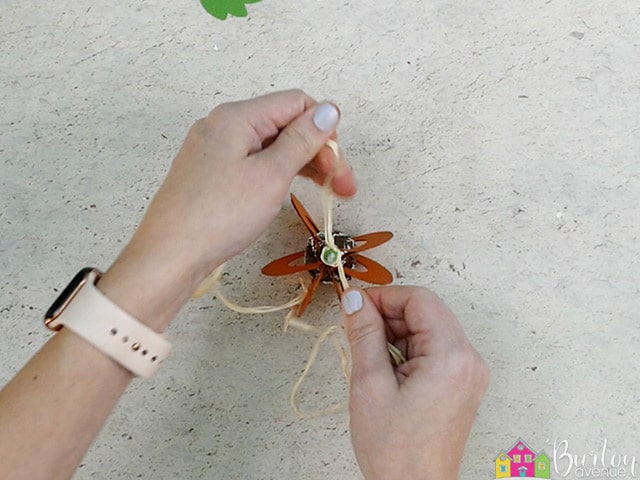
Tie a couple of pieces of raffia around the tootsie pop stick.
Thread the leaf onto one strand and the tag on another.
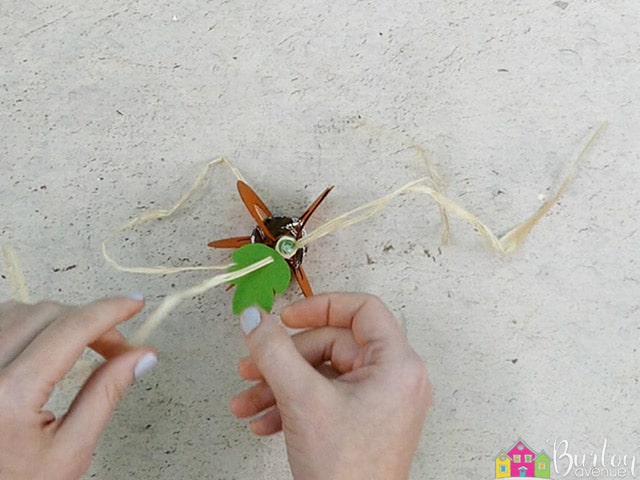
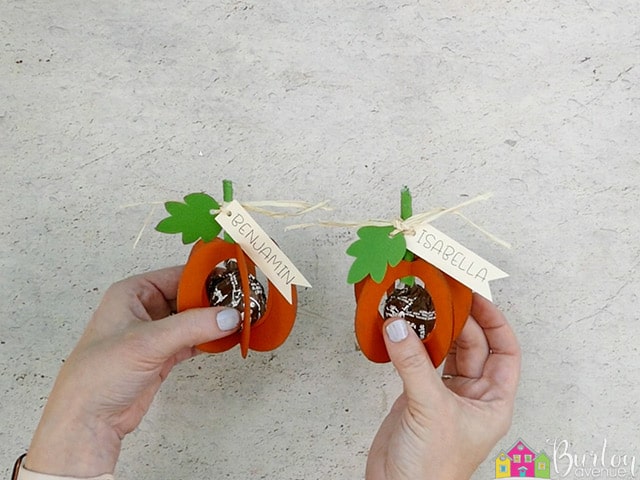
Tie another couple of knots and then trim the raffia.
That’s it. This project is finished. Now you have some adorable pumpkin favors to place on your Thanksgiving table.
Did you enjoy this post? Help spread the word! Share this post on your favorite Pinterest board. Thanks!