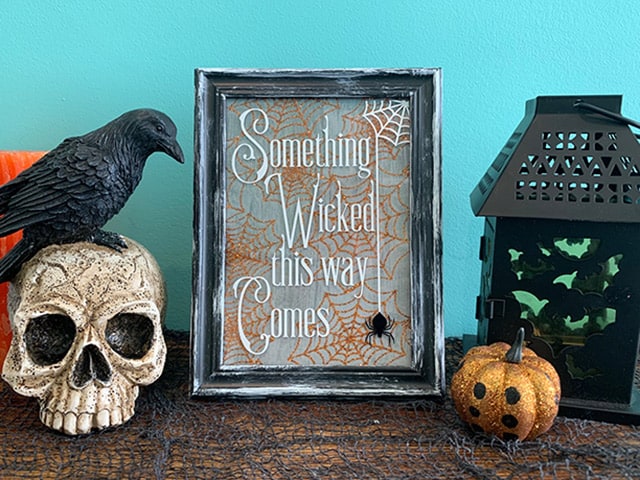
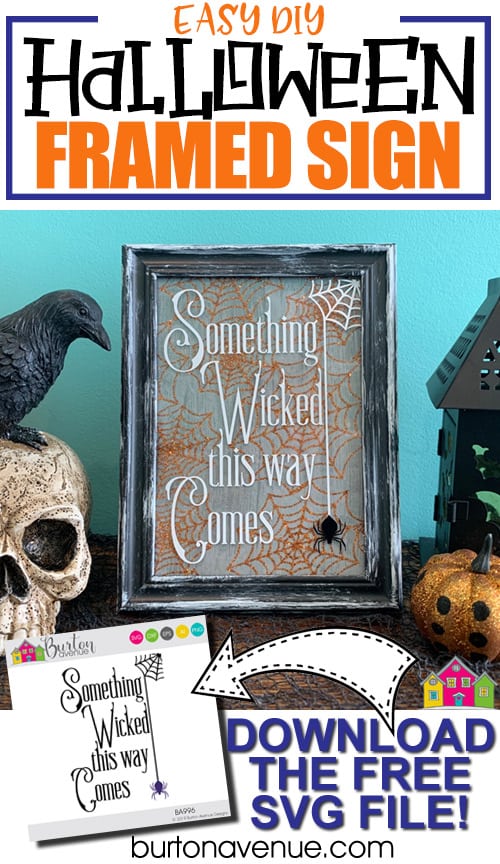
In the Halloween section at Dollar Tree, I found some cool black netted ribbon with orange glitter spider webs. I grabbed a spool of it, along with some other Halloween decorations, and headed home. I wasn’t exactly sure how to use the ribbon, but I figured I could create a fun Halloween decoration with it. After a little brainstorming, I decided to frame it and add a Halloween phrase to the glass. I came up with a new design and about 20 minutes later, this project was finished. I love quick, easy, and inexpensive projects! Read on for the full tutorial.
HERE’S WHAT YOU NEED
- 5″ x 7″ Frame (I found mine at Dollar Tree)
- Spider Web Netting (You could also use scrapbook paper)
- Vinyl (I used Black and White)
- White Paint and Bristle Brush
- Cardstock
- Dry Erase Marker (Optional)
- Mod Podge
- Application Tool
- Transfer Tape
- Electronic cutter (cricut explore, silhouette or other cutter)
- Cut File (available for free in my resource library)
HERE’S WHAT YOU DO
STEP 1: DOWNLOAD THE FREE SVG FILE
The first thing you’ll need to do is get the free SVG file you’ll use for this project. I keep all the SVG files I use for the projects I make in my SVG Library. These SVG files work with Cricut and Silhouette machines, as well as many others. This library is open to everyone and is free! You can access the library here.
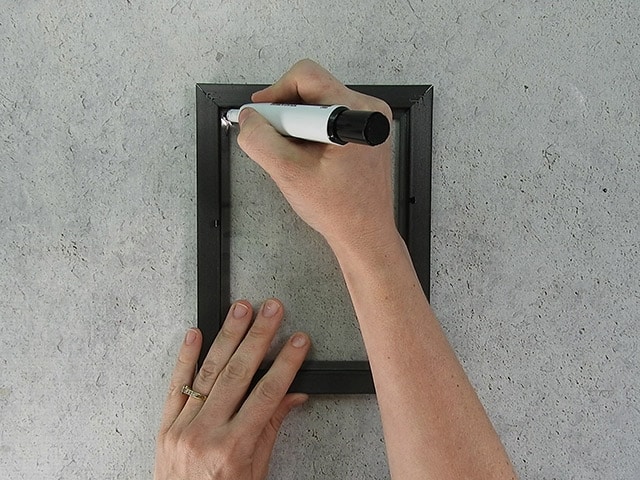
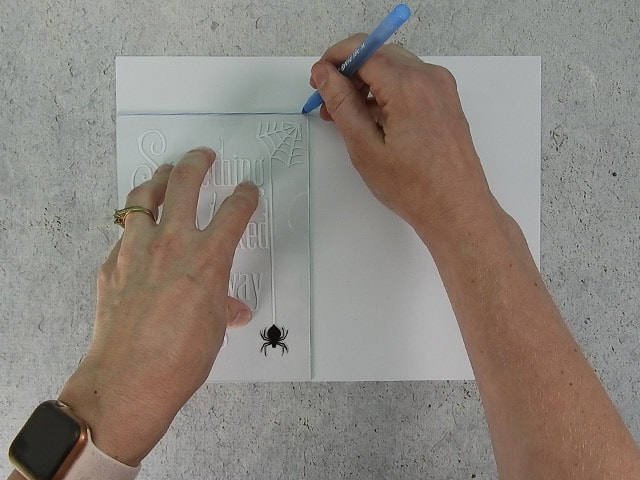
STEP 2: MARK EDGE OF FRAME ON GLASS
Use a dry-erase marker and mark where the edge of the frame hits the glass. This will help later when you position the vinyl. Then, remove the glass from the frame.
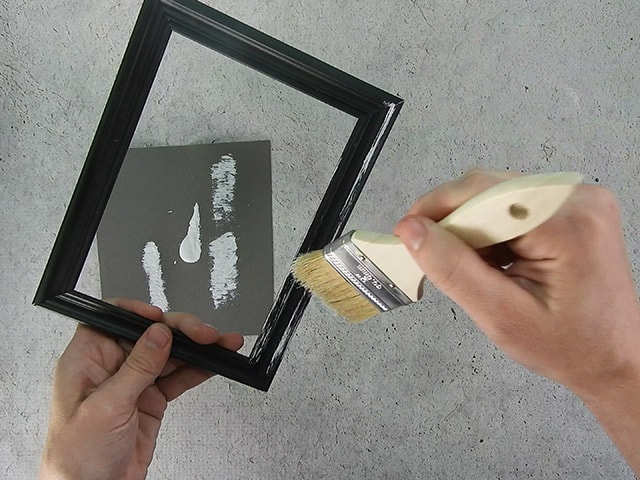
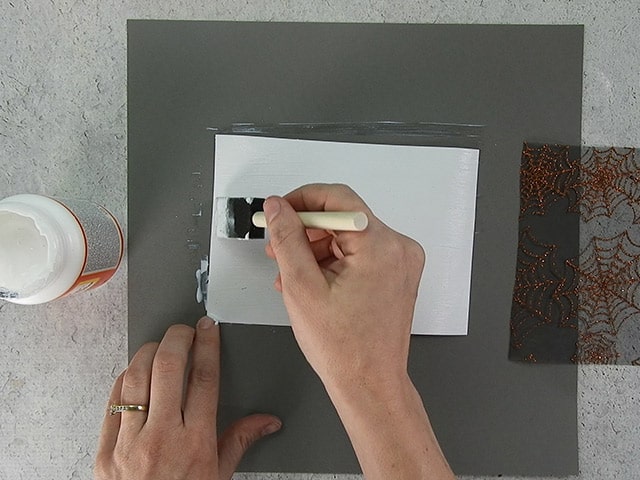
STEP 3: DRUSH BRUSH ON WHITE PAINT
Dip a cheap bristle brush in white paint. Use a scrap piece of paper or paper towel to remove most of the paint off. Then, lightly drag the brush across the frame. You’re going for light streaks, so just let the bristles barely touch the surface of the frame. Once you’ve done all the sides, set aside and let dry.
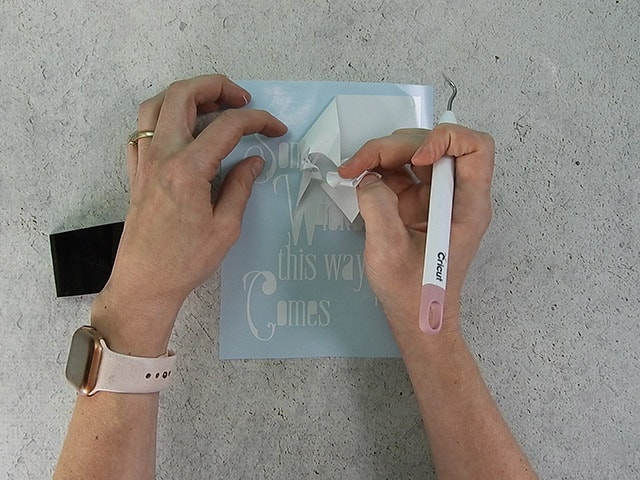
STEP 4: CUT AND WEED VINYL STENCIL
Open the design in your software program and size it to fit in your frame. I sized my design to about 6.25″ x 4.4″.
When everything is sized correctly, you can cut the design with your Cricut or Silhouette. Cut the letters our of white vinyl and the spider our of black. Once it has finished cutting, weed away the excess vinyl.
STEP 5: APPLY TRANSFER TAPE
Cut a piece of transfer tape a little bigger than the design. Place the vinyl on the transfer tape and smooth it down. Then, trim off the excess transfer tape.
![]()
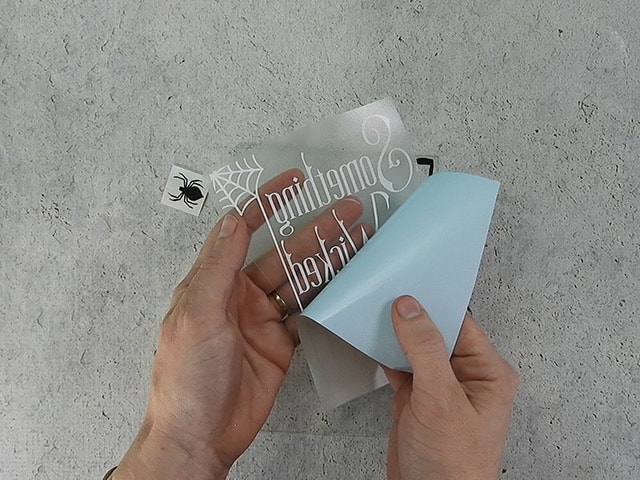
STEP 6: REMOVE VINYL BACKING
Rub over the design with an application tool to help the vinyl stick to the transfer tape. Then, carefully pull off the vinyl backing.
STEP 7: POSITION VINYL ON GLASS
Use the marks you made in the corner to position the vinyl. You want the edges of the spider web to match up with the edge of the marks you made. Once everything is centered and straight, press down on the design.
![]()
STEP 8: REMOVE TRANSFER TAPE
Rub over the design with an application tool. Then, pull off the transfer tape and wipe off the marker. Repeat steps 4-8 with the spider.
![]()
STEP 9: CREATE BACKGROUND FOR FRAME
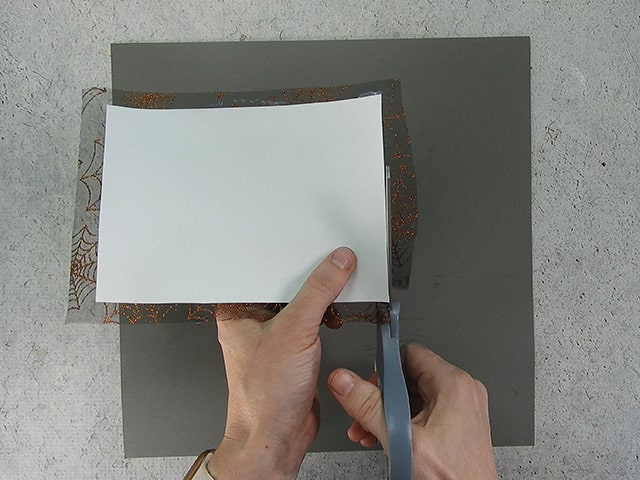
Trace the shape of the glass onto a piece of cardstock and cut out along the lines.
Brush a layer of Mod Podge onto the cardstock.
Then, press a piece of Halloween netting onto the cardstock.
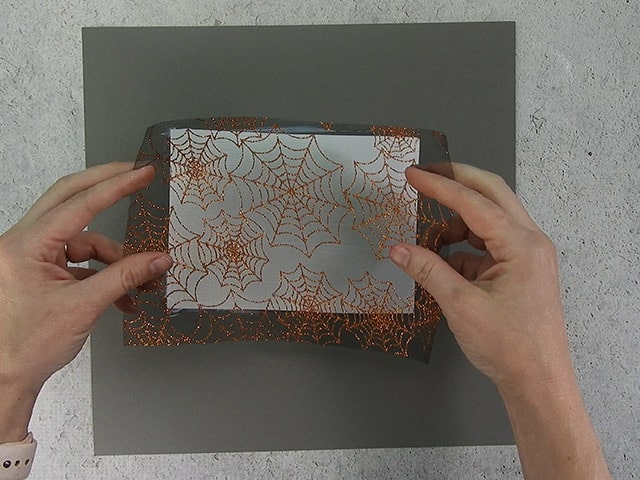
Flip over the cardstock and trim off the excess netting.
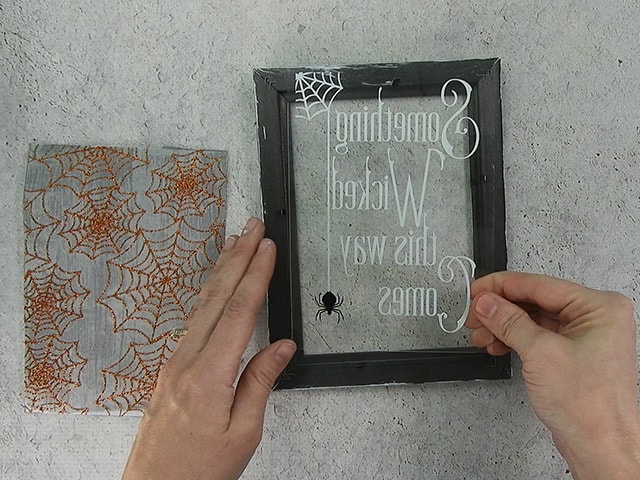
STEP 10: REASSEMBLE THE FRAME
Place the glass back inside the frame, followed by the cardstock w/netting, and finally the frame backing.
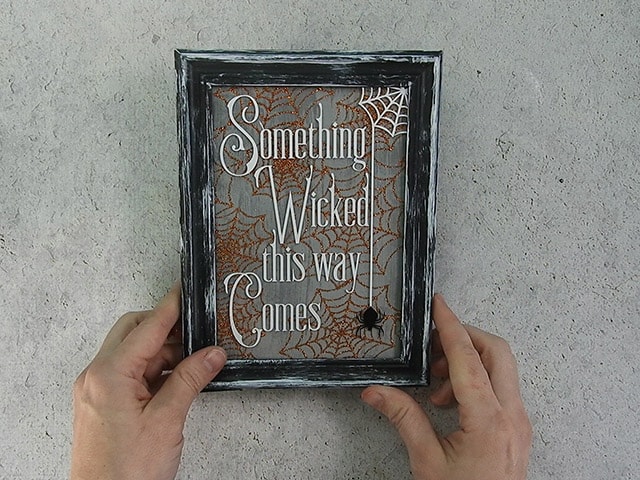
That’s it! Now, find a place to display your cute new Halloween sign.
Did you enjoy this post? Help spread the word! Share this post on your favorite Pinterest board. Thanks!
Thank you!