HERE’S WHAT YOU NEED
- 3 – 3″ x 9″ Stretch Canvas
- Marabu Easy Marble Paints
- Wooden Skewers
- Old/Disposable Container
- Scrap cardstock
- Hooks & Eyes for Hanging
- Mod Podge & Brush
- Adhesive Vinyl (I used White & Black)
- Craft Knife
- Application Tool
- Transfer Tape
- Electronic cutter (cricut explore, silhouette or other cutter)
- Cut File (available for free in my resource library)
HERE’S WHAT YOU DO
STEP 1: DOWNLOAD THE FREE SVG FILE
The first thing you’ll need to do is get the free SVG file you’ll use for this project. I keep all the SVG files I use for the projects I make in my SVG Library. These SVG files work with Cricut and Silhouette machines, as well as many others. This library is open to everyone and is free! You can access the library here.
STEP 2: USE EASY MARBLE TO PAINT THE CANVASES
Start by filling up an old/disposable container with cold water.
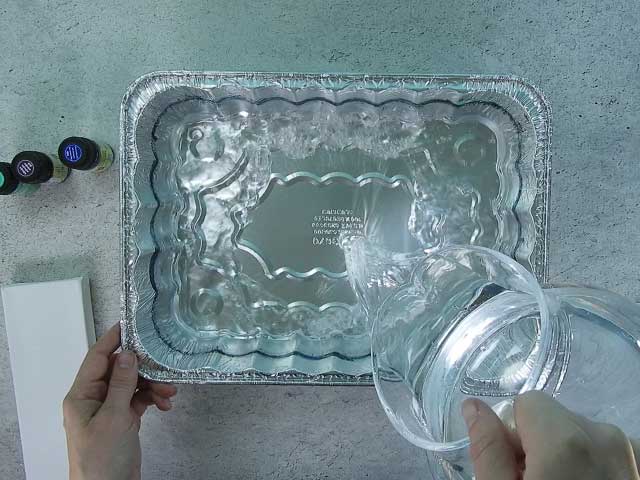
Add a few drops of easy marble to the water.
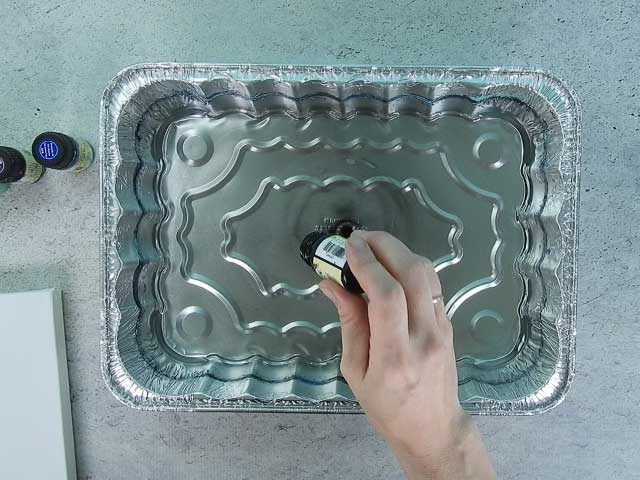
Repeat with the next color of marble paint.
Continue adding the marble paint until you’ve added all the colors.
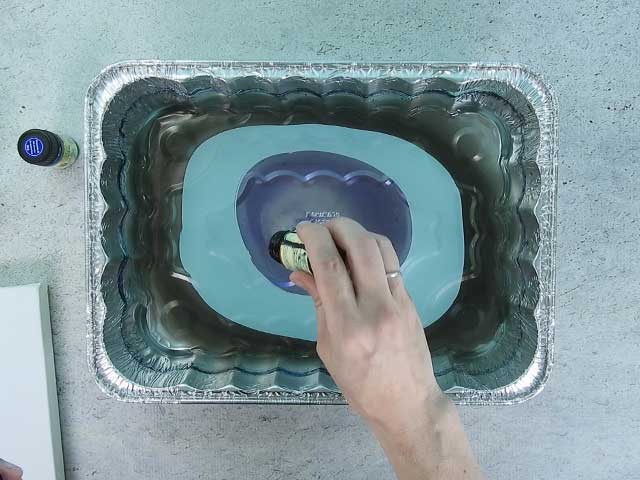
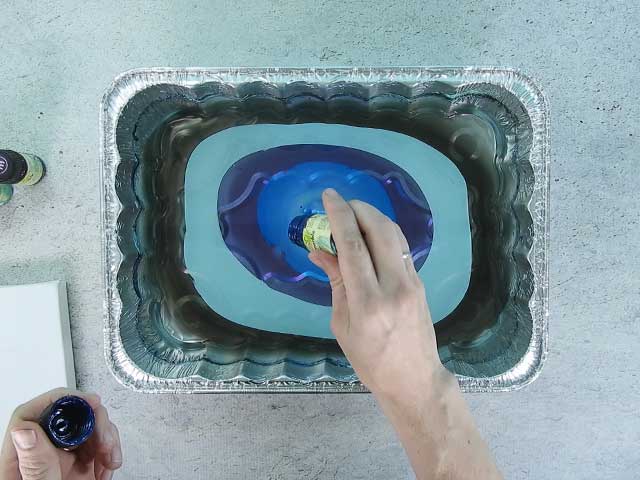
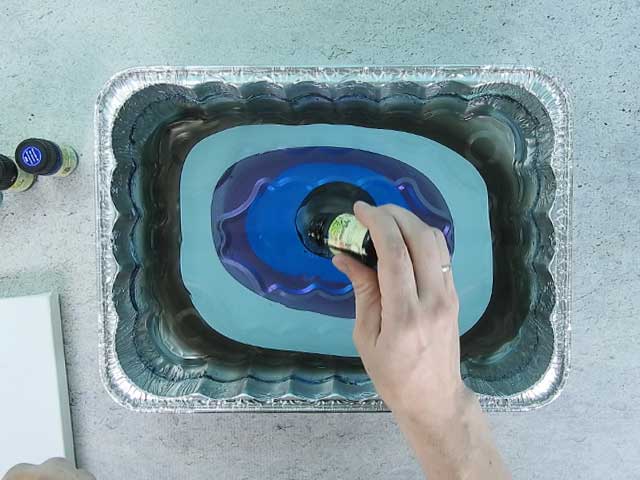
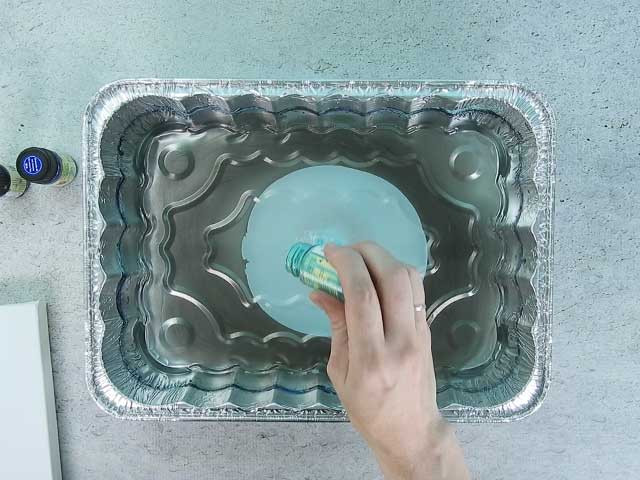
Take a wooden skewer and lightly drag it through the paint.
I first dragged side to side.
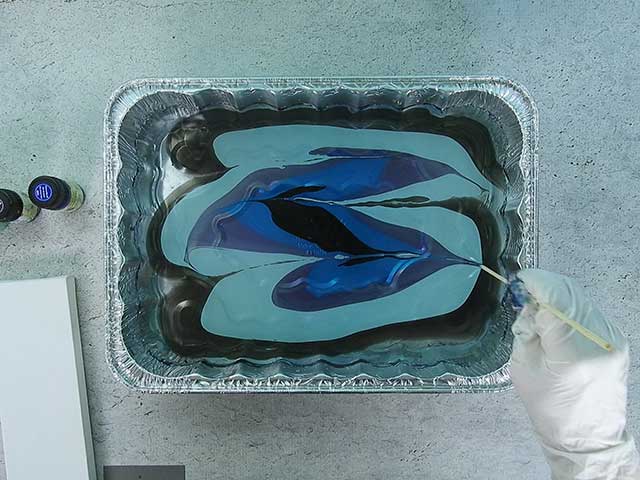
Then, up and down.
Now, it’s time to dip the canvas.
Use your index fingers to hold the canvas from the underside. Try not to let your fingers touch the sides of the canvas. If you do, the sides won’t get covered with paint.
Start by dipping one end of the canvas into the water.
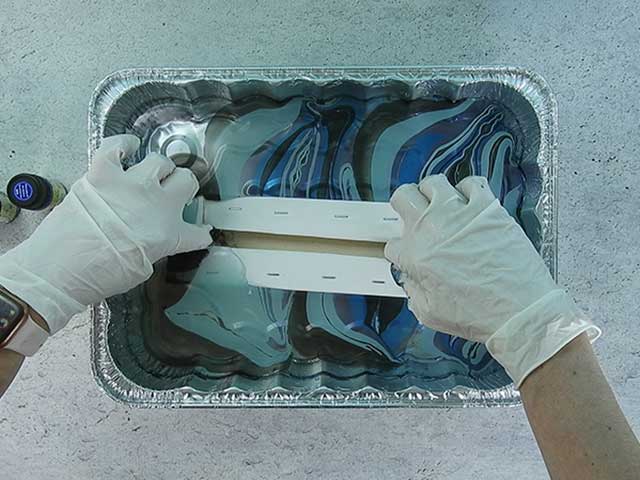
Slowly, push the entire canvas under the water.
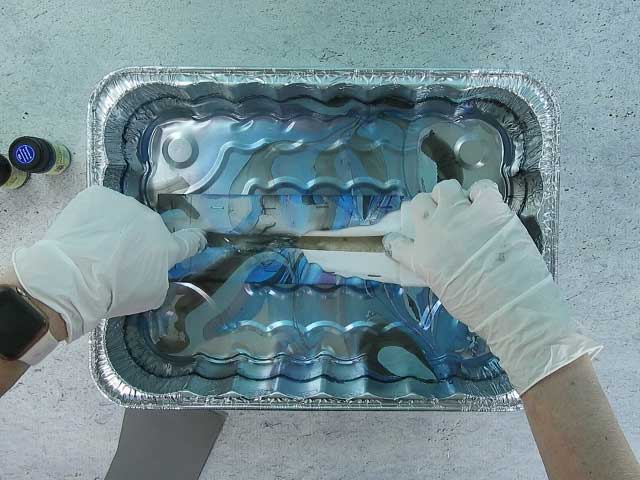
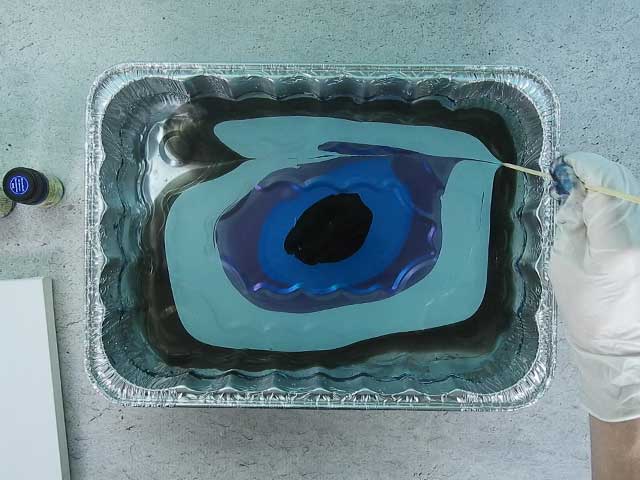
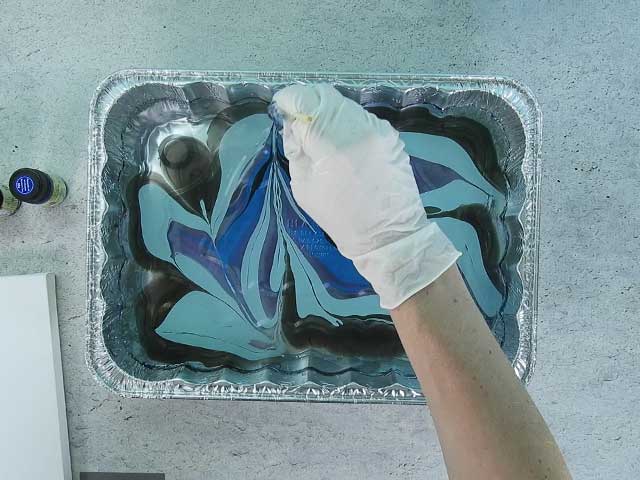
Hold the canvas under the water with one hand. With your other hand, grab a scrap piece of cardstock and drag across the water to pick up the rest of the paint.
![]()
![]()
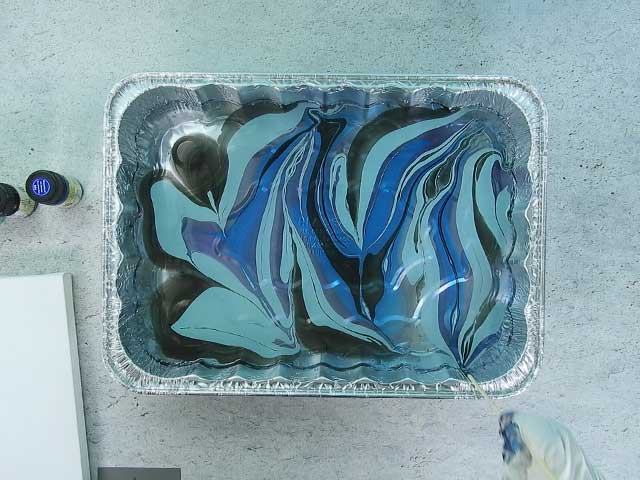
Once the rest of the paint is out of the water, you can pull the canvas out. Shake off the excess water and set aside to dry. Repeat with the other two canvases.
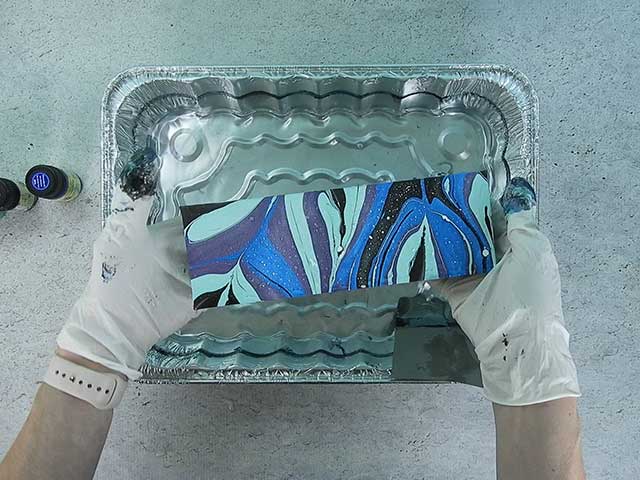
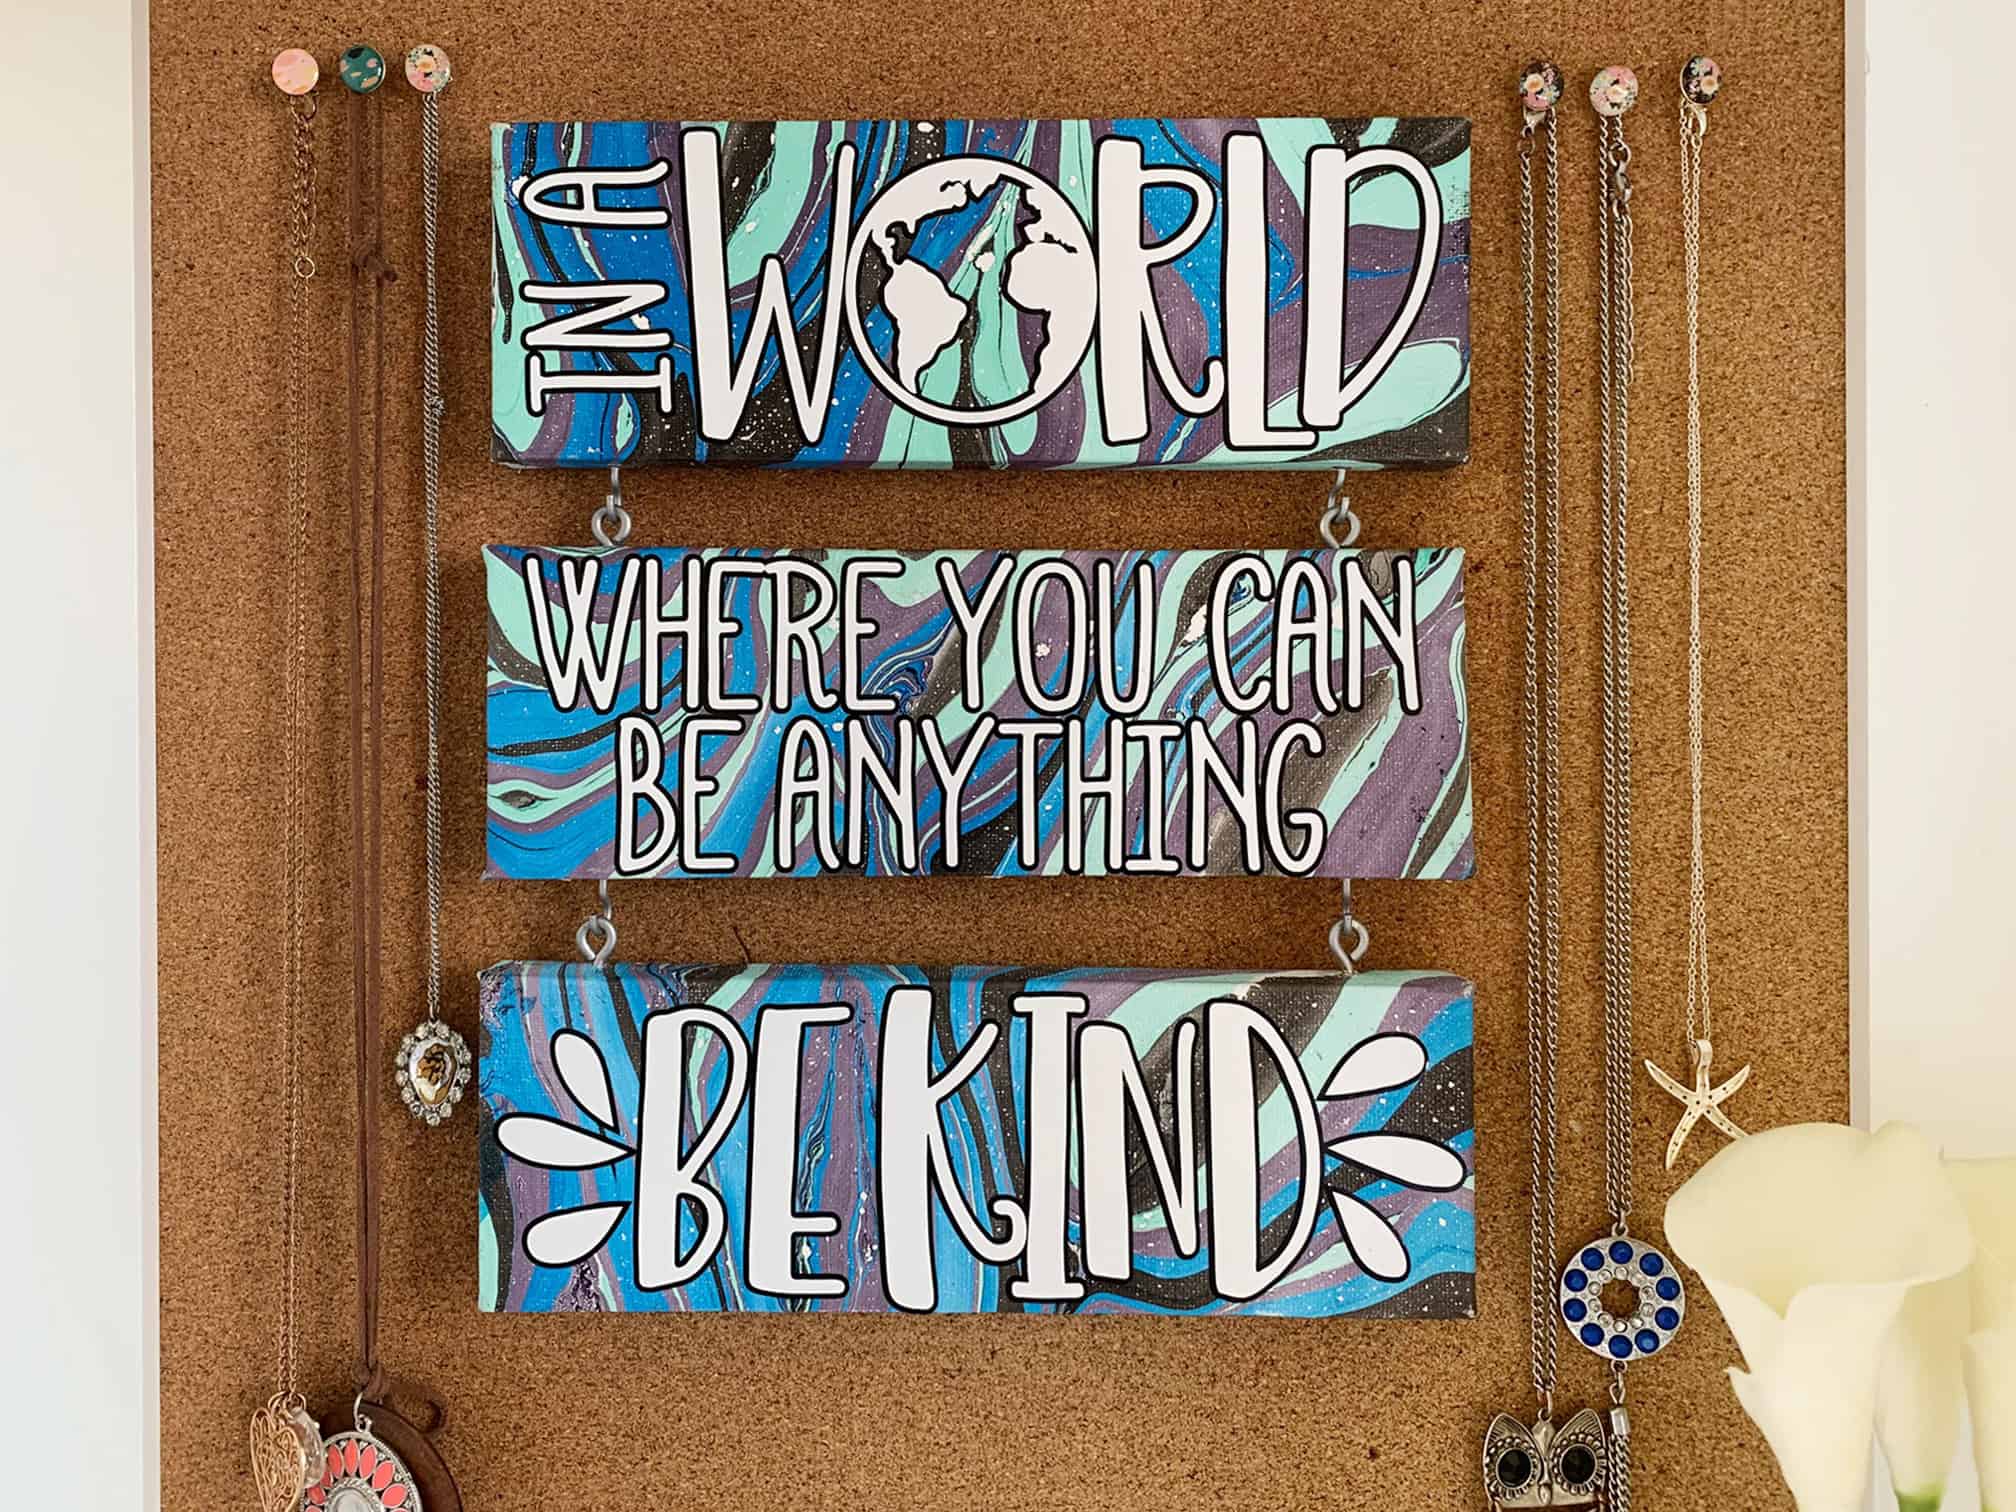
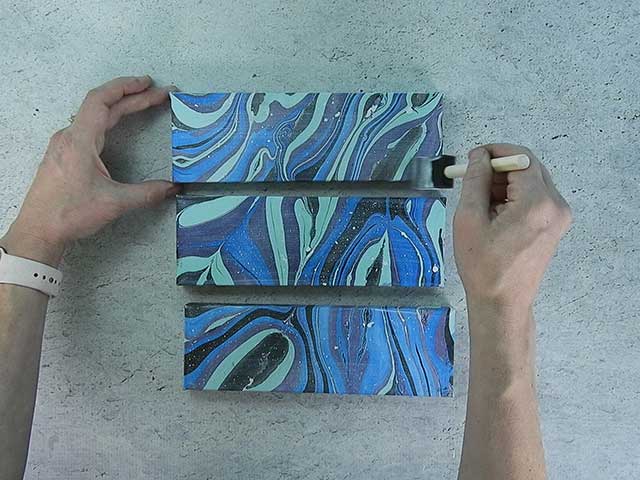
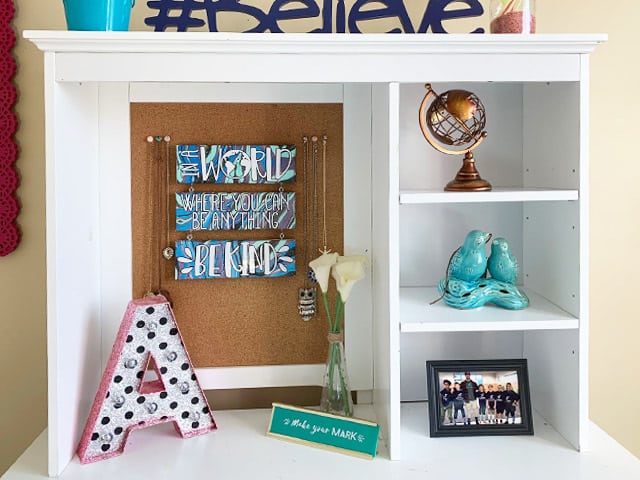
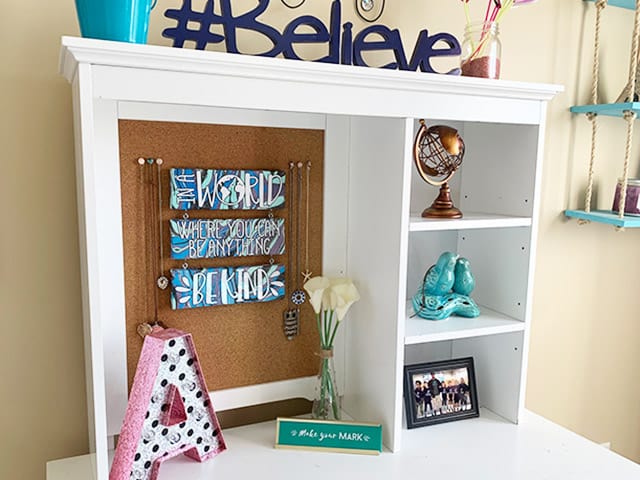
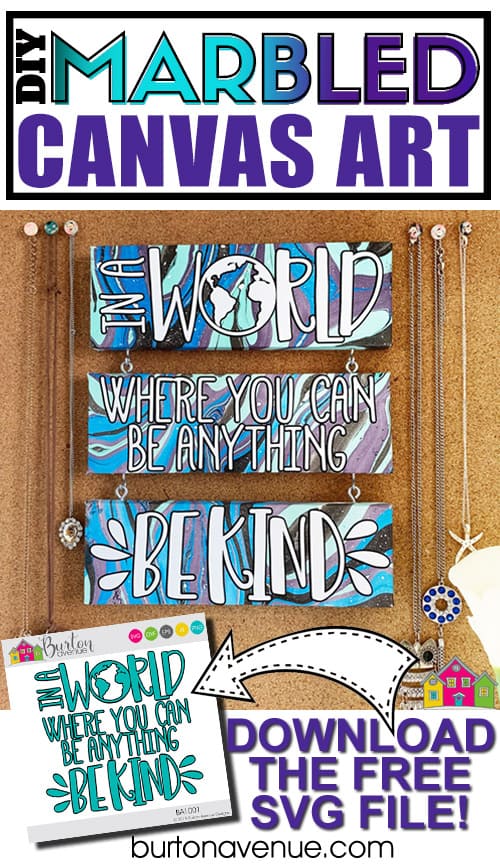
It is so fun to see how differently each canvas turns out. In fact, these marbled canvases would look amazing as wall art without the vinyl quote, but I wanted to add this cute quote and hang it in my daughter’s room.
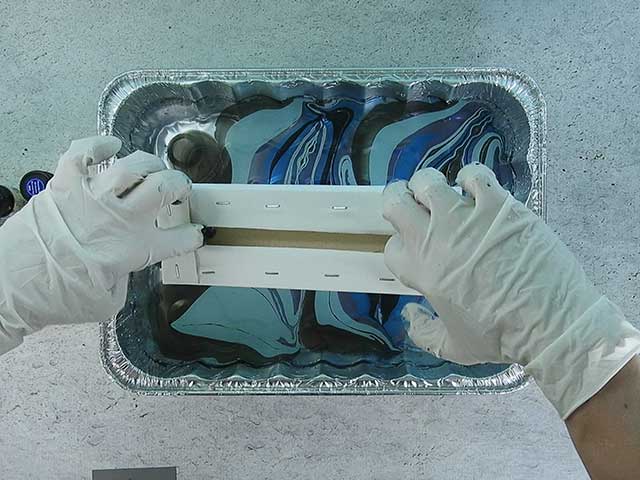
STEP 3: CUT AND TAPE VINYL DECAL
Once the canvases are completely dry, apply a couple of coats of Mod Podge. This will protect the paint from coming off when you apply the vinyl. It will also create a nice finish for the vinyl to stick to.
While the Mod Podge is drying, open the design in your software program and size it to fit in your canvases (I sized my design to 8.8″ x 8.6″.). If you’re using more than one color, add registration marks to make layering easy.
Do you need help adding registration marks? Be sure to check out these tutorials.
How to add registration marks in Design Space
How to add registration marks in Silhouette Studio
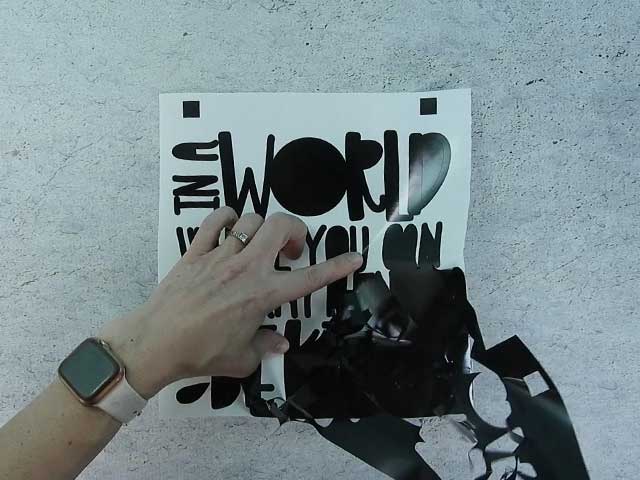
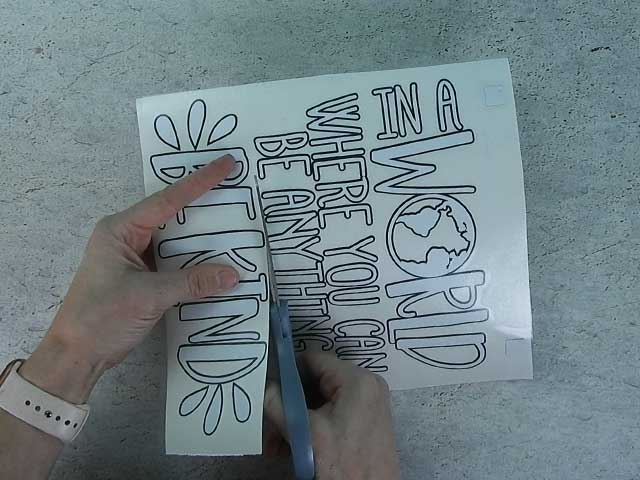
When everything is sized correctly, cut the design in both black and white with your Cricut or Silhouette. Once everything is cut, weed away the excess vinyl.

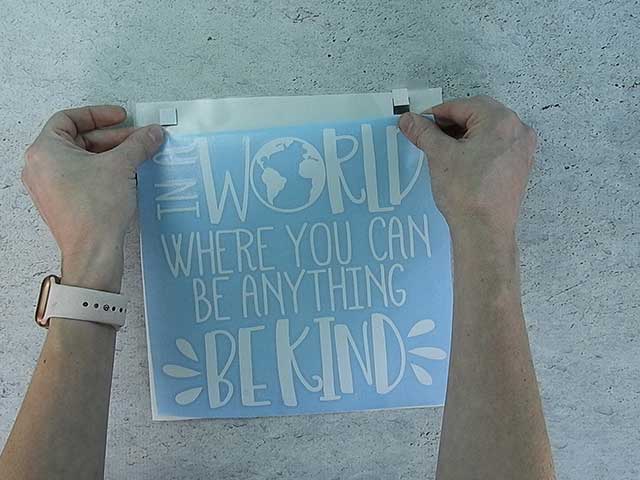
Cut a piece of transfer tape a little bigger than the design. Place the transfer tape on the white vinyl and smooth it down. Then, trim off the excess transfer tape.
![]()
Fold over a small section of the vinyl backing, so the registration marks are exposed.

Position the white registration marks over the black registration marks.
Carefully, pull off the backing of the white vinyl, make sure to keep those registration marks in place.
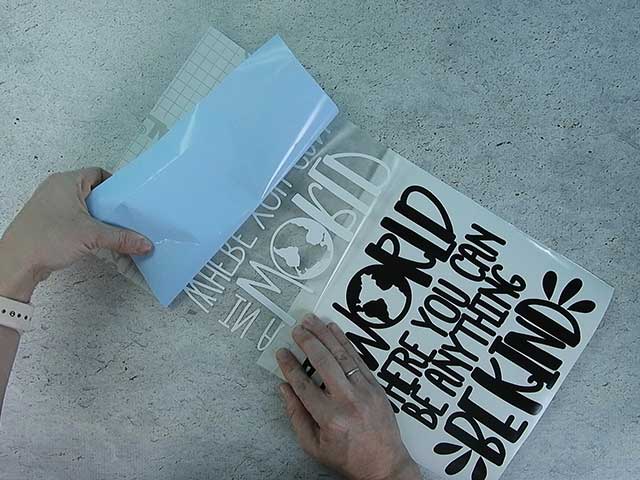
Then, smooth down the white vinyl over the black.
STEP 4: APPLY VINYL TO CANVASES
Be sure to let you canvases dry completely (even overnight if possible) before applying the vinyl. It will stick much better if everything is totally dry.
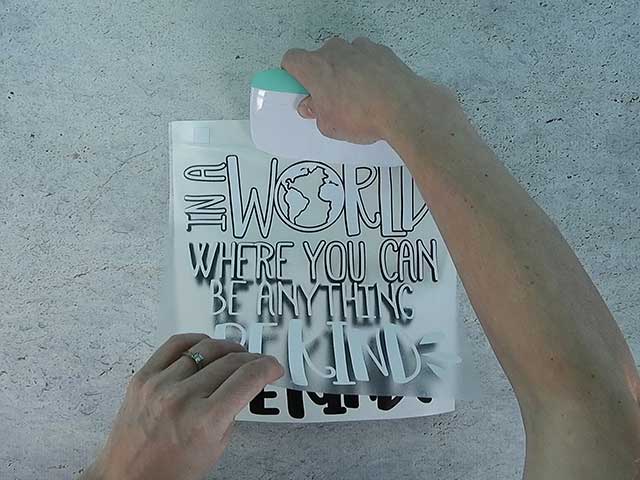
Cut apart each section of the vinyl decal.
Rub over the design with an application tool to help the vinyl stick to the transfer tape. Then, carefully pull off the vinyl backing.
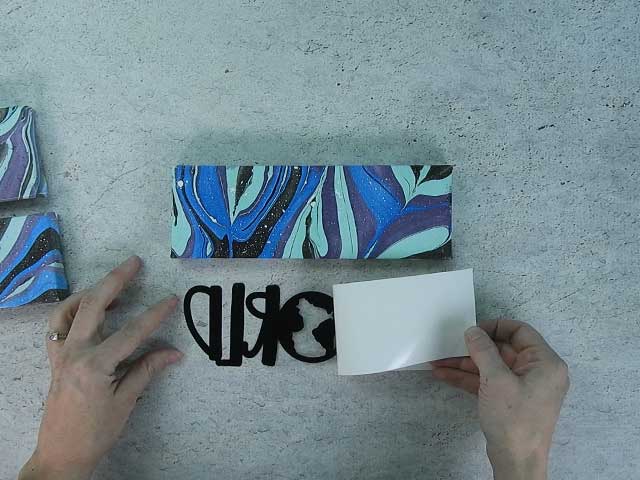
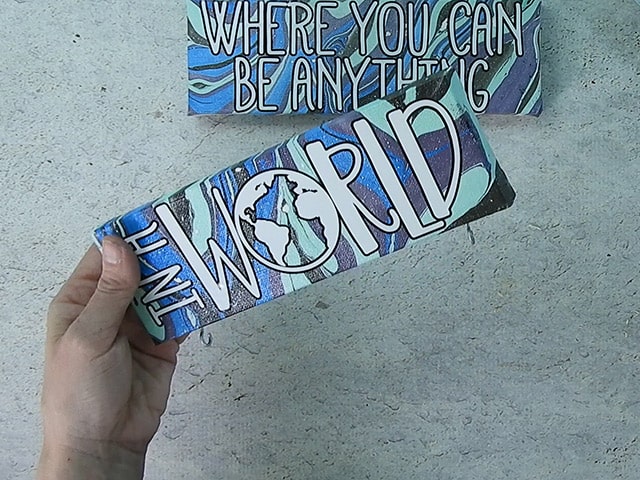
Center the design on the canvas and rub over the design with your fingers.
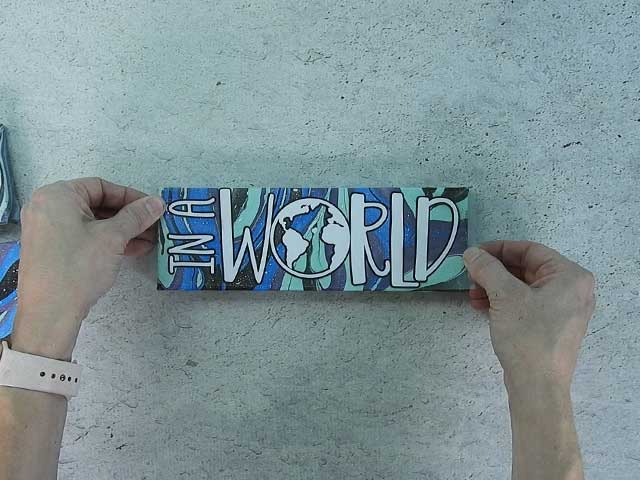
Carefully, pull off the transfer tape. If the vinyl doesn’t stick well, use your fingers to help it stay in place. Once the transfer tape is off, press the design onto the canvas. Repeat with the other canvases.
![]()
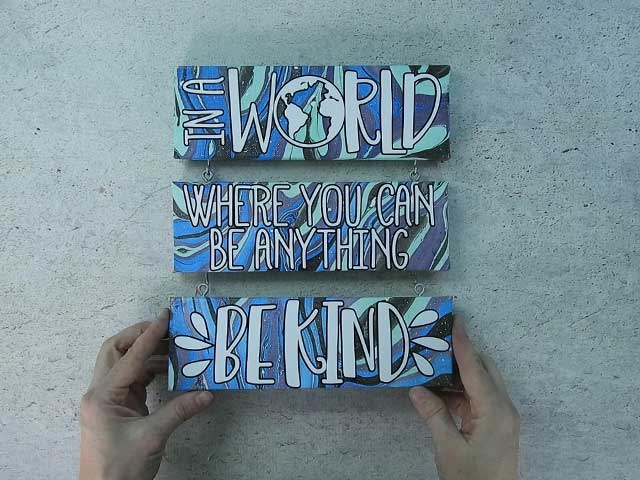
STEP 5: ADD HARDWARE FOR HANGING
Make a mark 1″ from the edges along the bottom of the canvas.
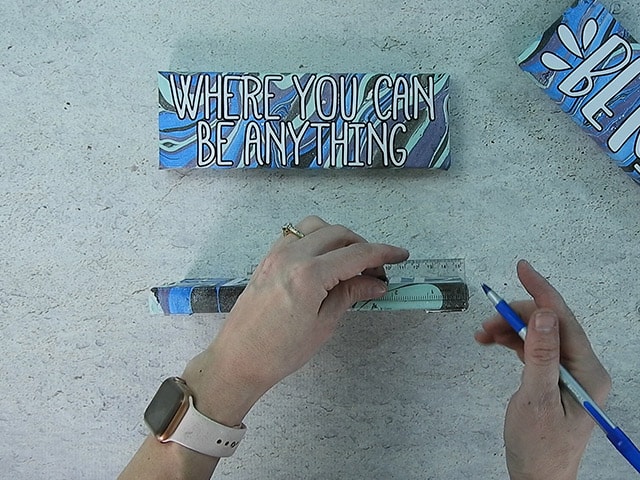
Screw in hooks where you made the marks. Repeat on the middle canvas. You’ll also need to screw in eyes to the tops of the middle and bottom canvases (see picture below).
Once everything is screwed into place, connect the hooks and eyes together.
That’s it. Wasn’t that a fun project? I want to go buy a sign blanks so I can create more!
Here’s a quick video that shows how I used the Easy Marble paint on one of the canvases. Isn’t it fun to watch? I’m telling you, it’s addicting!
Did you enjoy this post? Help spread the word! Share this post on your favorite Pinterest board. Thanks!
This is the coolest thing! Looks like so much fun, and the end result is great! Thanks for sharing this process. Can’t wait to try it myself.
Absolutely beautiful! I can’t wait to try this project! Thanks so much for sharing!