
 This post contains affiliate links for your convenience (which means if you make a purchase after clicking a link I will earn a small commission but it won’t cost you a penny more)! Read my full disclosure policy.
HERE’S WHAT YOU NEED
- Pallet Sign (I found mine here)
- Vinyl (Color doesn’t Matter)
- Application Tool
- Transfer Tape
- Mod Podge
- Battery Operated Light Set (I found mine here)
- Hot Glue & Glue Gun
- 1/8″ Drill Bit & Drill
- Chipboard or Posterboard
- Weeding Tool
- Electronic cutter (cricut explore, silhouette or other cutter)
- Cut File (available for free in my resource library)
HERE’S WHAT YOU DO
STEP 1: DOWNLOAD THE FREE SVG FILE
The first thing you’ll need to do is get the free SVG file you’ll use for this project. I keep all the SVG files I use for the projects I make in my SVG Library. These SVG files work with Cricut and Silhouette machines, as well as many others. This library is open to everyone and is free! You can access the library here. Look for the file called Merry & Bright w/Stars & Dots. It will be listed under the Christmas category-25 Days of Craftmas 2019 – Day 7.
STEP 2: PREPARE VINYL STENCIL
Open the design in your software program. My pallet sign is 12″ x 10″ and I sized my design to about 10″ wide. Then, I added a rectangle around the design to create a stencil.
Do you need more help with creating a vinyl stencil? Check out these posts.
How to Make a Vinyl in Cricut Design Space.
How to Make a Vinyl Stencil in Silhouette Studio
I used Oracal 651 for the stencil because I have lots of it to use up, but you can also use Stencil Vinyl or Oracal 631.
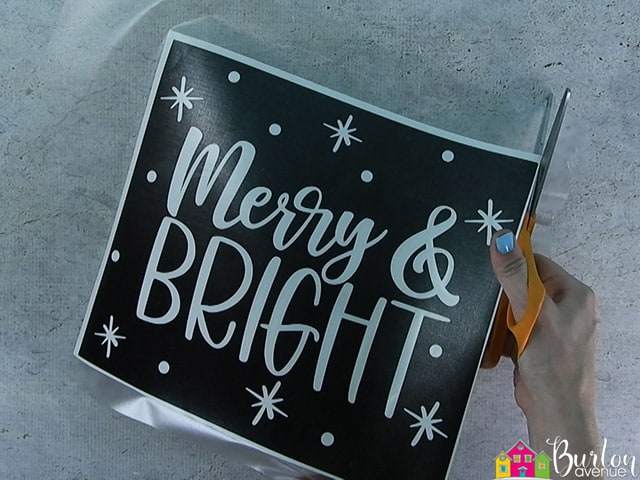
When everything is sized correctly, you can cut the stencil with your Cricut or Silhouette. Once it has finished cutting, weed away the excess vinyl.
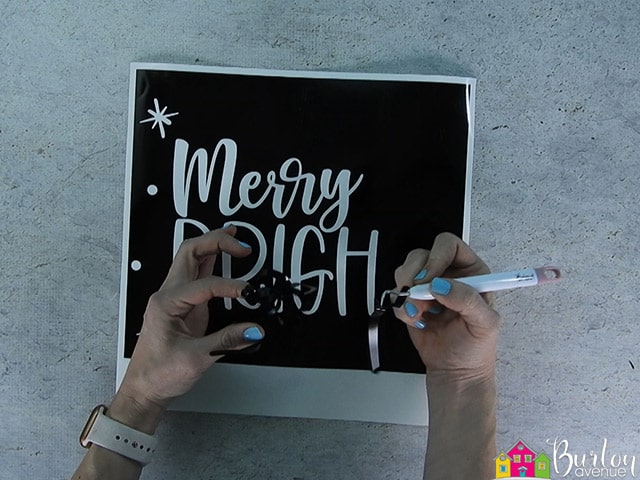
Cut a piece of transfer tape a little larger than the design. Place the vinyl on the transfer tape. Use an application tool to rub over the design. Then, trim off the excess transfer tape.![]()
Place the vinyl so it’s facing down, and then pull off the vinyl backing. I like to do it this way so the vinyl doesn’t curl.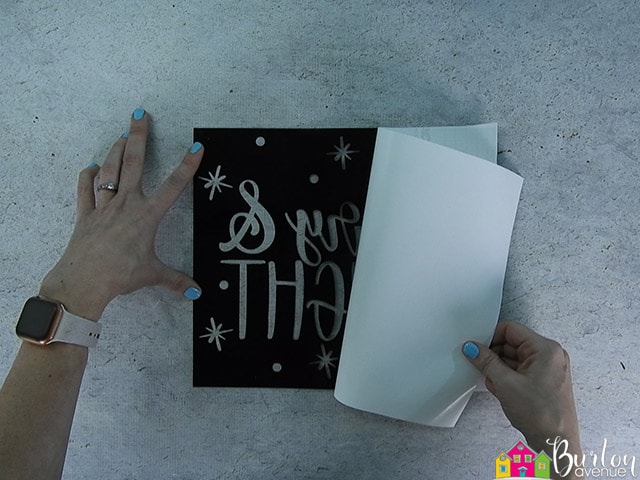
STEP 3: APPLY VINYL TO THE WOOD SIGN
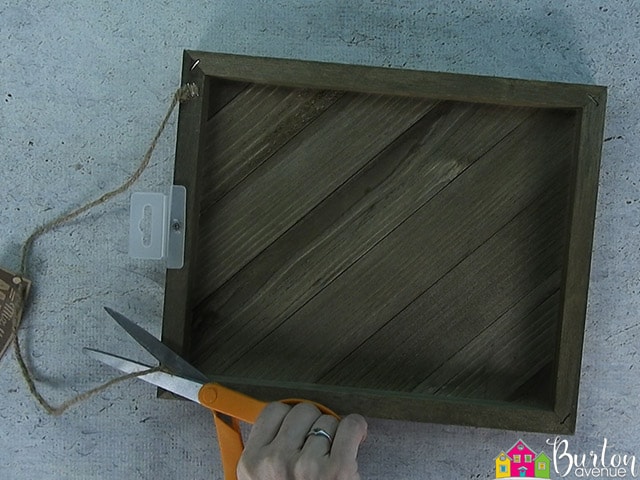
I used a premade wood pallet sign for this project. It was the perfect shape and size. All I needed to do was cut off the jute and remove the screw and plastic hang tag.
Place the vinyl on the pallet. Match up the straight edges of the stencil with the straight edge of the pallet sign.
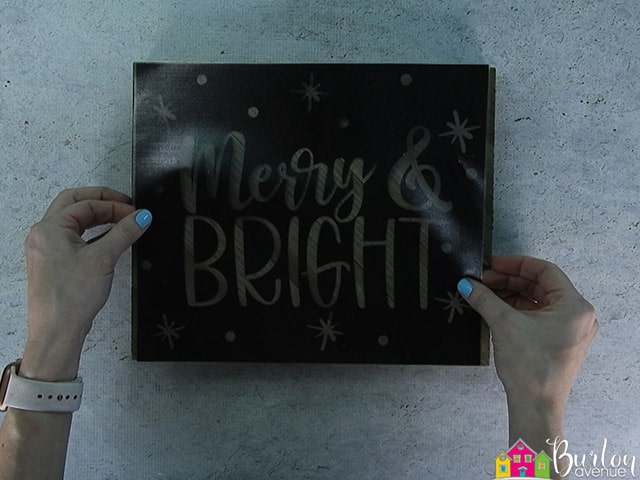
Once it’s in place, use a scraper and rub over the entire design. Really push hard on the gaps between the wood pieces.
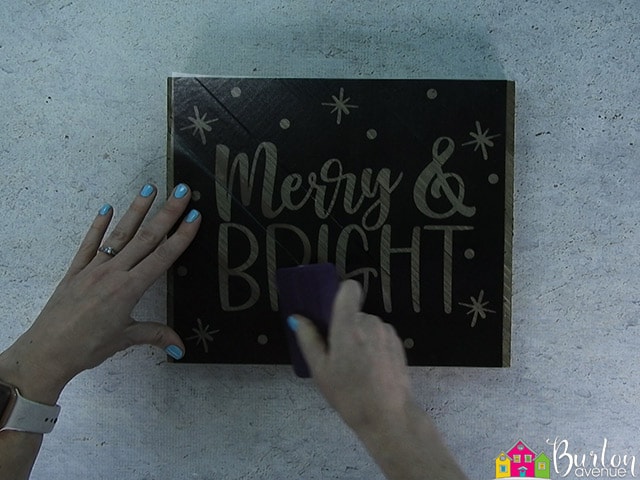
Carefully pull off the transfer tape. It might be a little tricky to get the vinyl to stick to the pallet sign, just go slow and use your fingers to help the vinyl to stay on the sign.
![]()
Rub over the design a few more times with a scraper.
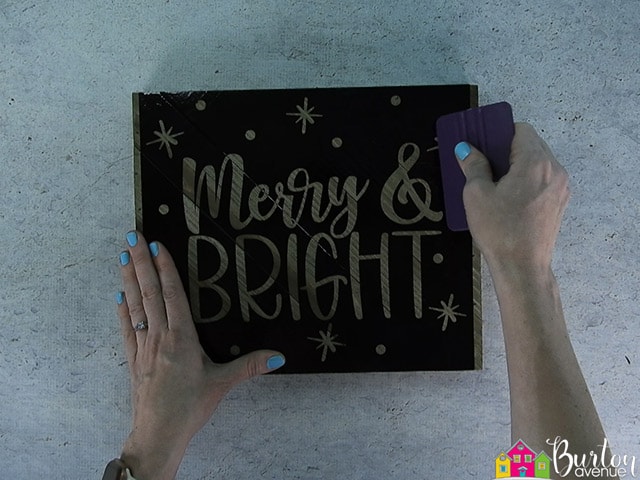
STEP 4: PAINT OVER THE STENCIL WITH MOD PODGE
Paint a generous layer of Mod Podge over the stencil.
Why do we do this? To help prevent bleeds.
Sometimes there are small gaps between the stencil and the wood. Since Mod Podge dries clear, our hope is that the Mod Podge will fill in these gaps, instead of the paint.
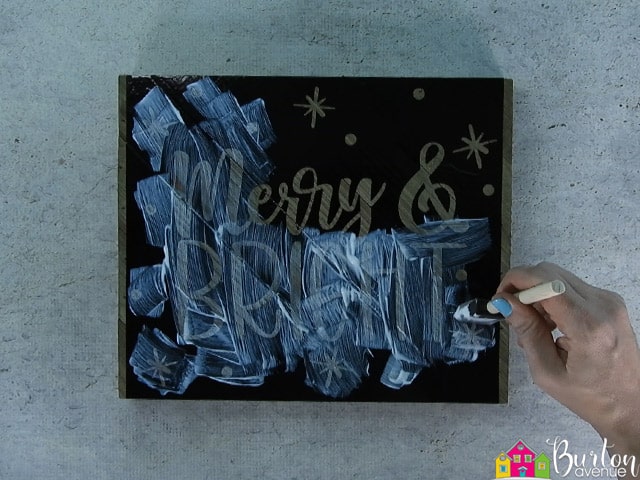
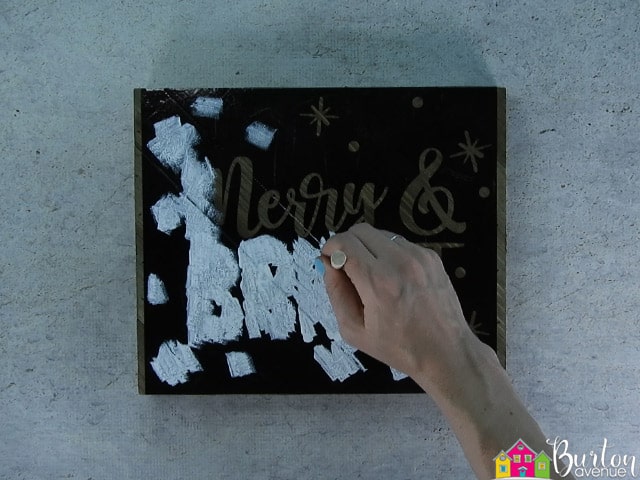
STEP 5: FILL IN THE STENCIL
Once the Mod Podge is dry to the touch, fill in the stencil with white paint. Use an up and down dabbing motion instead of brushing on the paint.
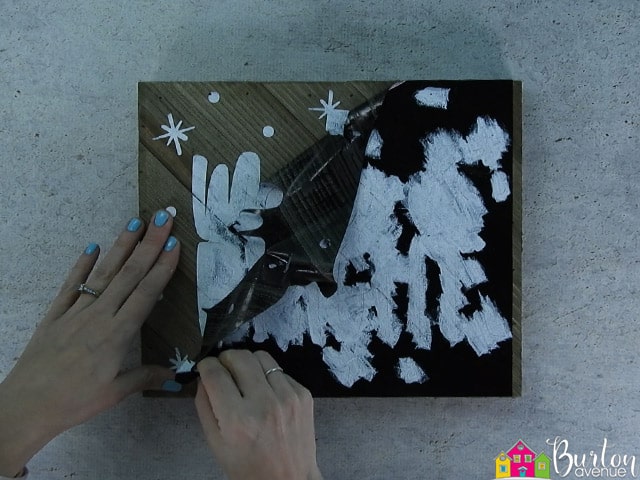
STEP 6: REMOVE THE VINYL STENCIL
Once the paint is dry to the touch, carefully pull off the stencil. You can use a craft knife or weeding tool to pull out the centers of the letters. If there’s any bleeding, you can scrape it off with a craft knife.
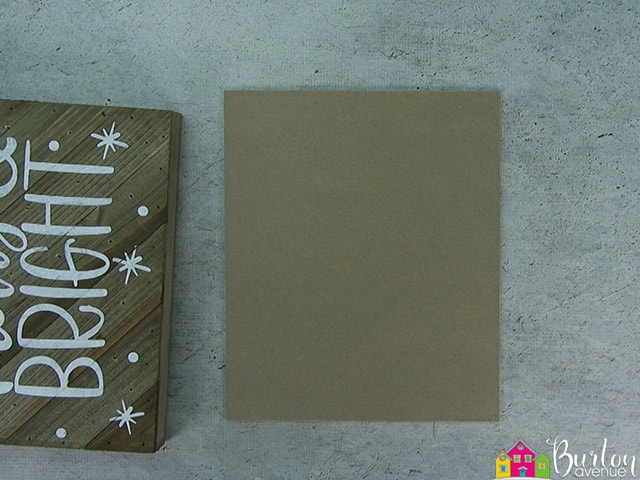
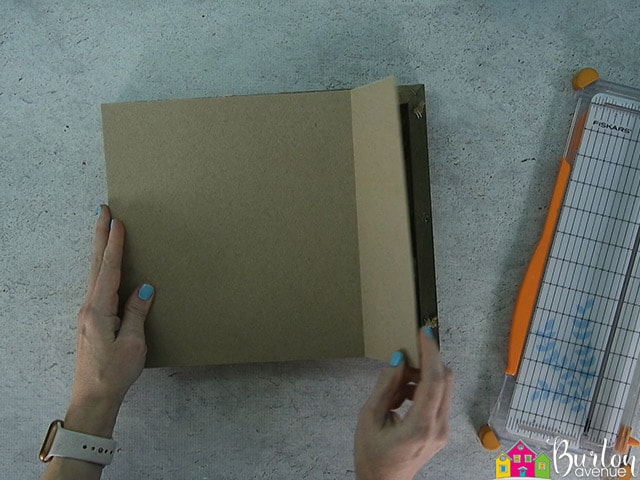
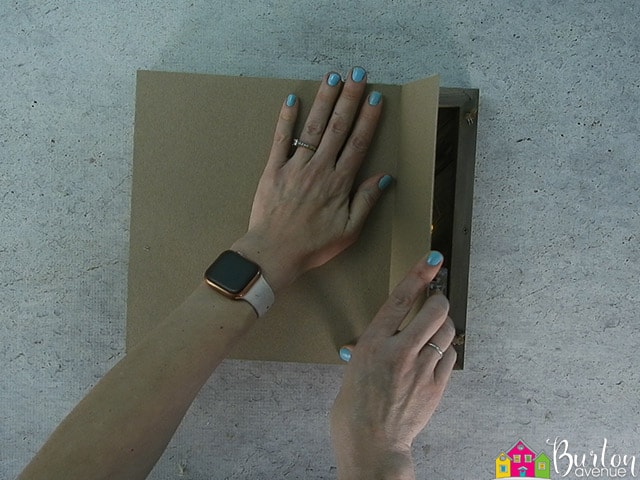
STEP 7: MAKE A BACK FOR THE SIGN
Cut a piece of chipboard the same size as the sign.
Place the lights inside. Put the battery pack in the lower right-hand corner. Put the chipboard on the sign and make a mark where the battery pack starts.
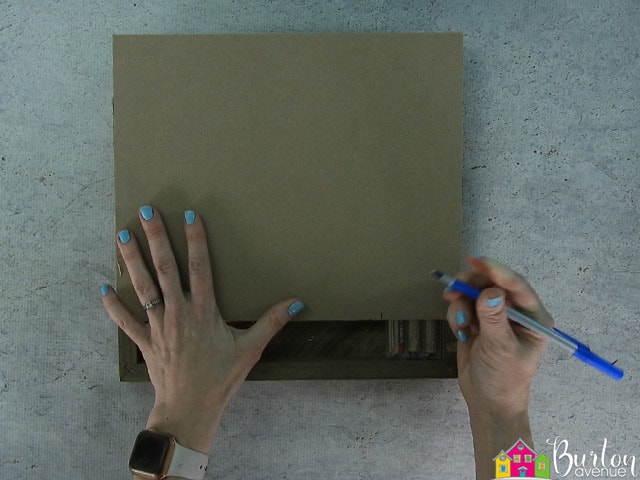
Use a paper trimmer to create a score line along the mark. If you don’t have a paper cutter, you can just create a fold.
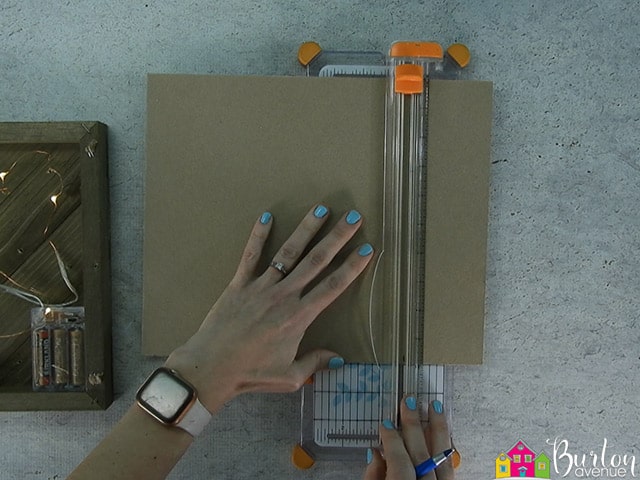
This flap will allow you to access the battery pack.
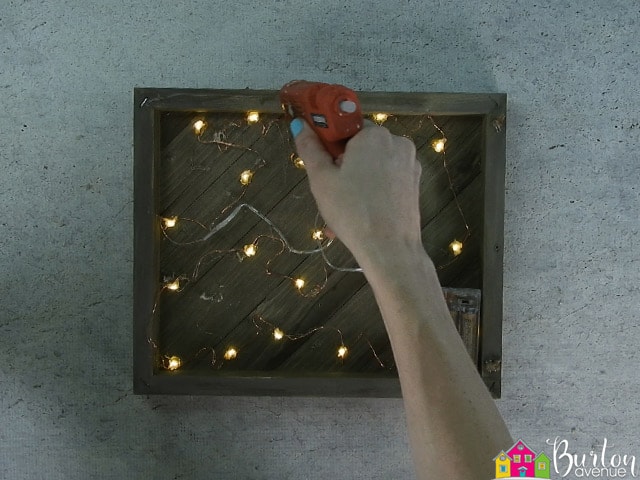
STEP 7: DRILL HOLES AND ATTACH LIGHTS
Use a drill and drill 20 small holes in random places all over the sign.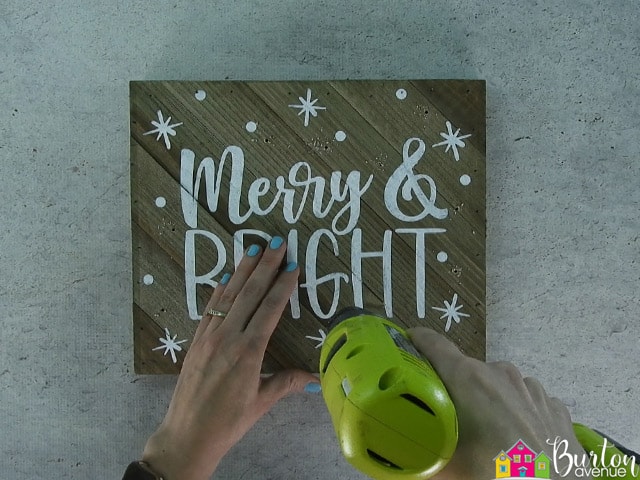
Use hot glue to attach the lights inside the frame. I just added a dab of glue over one of the holes. Then, I placed the LED lights on the glue and held it until it stayed in place.
The lights I purchased have a timer, which is so cool! To make it work, you turn it on when you want it to start (say 5:00 in the evening). Once you turn it on, the timer is set. It will stay on for 6 hours and then shut off for 18. So every night, it will turn on at 5:00 and turn off at 11:00. I never have to remember to do it.
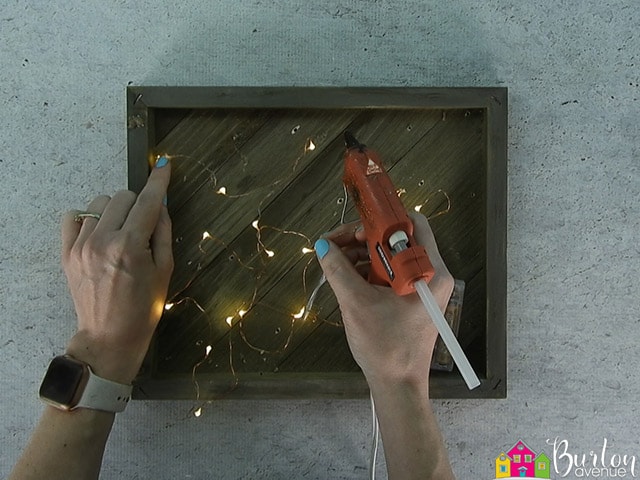
Add hot glue along the left edge of the sign. Then, on the top and bottom. Leave about a 2.5″ gap from the right-hand side, so you don’t get glue on the flap.
Place the back onto the sign
That’s it, your sign is done!

Did you enjoy this post? Help spread the word! Share this post on your favorite Pinterest board. Thanks!
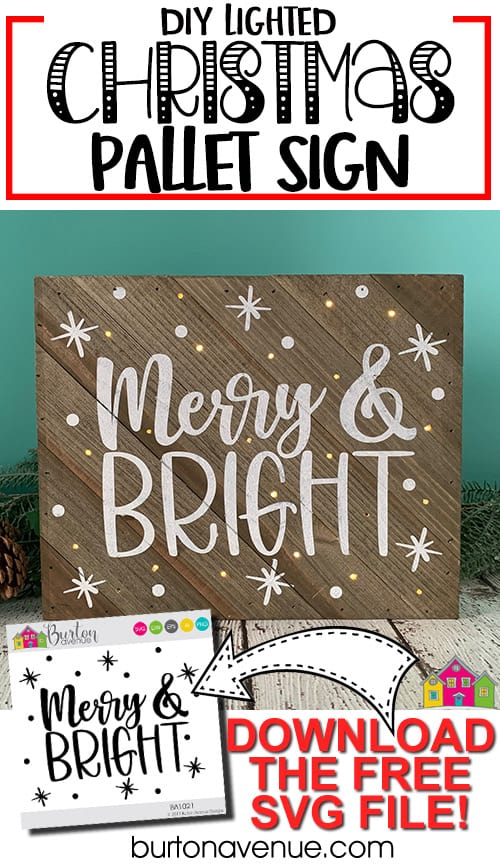
Want to make your own? Get the free cut file for this project in the resource library
Did you drill little holes into the pallet so the lights shine through?