Cutting heat transfer vinyl (aka HTV) with your electronic cutter is fun and super easy, not to mention ADDICTIVE! I seriously love projects made with HTV. They always look so professional and the possibilities are endless. Do you want to learn all about heat transfer vinyl? Check out my Vinyl 101: Heat Transfer Vinyl Basics to learn all about it! Now, I’m going to walk you through the steps of how to use heat transfer vinyl. There are a few simple steps involved when working with heat transfer vinyl: prepare the design, cut, weed, and apply the design to the final surface.
![]()
This post contains affiliate links for your convenience (which means if you make a purchase after clicking a link I will earn a small commission but it won’t cost you a penny more)! Read my full disclosure policy.
Before you begin
Before you can make your HTV project, you’ll need to gather a few supplies. Some of these will come with your machine, others you can find around the house our purchase.
- Electronic cutter (cricut explore, silhouette or other cutter)
- Heat Transfer Vinyl
- Cutting Mat (cricut, silhouette, or other brand)
- Weeding Tool
- Application Tool
- Scissors
- Cut File
- Ruler
- Teflon sheet, towel, or copy paper
- Blank object to put vinyl on
Step One: Prepare the Design
The first step in working with heat transfer vinyl is to get your design file ready to cut. You’ll need a special file that works with your cutting machine, typically an SVG file, in order for the machine to cut your design. You’ll need to measure your blank to determine how big or small you want to cut the design. A “blank” refers to the item you are going to put the vinyl on. Blanks can be anything from t-shirts and pillows to onesies and even wood. Now, open the design in your machine’s software program and scale it to size.
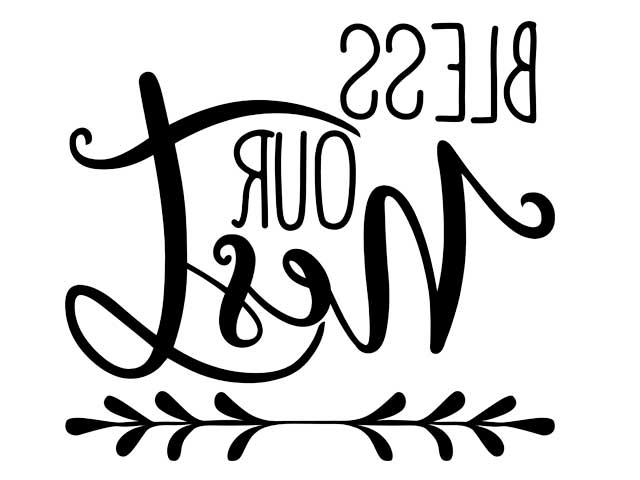
The final step in preparing the design is to reverse or mirror it. The reason you mirror the design with HTV is that you are cutting from the back side of the vinyl. When you apply the design, you flip it over so the design appears correct. Forgetting to mirror is probably the biggest mistake most crafters make with HTV. We all will do it once or twice (at least). Many crafters put small reminders on their machines so they will not forget. Some software programs have popups to remind users to mirror the image before cutting.
Step Two: Cut your Design from Vinyl
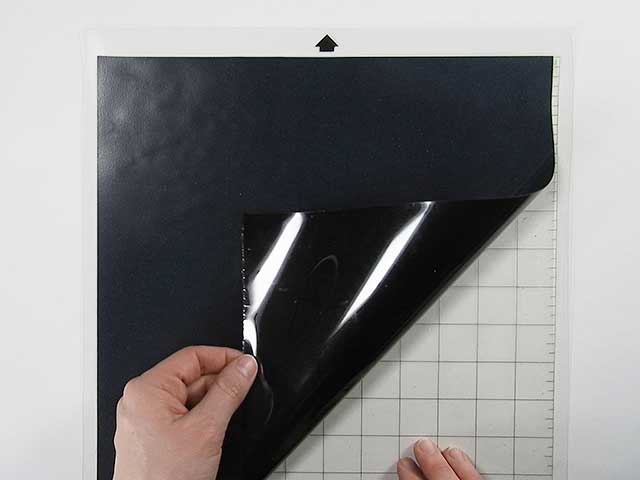
Once the design is sized and ready to go, you’ll need to prep the vinyl to be cut. Put your heat transfer vinyl on your cutting mat, with the shiny side down. You want to cut the back side of the vinyl, not the carrier sheet.
 Load the mat into your machine. Some machines can auto adjust the blade for the different types of materials it can cut. Other machines need to be adjusted manually. Choose the setting that works for your vinyl (be sure you have mirrored your design) and send the design to your machine to cut.
Step Three: Weed away the Excess Vinyl
Once your machine has finished cutting your design, remove the mat and vinyl from the machine. Then remove the vinyl from the mat. Trim off the extra vinyl around your design. Save your bigger scraps to use on later projects. Remove the excess vinyl from around your design, including any inside pieces. This process is called weeding. You’ll need to use a weeding tool to remove the excess vinyl. Start in the corner and use the tool to separate the vinyl from the clear carrier sheet.
![]()
Keep pulling up on the vinyl until you’ve removed all the excess from around your design.
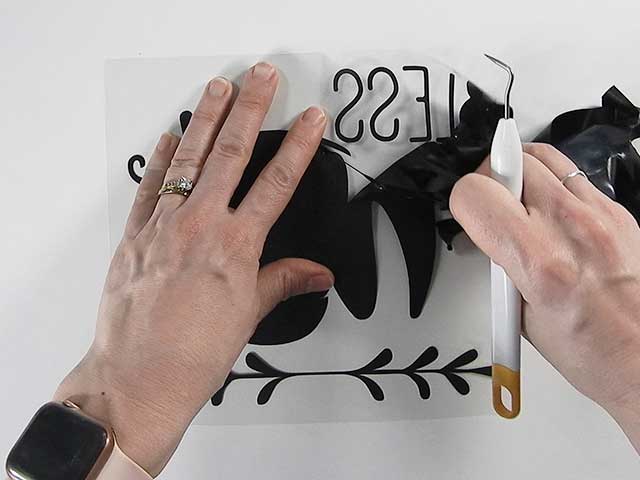
Use the weeding tool to remove the vinyl from the insides of the letters.

Once you’ve removed all the excess vinyl, you can flip over your design to see what it will look like.

Step Four: Apply Heat and Pressure
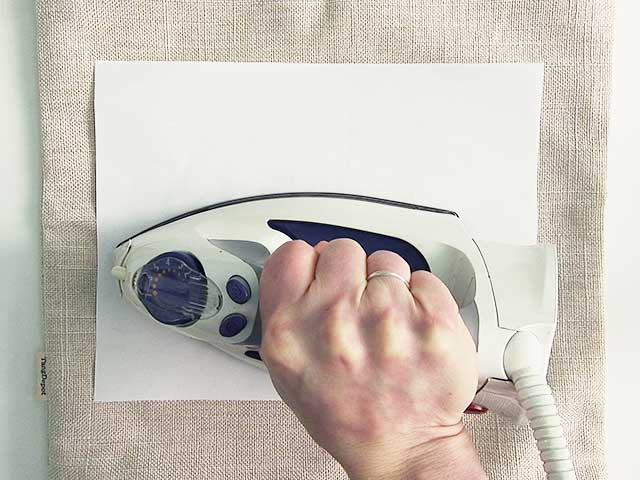
Now it’s time to apply the vinyl design to your blank. You’ll do this with heat and pressure. You can use an iron, heat press, or Easy Press. Turn your iron onto the cotton setting and make sure the steam is turned off. Make sure you have ironed out any wrinkles in the blank. Position your design on your blank. You can use a ruler to make sure it’s centered.
![]()
Use an iron to apply pressure to each part of the design. You’ll want to press each section of your design for 25-30 seconds. You’re not ironing with a back and forth motion, you’re just applying pressure. To protect your iron, you can place a Teflon sheet, towel, or even a piece of copy paper over the design before you iron.
Once you’ve applied even pressure to the entire design, you can carefully remove the carrier sheet. If the vinyl starts to come up with the carrier sheet, you’ll need to apply more heat and pressure. With some HTV, you’ll remove the carrier sheet when it’s still hot, others you’ll remove after it’s cooled down. Check the manufacturer’s instructions to be sure which one you should do. After you’ve removed the carrier sheet you can flip your project inside out and apply more heat and pressure from the back side.

That’s all there is to it!

Doesn’t it look amazing? Yes, and totally professional. That’s why I LOVE HTV.
![]()
Now that you’ve got the basics of HTV down, how about trying a multi-color design?
- How to Cut Multi-Colored Designs in Silhouette Studio
- How to Cut Multi-Colored Designs in Cricut Design Space
- How to Layer HTV your Silhouette Cameo or Cricut
Just remember whenever you’re cutting with HTV, mirror your design!
Happy Crafting!