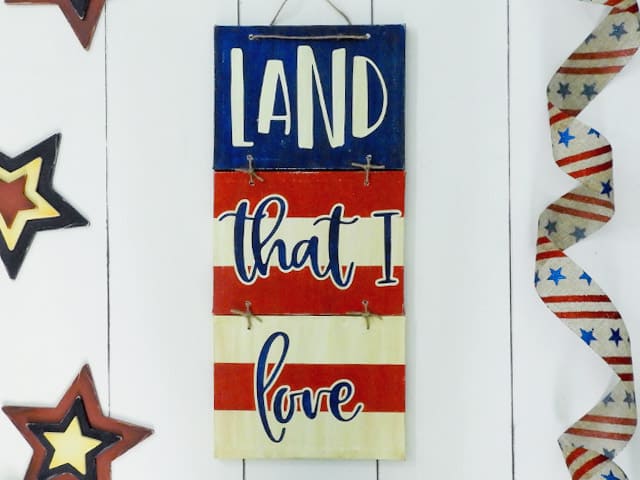
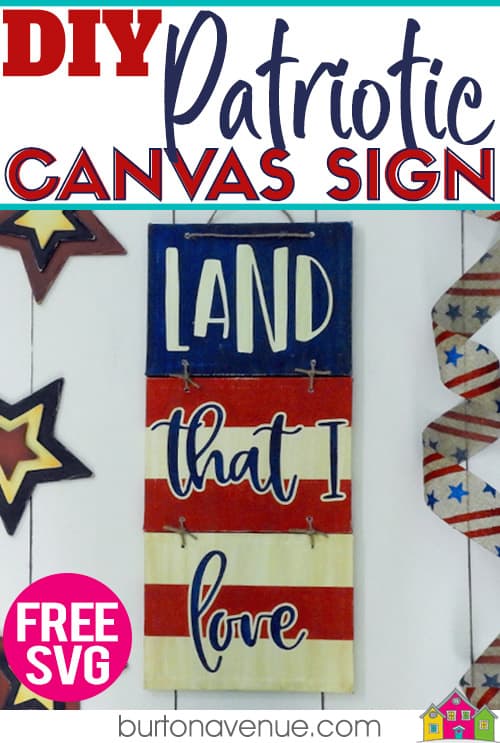
Are you ready for another patriotic project tutorial to make with your Cricut or Silhouette? This cute patriotic sign is made from stretched canvas signs. I love using canvas signs because they are prefinished for you. You can skip the cutting and sanding required with wood signs and go right to the fun part of painting.
HERE’S WHAT YOU NEED
- 3 – Stretched Canvas Signs (6″ x 8″) I found mine at Dollar Tree
- Vinyl (color doesn’t matter)
- Transfer Tape
- Acrylic Paint
- Application Tool
- Craft Knife
- Jute
- Smoothing Tool
- Electronic cutter (cricut explore, silhouette or other cutter)
- Cut File (available for free in my resource library)
HERE’S WHAT YOU DO
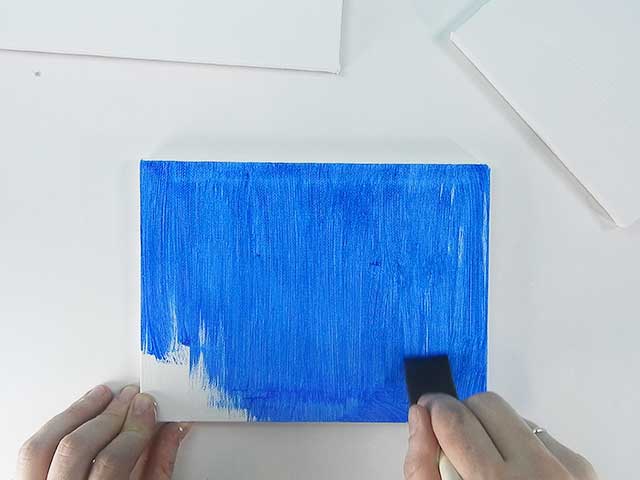
STEP 1: PAINT THE CANVAS SIGNS
You’ll want to paint 2 signs white and 1 sign blue. You’ll need a few coats of blue paint to get an even look, but you should only need to do one coat of white paint. Even though the canvases are already white, make sure you don’t skip this step. Your vinyl stencil will stick so much better than without the paint.
STEP 2: CUT AND WEED VINYL STENCIL
Open the design in your software program. Size each piece so it fits on your canvas. Once everything is sized correctly, you can cut the stencil with your Cricut or Silhouette. Once it has finished cutting, weed away the excess vinyl.

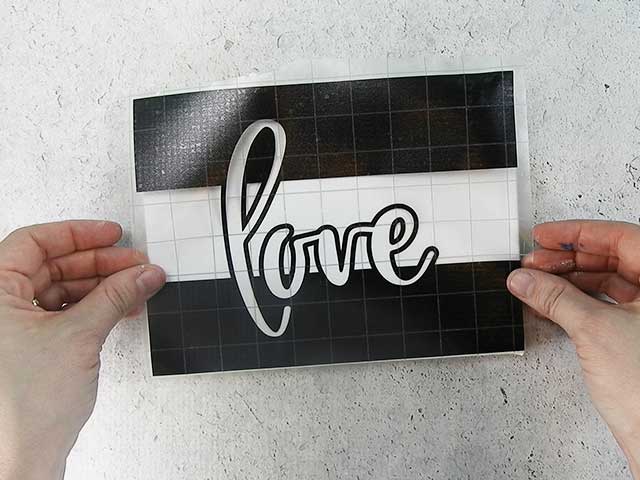
STEP 3: APPLY TRANSFER TAPE
Cut a piece of transfer tape a little larger than the design and place the vinyl on top of the transfer tape. I like to use transfer tape that is on the roll without any backing. I just unroll the amount I need, place the vinyl down, and cut it to size.
![]()
STEP 4: REMOVE VINYL BACKING
Rub over the design a few times with a scraper or application tool (you could even use a credit card). Then, flip the design over and pull off the vinyl backing.
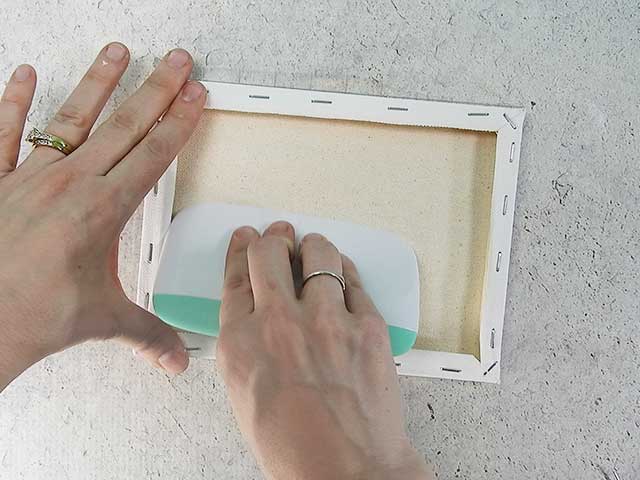
STEP 5: POSITION VINYL ON CANVAS
Once the paint is completely dry, place the vinyl stencil on the canvas. Flip the canvas over and rub on the backside of the canvas to help the vinyl stick.
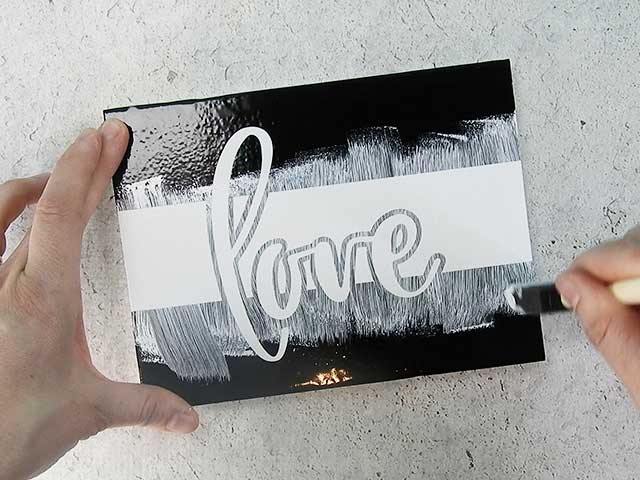
STEP 6: REMOVE TRANSFER TAPE
Carefully pull off the transfer tape. You’ll probably need to hold down the edges while you pull it off to help the vinyl stay on the canvas. Go slow and be sure the vinyl is not coming off with the tape.
![]()
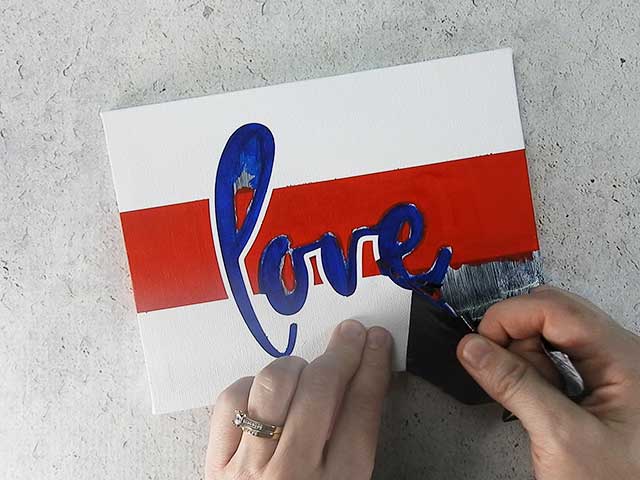
STEP 7: PAINT OVER THE STENCIL WITH BASE COAT PAINT
To help prevent bleeds, paint over the stencil with the same paint you used for the base coat. For the canvases with the words “love” and “that I”, you’ll want to paint over the stencils with white paint. For the stencil with the word love, you’ll paint over the stencil with blue paint.
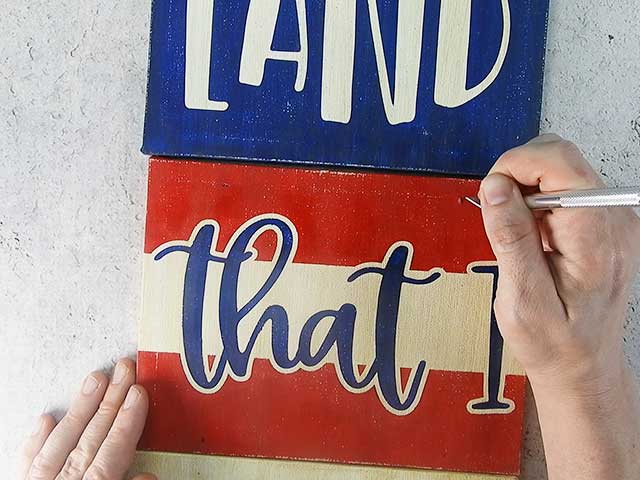
STEP 8: FILL IN THE STENCIL
Start filling in the design with paint. You’ll probably need several coats of all the colors to get good coverage.
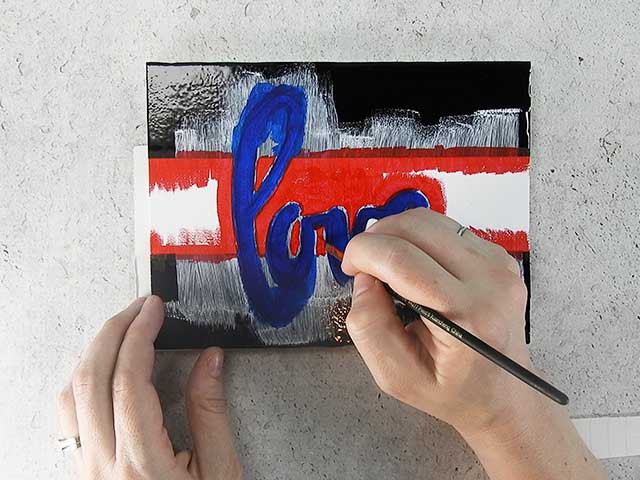
If you want to paint the sides with stripes that match the front, you can add some strips of vinyl to help you paint nice straight lines.
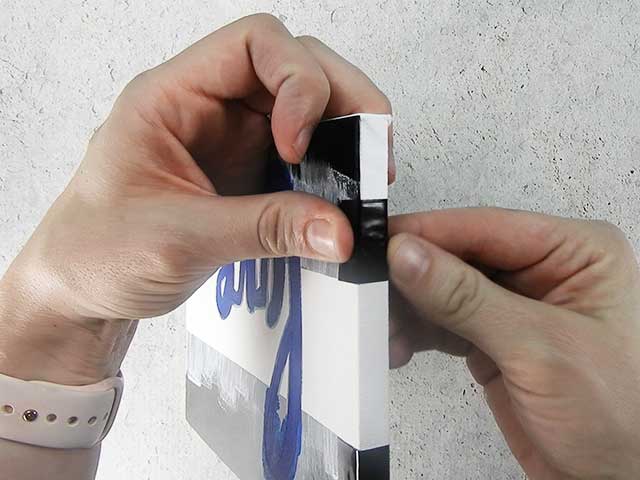
STEP 9: REMOVE VINYL STENCIL
Once the paint is dry to the touch, carefully pull off the stencil. You can use a craft knife or weeding tool to pull out the centers of the letters. If there’s any bleeding, you can touch it up with a small paint brush.
STEP 10: DISTRESS AND AGE SIGN
If you want your sign to have an aged look, keep reading. If not, skip to step 11.
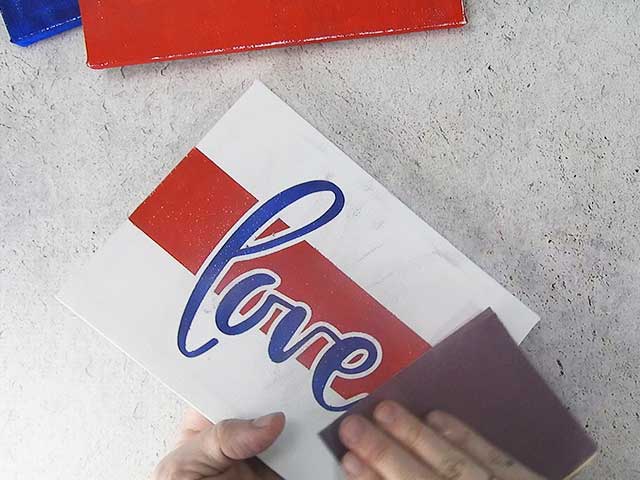
Lightly sand the edges and the front of each canvas sign. You want to remove enough paint that white canvas starts to show through.
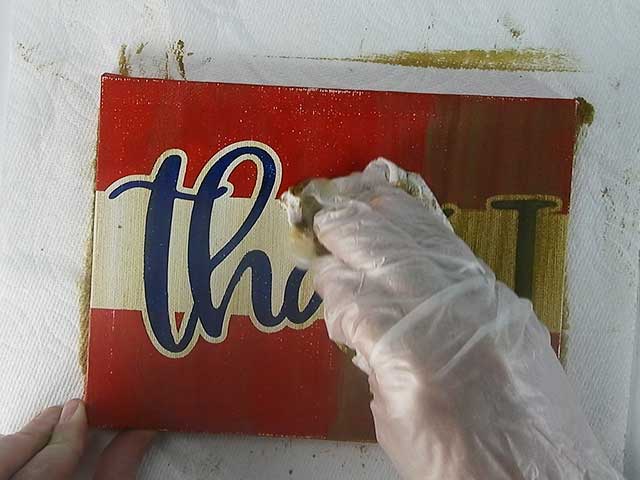
Mix together a little bit of yellow and brown paint and then add water. The color is not pretty, but I think it gives a great antiqued look when it’s finished. Once the paint is mixed, quickly brush it on the canvas.
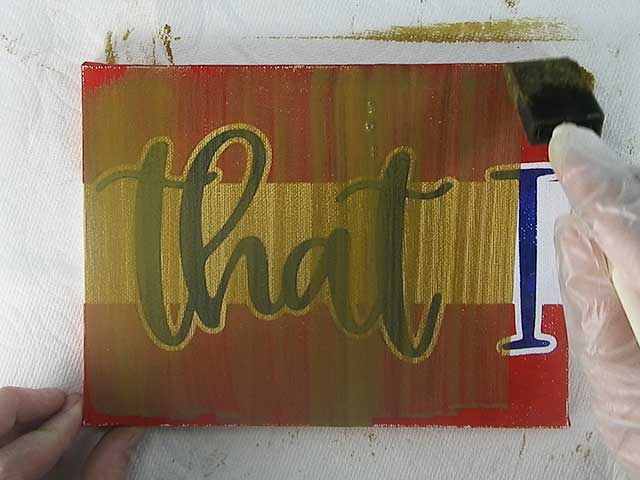
Then, grab a paper towel or rag and wipe it off.
STEP 11: MAKE HOLES IN CANVAS SIGNS
Measure over 1.5″ from the edge and about .5″ from the top of the canvas and mark for a hole.
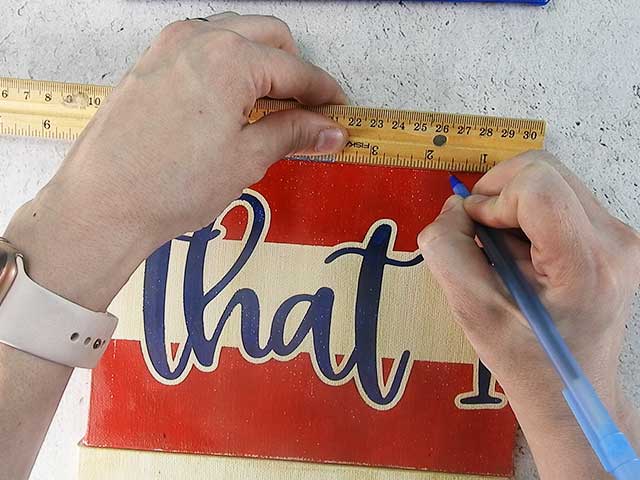
The diagram below shows where you’ll need to mark each canvas.
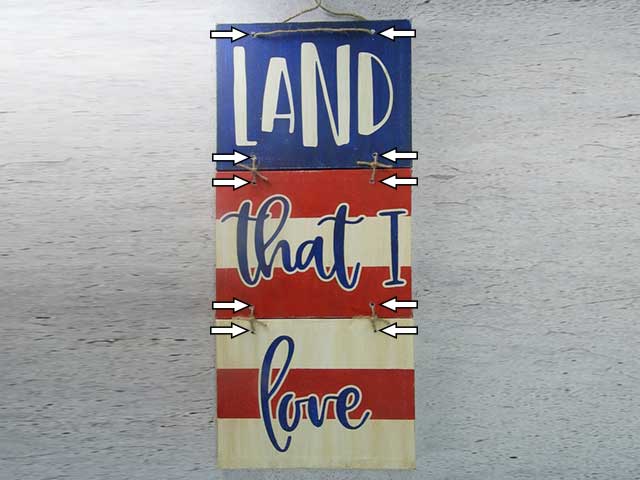
With a craft knife or scissors, poke a small hole where you marked on the canvas.
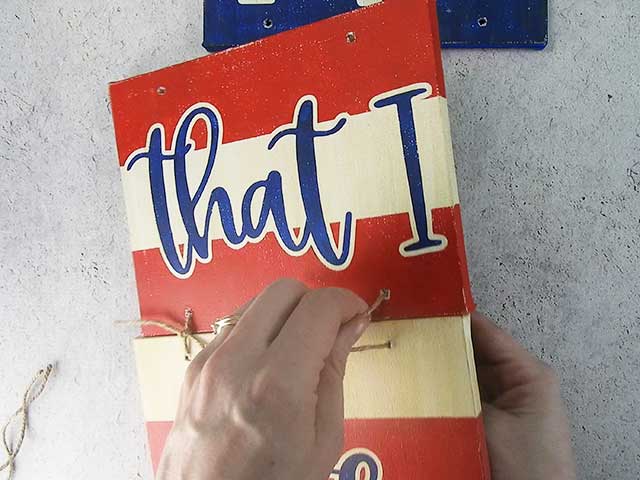
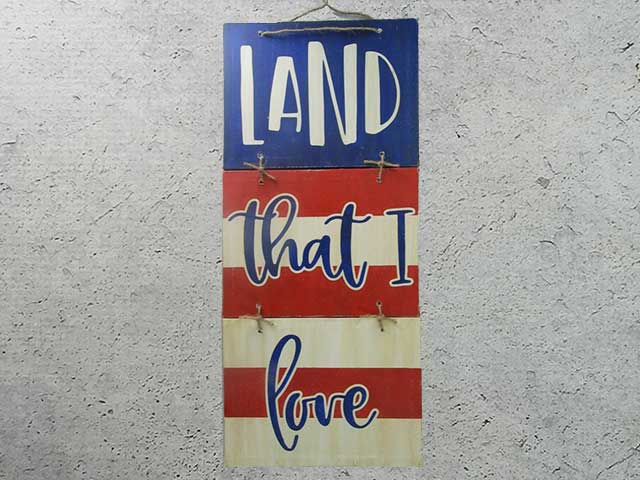
STEP 12: ATTACH THE SIGN TOGETHER
Cut 6 – 7″ pieces of jute. Thread the jute through the holes and pull through the front of the sign.
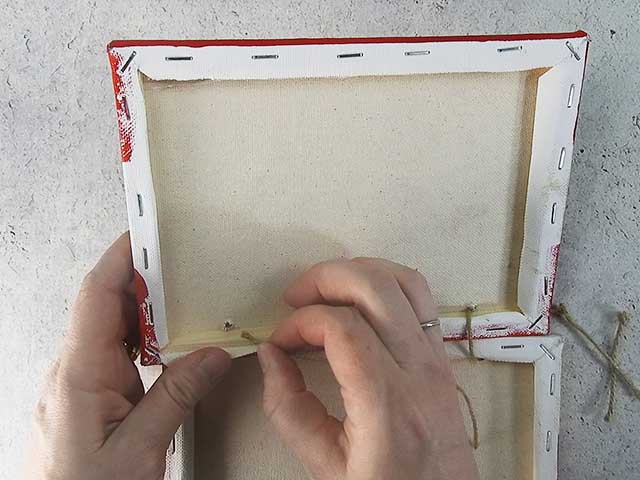
Tie a knot and trim off the ends.
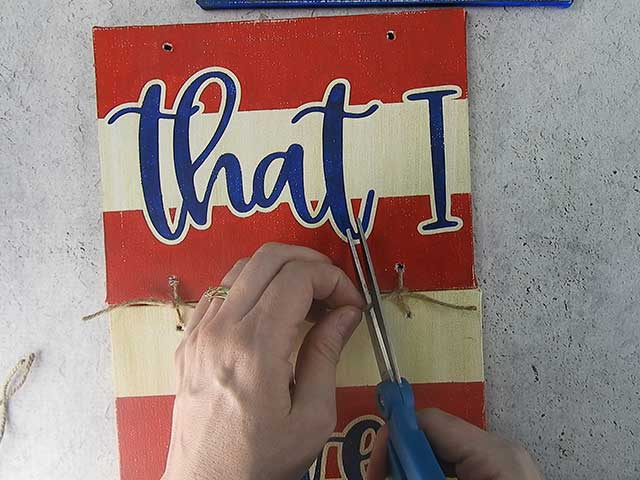
Cut a long piece of jute and thread through the top of the sign. Tie the two ends in a knot and trim.

That’s it! Now you’ve got a cute patriotic canvas sign you’ve made with your Silhouette or Cricut!
Did you enjoy this post? Help spread the word! Share this post on your favorite Pinterest board. Thanks!
Thank you!