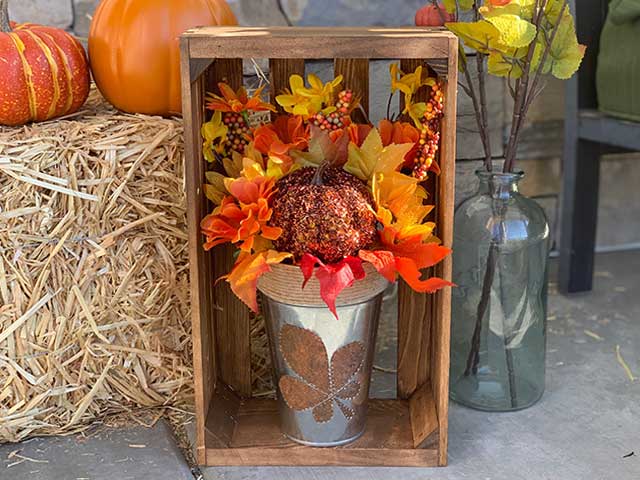
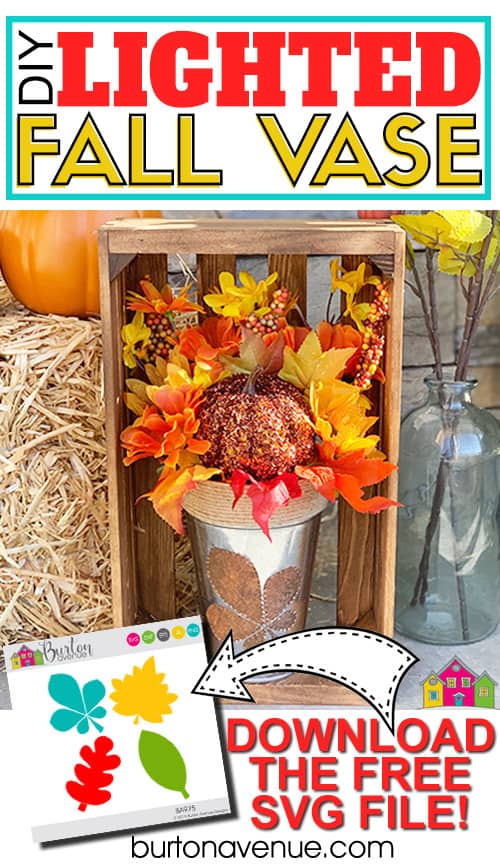
I’m super excited to share today’s project. It was one of those projects I put together in my head and then crossed my fingers it would turn out as I planned. It’s a unique way to turn an ordinary metal vase into a super cool decoration for fall. Do you want to make your own? Read on for the full tutorial.
HERE’S WHAT YOU NEED
- Metal Vase (I found mine at Dollar Tree)
- Vinyl for Stencil (Color Doesn’t Matter)
- Leaves, Flowers, Styrofoam Pumpkin (from Dollar Tree)
- Hot glue and glue gun
- Floral Craft Foam
- Acrylic Paint & Foam Dabber (I used a light and dark brown)
- Plastic Bag
- Chalked Spray Paint
- Battery Operated Mini Lights
- Awl and Hammer (or long nail)
- Application Tool
- Transfer Tape
- Electronic cutter (cricut explore, silhouette or other cutter)
- Cut File (available for free in my resource library)
HERE’S WHAT YOU DO
STEP 1: DOWNLOAD THE FREE SVG FILE
The first thing you’ll need to do is get the free SVG file you’ll use for this project. I keep all the SVG files I use for the projects I make in my SVG Library. These SVG files work with Cricut and Silhouette machines, as well as many others. This library is open to everyone and is free! You can access the library here.
STEP 2:
CUT AND WEED VINYL STENCIL
Open the design in your software program and size to fit on your vase. I sized my design to about 4″ tall. Then, I added a rectangle around the design to create a stencil.
Do you need more help with creating a vinyl stencil? Check out these posts.
How to Make a Vinyl in Cricut Design Space.
How to Make a Vinyl Stencil in Silhouette Studio
I used Oracal 651 for the stencil because I have lots of it to use up, but you can also use Stencil Vinyl or Oracal 631.
When everything is sized correctly, you can cut the stencil with your Cricut or Silhouette. Normally, when you cut a stencil, you’ll pull out the negative area, but for now, just weed away the vinyl around the rectangle. There are also tiny circles that border the leaf. You don’t need to weed those either. Those are just a guide for where you’ll punch the metal later on.
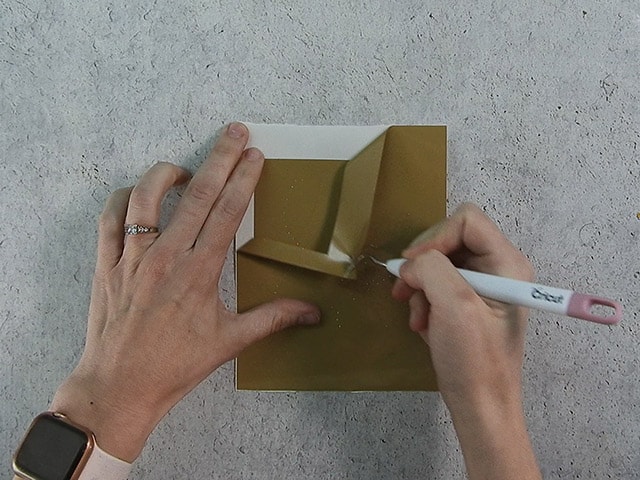
STEP 3: APPLY TRANSFER TAPE
Cut a piece of transfer tape a little larger than the design. Place the transfer tape on the vinyl. Use an application tool to rub over the design. Then, trim off the excess transfer tape.
![]()
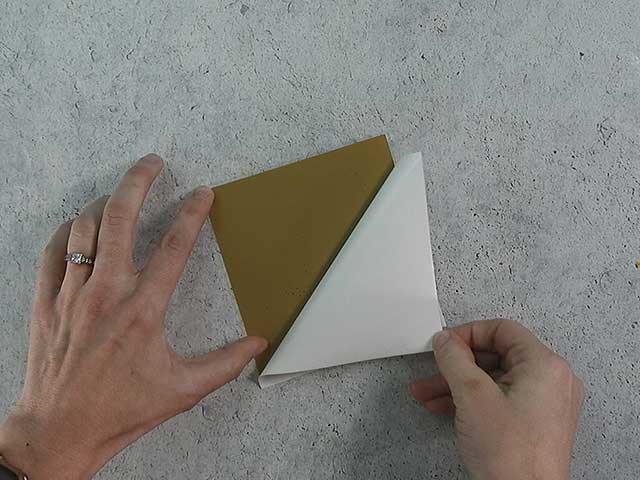
STEP 4: REMOVE VINYL BACKING
Place the vinyl so it’s facing down, and then pull off the vinyl backing. I like to do it this way so the vinyl doesn’t curl.
STEP 5: CENTER DESIGN ON THE METAL VASE
Center the design over the vase and press into place. Since it’s just a leaf, you don’t need to worry too much about it being perfectly straight.
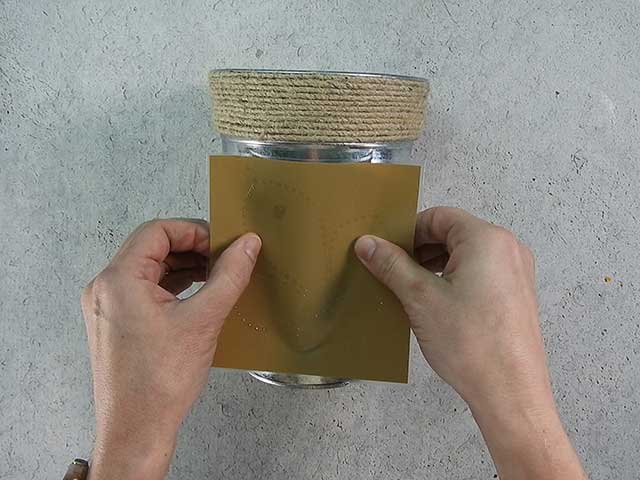
STEP 6: REMOVE TRANSFER TAPE
Carefully pull off the transfer tape.
![]()
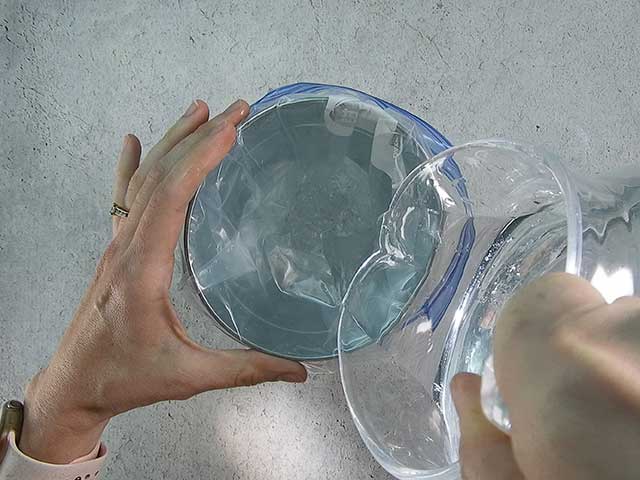
STEP 7: FILL VASE WITH WATER AND FREEZE
Place a large plastic bag inside the vase and fill it with water. My vase leaked without the bag, so don’t skip that step. Then, freeze for several hours (overnight if possible) until the ice is solid. This will allow you to hammer an awl into the side of the vase without the vase denting.
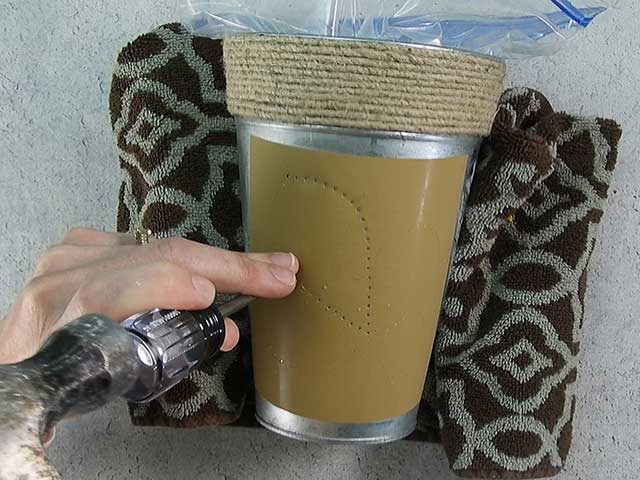
STEP 8: PUNCH THE METAL VASE
Using an awl (or nail) and hammer to punch out the design. Place the tip of the awl in the tiny circles that were cut in the vinyl. Gently tap the awl into the metal with the hammer. The harder you tap, the bigger the hole will be. Continue working around the pattern until the entire design is punched out.
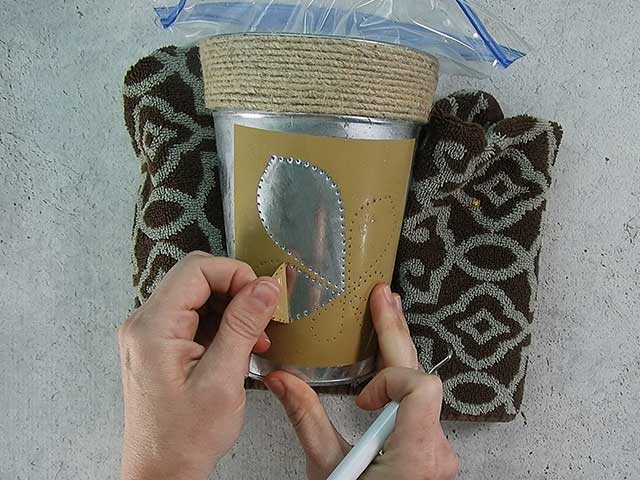
STEP 9: REMOVE VINYL STENCIL
Once you’ve finished punching all the holes, remove the inside of the vinyl stencil. Let the ice melt until you can remove it from the vase. Then, dry everything completely.
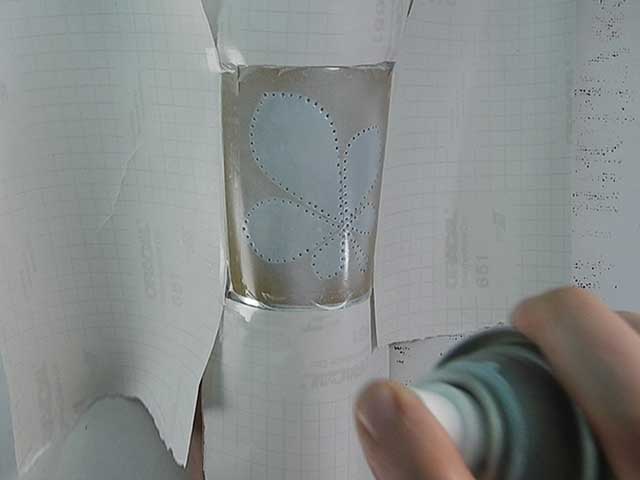
STEP 9: COVER THE STENCIL WITH SPRAY PAINT
Cover any exposed areas of the vase with paper. Lightly paint the inside of the stencil with chalked paint.
Chalked spray paint. sticks really well to the metal vase. I tried using just acrylic paint and then a Mod Podge base and acrylic paint, but they both peeled off when I took off the stencils. Then, I remembered my patriotic mason jar lanterns. I was really happy with how well the chalk paint stayed on, so I used that as my base and then added acrylic paint on top. It worked really well. Regular spray paint might work, but I didn’t test it.
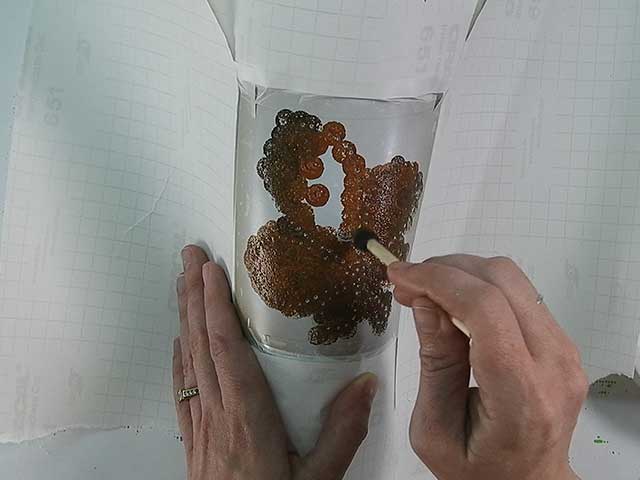
STEP 10: FILL IN STENCIL WITH BROWN PAINT
Use a foam dabber to fill in the stencil. Use an up and down motion to prevent bleeding.
I was going for kind of a rusty look, so I used a mixture of light and dark brown paints.
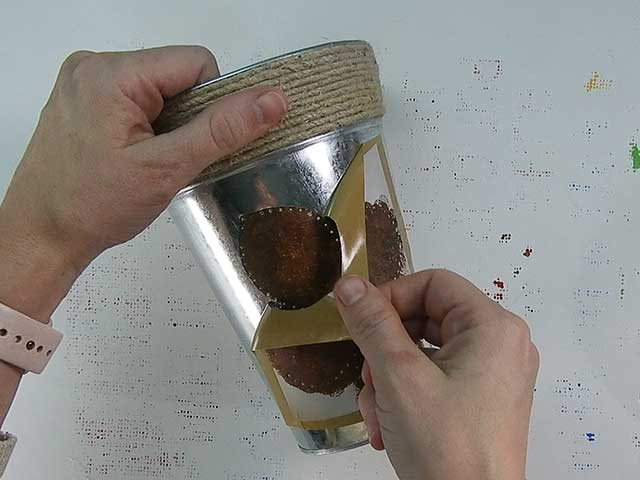
STEP 11: REMOVE STENCIL
Once the acrylic paint is dry to the touch, carefully pull off the vinyl stencil. If any of the holes got filled with paint, use the awl to clean them out.
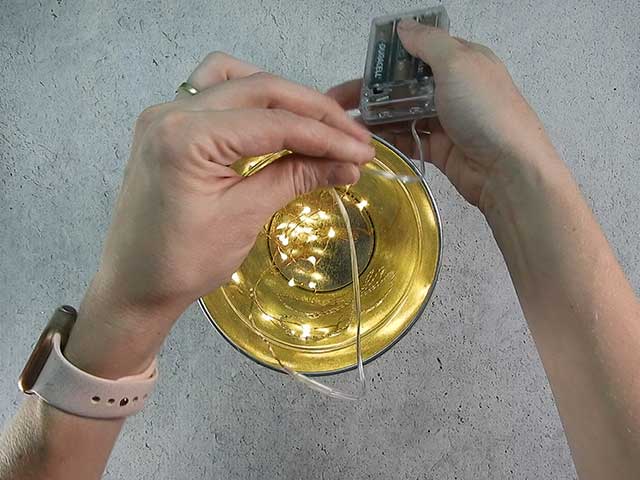
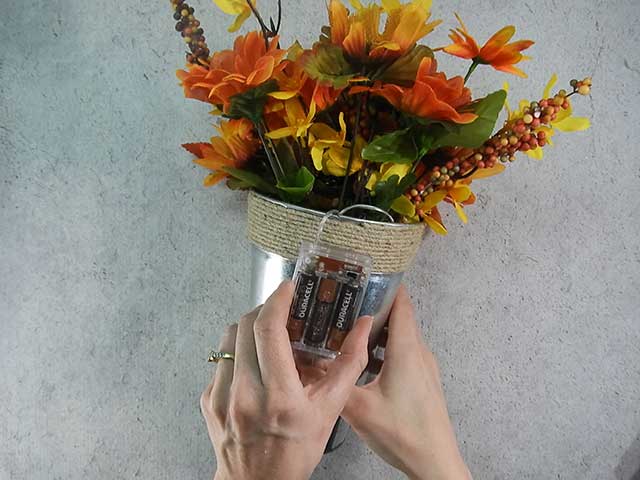
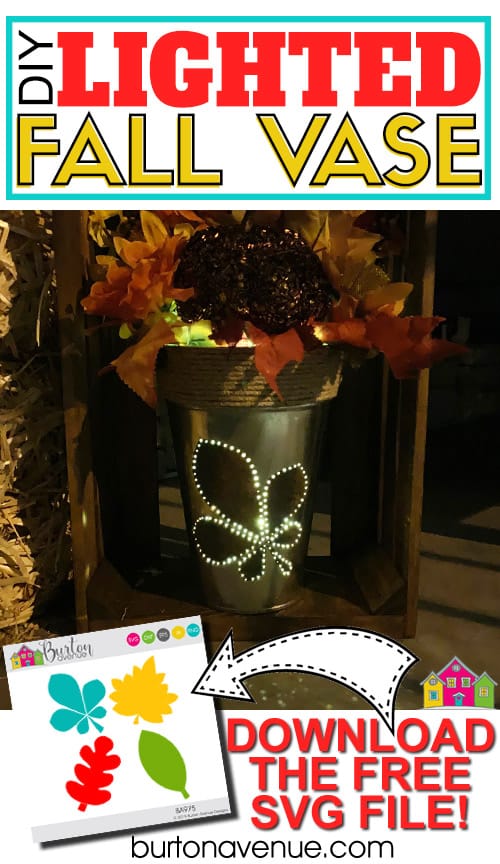
STEP 11: PLACE LIGHTS IN BOTTOM OF VASE
Place the strand of lights inside the bottom of the vase. Leave the battery pack hanging outside of the vase.
These lights are ideal for a project like this because they have a timer. To make it work, you turn it on when you want it to start (say 5:00 in the evening). Once you turn it on, the timer is set. It will stay on for 6 hours and then shut off for 18. So every night, it will turn on at 5:00 and turn off at 11:00. You never have to remember to do it.
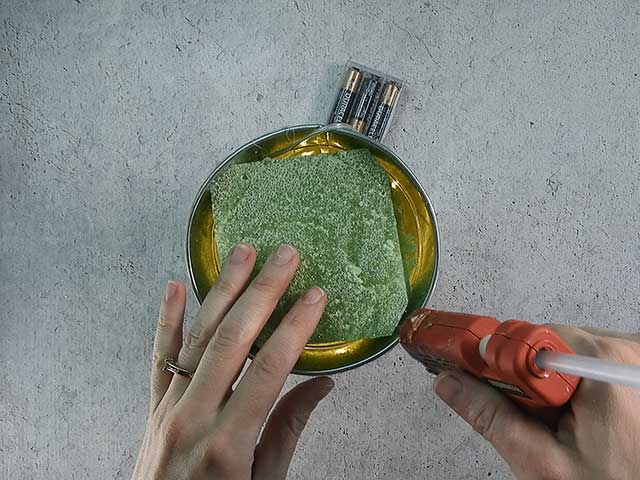
STEP 12: ADD FLOWERS, LEAVES, AND OTHER FALL DECOR
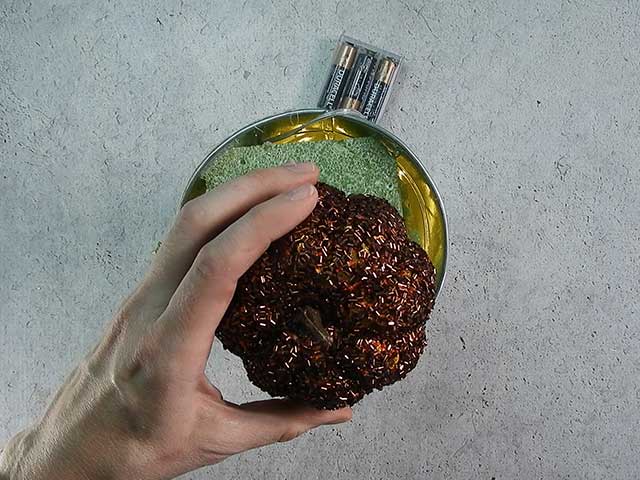
Cut a piece of floral craft foam to fit inside the top of the vase. Use hot-glue to keep it in place. Add fall flowers and leaves to complete the arrangement.
I found this really cute styrofoam pumpkin the Dollar Tree and added it to the center.
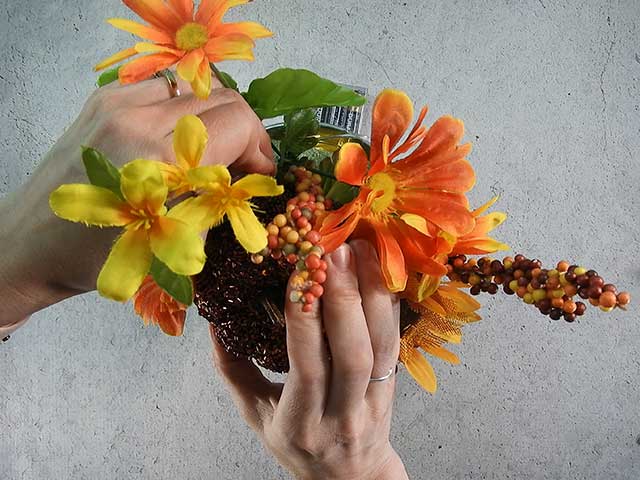
Then, I just started added flowers and leaves until I was happy with how everything looked. I don’t really know how to arrange flowers, so I just kind of faked it. I added taller flowers to the back and shorter flowers to the front and then filled in the empty space with leaves.
To finish it off, I used hot glue to attach the battery pack to the back of the vase.
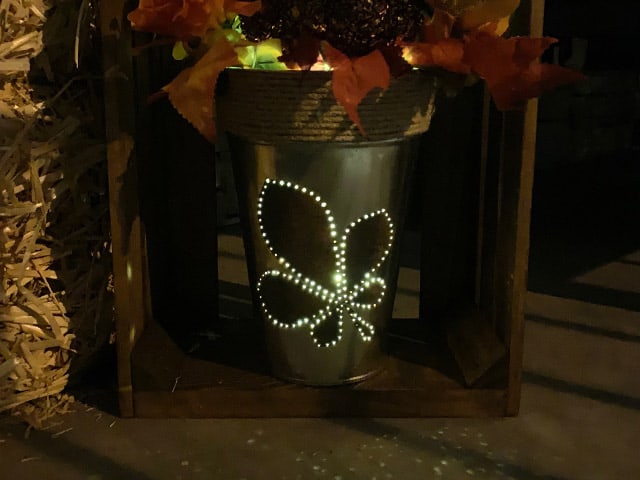
I think it turned out really cute. I love it, even more, when it’s dark!

Did you enjoy this post? Help spread the word! Share this post on your favorite Pinterest board. Thanks!
Thank you sooooo much for sharing this! I have many of these buckets that I bought over a year ago, that I have been racking my brain as to what to do with them! I like the idea of the lights! I am not going with the fall theme, but a Christmas idea I already had in mind, but will incorporate the lights! I am so excited! Always love your projects!
I love this!! I can’t wait to make one for my daughter. The steps are really clear and sounds easy to make. I’m glad you told us about what kind of paint to buy and the trick about using ice to pound the nail into!