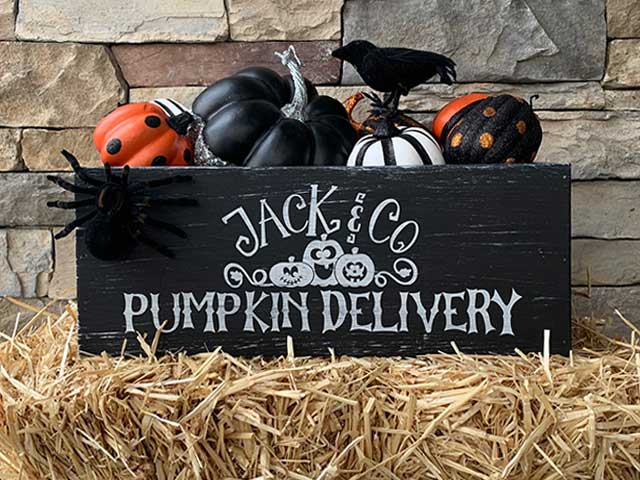
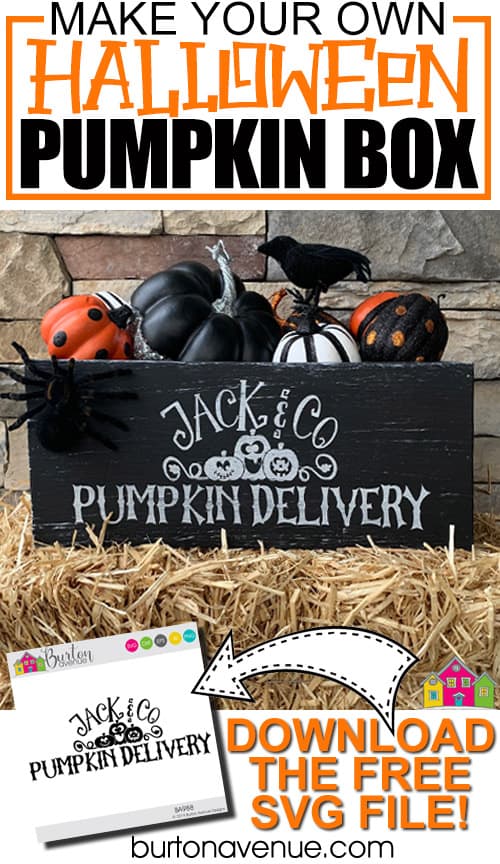
October will be here next week! Time is flying and it’s time to start putting out the Halloween decor. This week, I’m working on my front porch decorations. I had a cute box for pumpkins on the porch for fall, but I wanted something a little more Halloweeny (is that a word) for October. So, I got to work creating a Halloween themed design that would work on my box. I just finished it up and I’m so excited with how it turned out. What do you think? Isn’t it cute? Read on for the tutorial on how to create this Halloween pumpkin box with your Cricut or Silhouette.
HERE’S WHAT YOU NEED
- Wooden Box (Mine measured about 18″ x 7″ x 7″)
- Vinyl for Stencil (Color Doesn’t Matter)
- Pumpkins
- Fake Spider
- Hot glue and glue gun
- Acrylic Paint & Brushes (I used White & Black)
- Sandpaper
- Application Tool
- Transfer Tape
- Electronic cutter (cricut explore, silhouette or other cutter)
- Cut File (available for free in my resource library)
HERE’S WHAT YOU DO
STEP 1: DOWNLOAD THE FREE SVG FILE
The first thing you’ll need to do is get the free SVG file you’ll use for this project. I keep all the SVG files I use for the projects I make in my SVG Library. These SVG files work with Cricut and Silhouette machines, as well as many others. This library is open to everyone and is free! You can access the library here.
STEP 2: PAINT THE BOX BLACK
You can purchase wooden boxes or wooden crates at most craft stores. You can also make your own with a few simple tools. Here is an easy tutorial if you want to make your own.
Lightly sand the box and then paint it all black. Set aside and let the box dry.

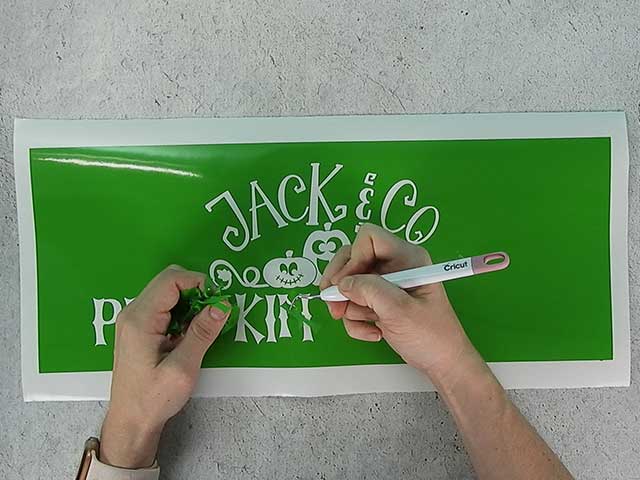
STEP 3: CUT AND WEED VINYL STENCIL
Open the design in your software program. I sized my design to about 14.5 ” x 5.6″. Then, I added a rectangle around the design to create a stencil. The rectangle is the same size as the side of the box (18″ x 7″).
Do you need more help with creating a vinyl stencil? Check out these posts.
How to Make a Vinyl in Cricut Design Space.
How to Make a Vinyl Stencil in Silhouette Studio
I used Oracal 651 for the stencil because I have lots of it to use up, but you can also use Stencil Vinyl or Oracal 631.
When everything is sized correctly, you can cut the stencil with your Cricut or Silhouette. Once it has finished cutting, weed away the excess vinyl.
STEP 4: APPLY TRANSFER TAPE
Cut a piece of transfer tape a little larger than the design. Place the vinyl on the transfer tape. Use an application tool to rub over the design. Then, trim off the excess transfer tape.
![]()
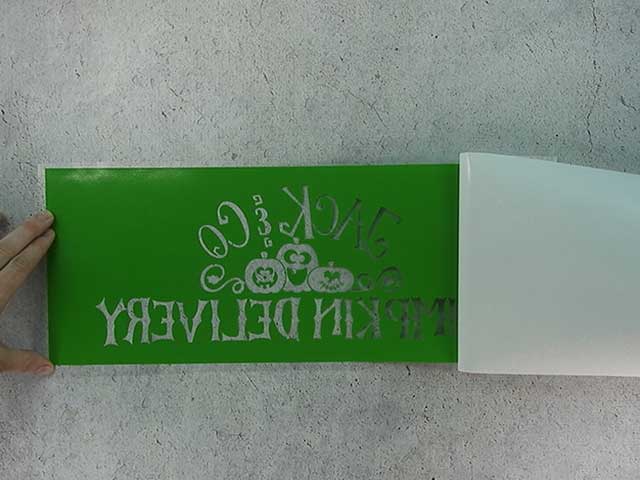
STEP 5: REMOVE VINYL BACKING
Place the vinyl so it’s facing down, and then pull off the vinyl backing. I like to do it this way so the vinyl doesn’t curl.
STEP 6: CENTER DESIGN ON BOX
Wait until the paint has dried completely dry before putting on the vinyl stencil.
Place the vinyl on the box and center the design. Line up the straight edges of the stencil with the edges of the box. Once it’s in place, use a scraper and rub over the entire design.

STEP 7: REMOVE TRANSFER TAPE
Carefully pull off the transfer tape. Go slow and use your fingers to help the vinyl to stay on the box.
![]()
STEP 8: PAINT OVER THE STENCIL WITH BLACK PAINT
Paint a thin coat of black paint over the stencil.
Why do we do this? To help prevent bleeds.
Sometimes there are small gaps between the stencil and the wood. Our hope is that the black paint will fill in these gaps, instead of the white paint we will use on the stencil.

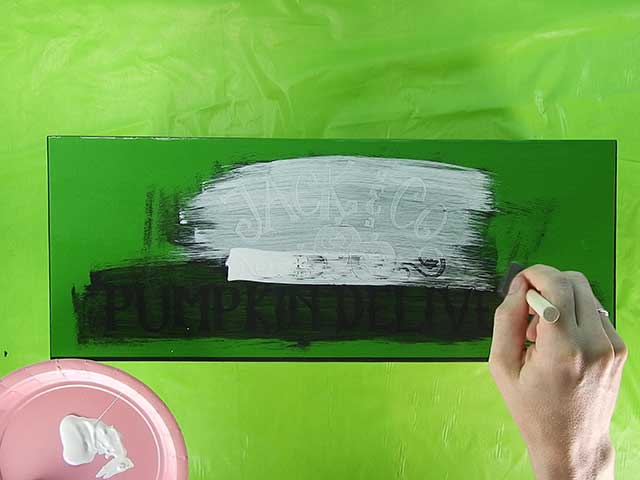
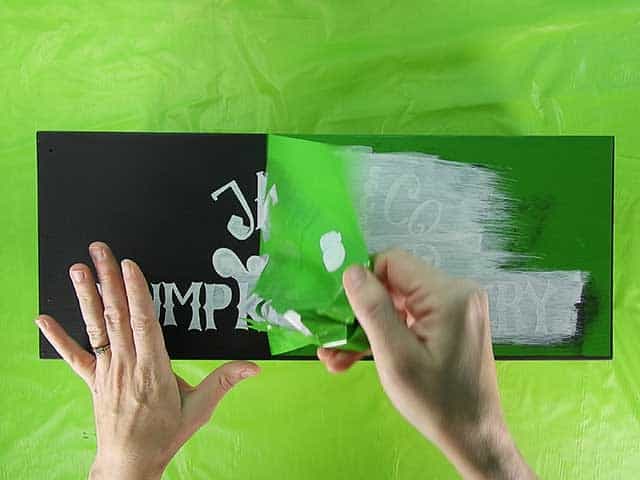
STEP 9: FILL IN THE STENCIL
Once the black paint is dry, fill in the stencil with paint. I painted 2 light coats of white paint.
STEP 10: REMOVE VINYL STENCIL
Once the white paint is dry to the touch, carefully pull off the stencil. You can use a craft knife or weeding tool to pull out the centers of the letters. If there’s any bleeding, you can touch it up with a small paintbrush.
STEP 11: DISTRESS WOOD BOX
Now, it’s time to make this box look old and spooky. Start by lightly sanding off white paint of the stencil.
Next, dip cheap bristle brush in white paint. Use a paper towel and wipe most of the paint off. Then, lightly drag the brush across the box. We’re going for light streaks across the box, so just let the bristles barely touch the surface of the box. Repeat on all sides.

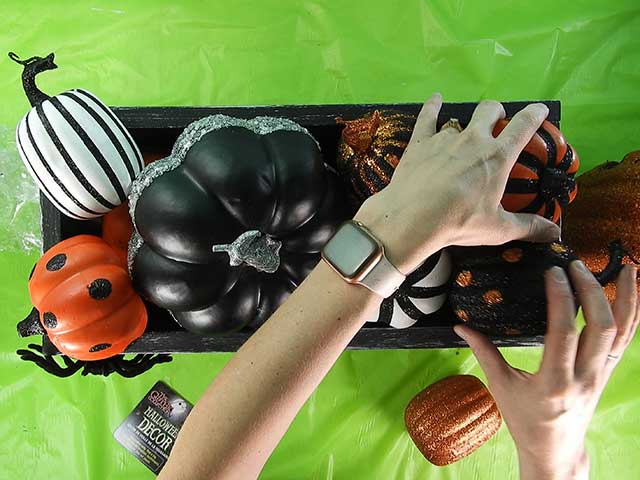
STEP 10: ADD PUMPKINS AND OTHER DECORATIVE ITEMS
Fill up your box with assorted sized Halloween pumpkins.
I found these super cute glitter pumpkins at Walmart and Joann’s. They are so perfect for this box. I also glued a spider to the outside and added a black crow to one of the pumpkins.
That’s it! I am so in love with this Halloween pumpkin box. It’s such a fun and easy project to make with your Silhouette or Cricut!

Did you enjoy this post? Help spread the word! Share this post on your favorite Pinterest board. Thanks!
Would love it if you did a pdf version of your tutorials. I’m sure everyone would appreciate it.
Thank you!
Thank you!
Thank you!
You bet!