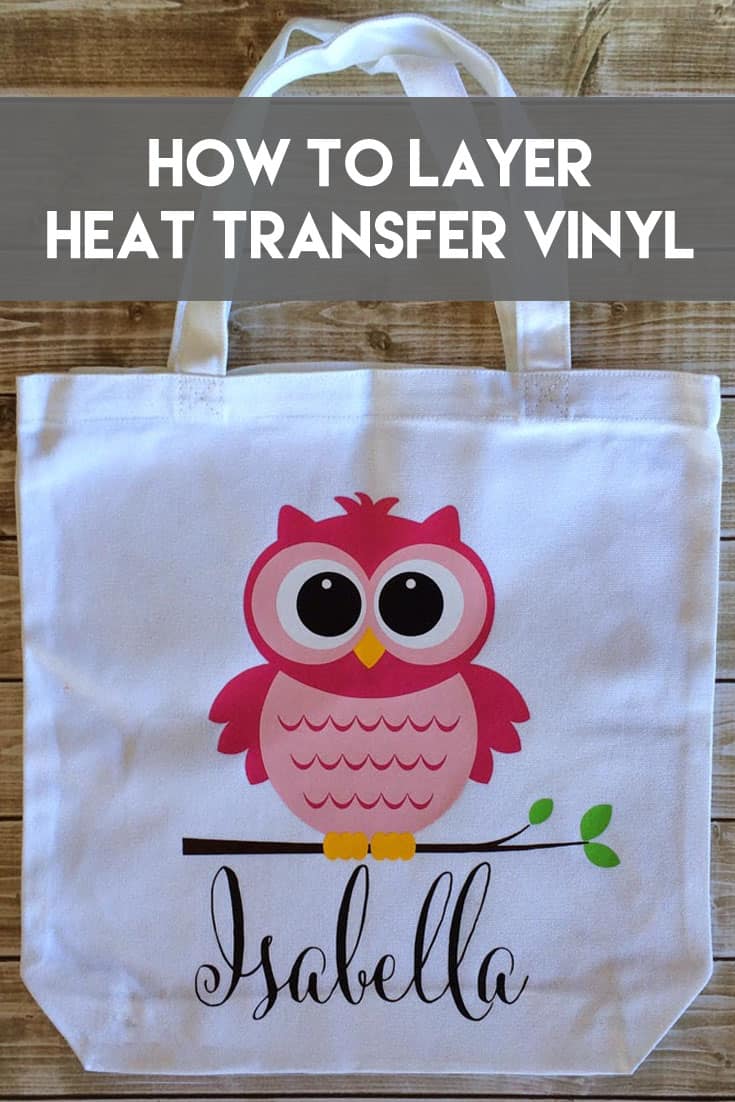
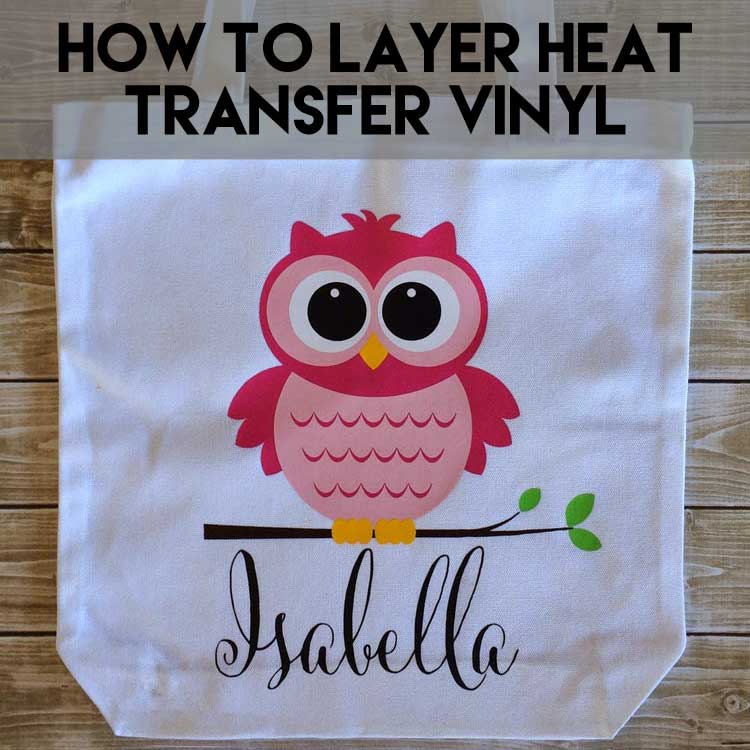
I have been wanting to make my daughter her own tote bag for quite a while. Now I can finally check it off my list! I used Heat Transfer Vinyl, so it was really easy to make and I think it turned out so cute! This design requires some layering. So today, I’m going to show you my method for layering heat transfer vinyl.
There are probably lots of methods for layering heat transfer vinyl (HTV) and I’m guessing they’re all quite similar. This is how I do it.

I use my digital cutter to cut out all the colors (be sure to mirror all layers before cutting). After I have weeded away the excess vinyl, I trim down the plastic backing.
Next, I layer all the pieces so I can get an idea of where I want the design to go. There are 7 layers in this design: fuchsia, light pink, white, black, yellow, green apple, and brown.

Then, I remove everything except the first layer (any HTV and backing that isn’t touching can stay, in this case, the dark pink and black). Use your heat source and press the vinyl for 3-5 seconds, just long enough to tack it down. Then, you can remove the clear backing.

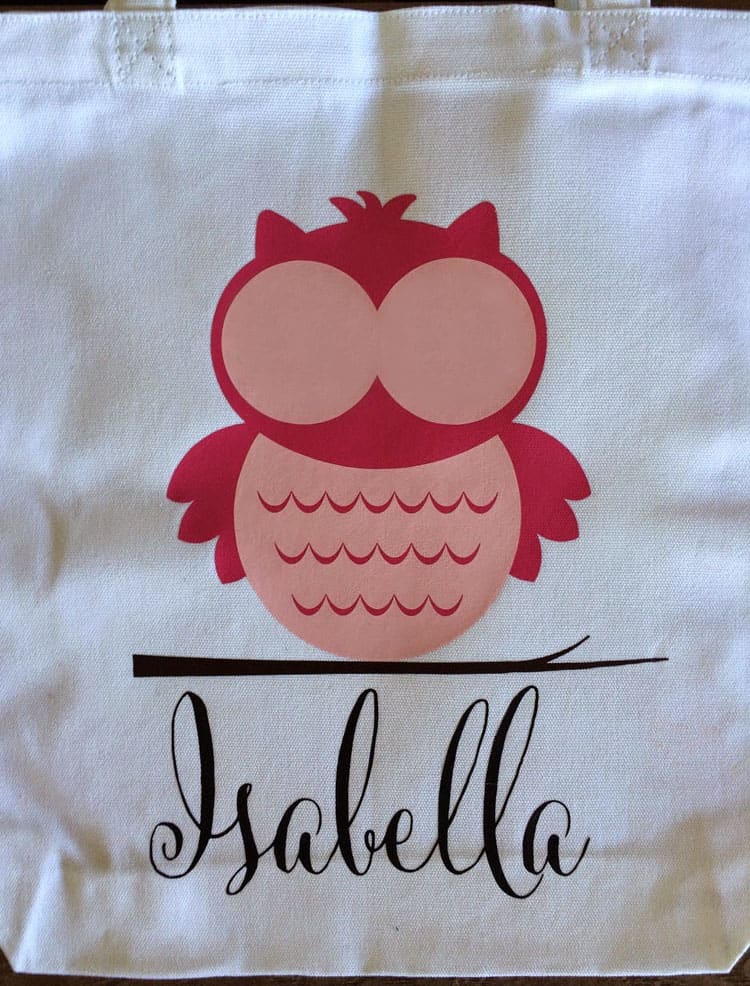
I add the next layer (once again, any HTV and backing that isn’t touching) which is the light pink, iron, and remove the clear backing. Because the heat transfer vinyl itself isn’t sticky like regular vinyl (usually the carrier sheet is sticky), you can move the vinyl around until you have positioned it perfectly. In some ways, I think layering heat transfer vinyl is easier than layering regular vinyl.

Repeat with the next layer, which is white for the eyes and brown for the branch.

The final layers are black, yellow, and green. I could do these all at once because none of them were touching. On the final layer, you can press for the full recommended time from the manufacturer (usually about 15 seconds).

I just love how it turned out! The cute font I used is Cantoni, it is one of my favorites!
I hope you enjoyed this tutorial on layering heat transfer vinyl and will try to do it yourself!
I love this Thank you.
Very cute. Thanks for the tut and file.
Such a cute project!! Of course, I LOVE the owl…so sweet!!!
Donna
This is adorable! Thanks for using my Cantoni font in such a fun way!
Best,
Debi Sementelli
Oh my goodness! Such a great tutorial that I may try layering now! I am fairly new to iron-on, and have been afraid to try it so far. Thanks for the great instructions!
You should definitely try it. It isn’t hard (or scary) and I always love how it turns out!
I did a layering project using my heat press recently, and some of my layers messed up as I got toward end. I used a Teflon sheet so should I adjust my time or temp as I go?
Next time, try to press each layer just enough to tack it down and remove the carrier sheet. Once all the layers have been applied, then press for the full amount of time.
Do you use a special heat press?
I don’t own a heat press. I just use my iron and lots of pressure.
Such a cute design! I just learned the “slice” feature for Cricut and it goes by the name “subtraction” in Silhouettes. This feature allows you to do all the colors separately so that in the end you only have ONE layer to iron on. It will save you tons on vinyl!