Are you a Silhouette owner that wants to cut multi-color designs, but aren’t really sure exactly how to do it? Well. you’ve come to the right place! Multi-color designs are super cute and lots of fun to make. Today, I’m going to walk you step by step through the process of setting up your multi-color design in Silhouette Studio. If you’re a Cricut user, learn how to cut multi-color designs with this tutorial.
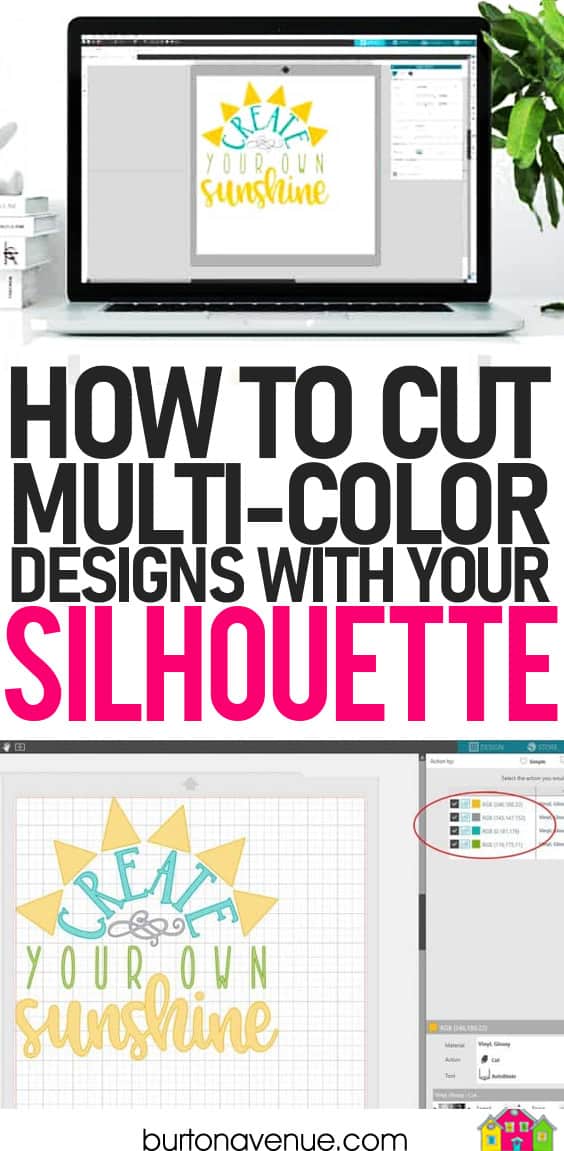
How to Cut Multi-Colored Designs in Silhouette Studio
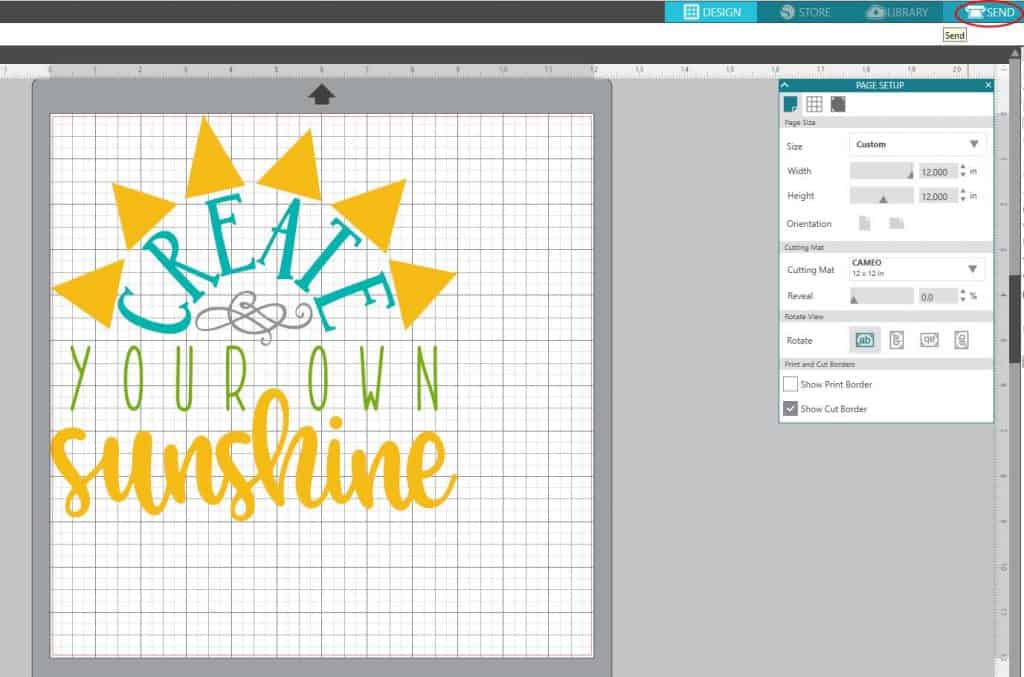
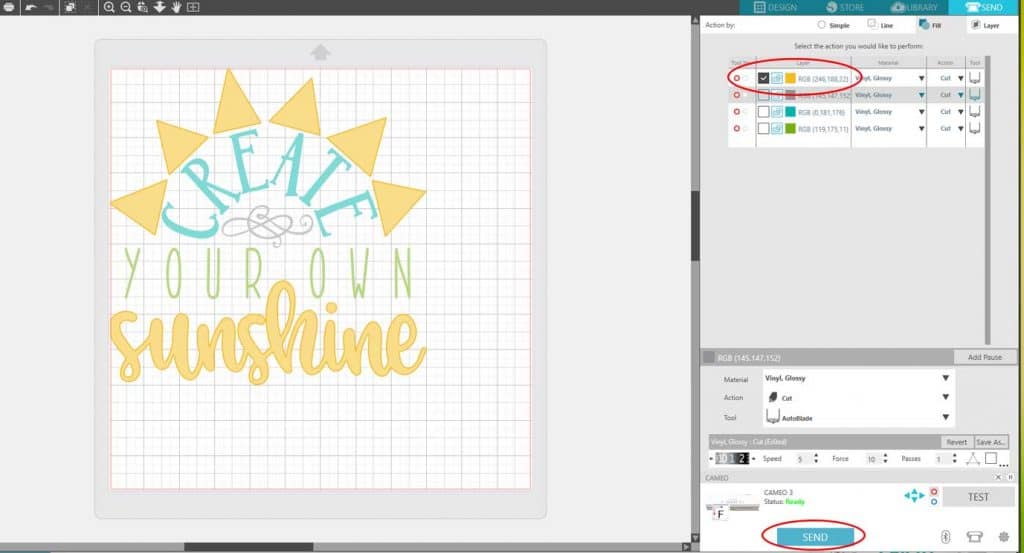
Cutting multi-color designs in Silhouette Studio is actually really easy. Start by importing your file into Silhouette Studio. If you need help importing an SVG, follow this tutorial. If you need help with a DXF, follow this tutorial. For today’s example, I’ll be using this Create your own Sunshine file. You can download the file for free here. Resize it to the dimensions you need. If you’re good with the colors and the size, click on the send button in the upper right-hand corner.
Next, click on the fill icon, also located in the upper right-hand corner.
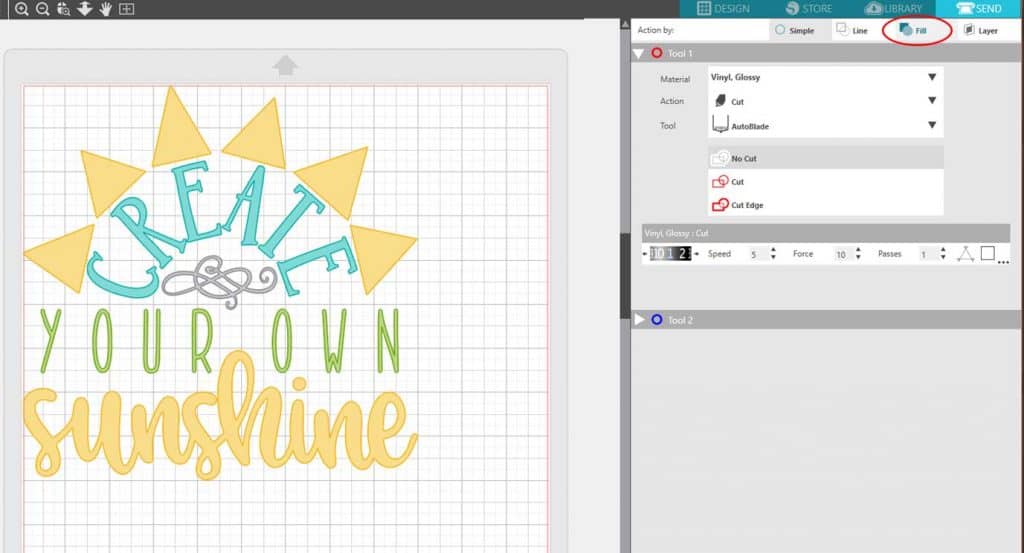
This screen will list all the colors in your file and you’ll notice each color has a checkmark next to it. You can also see that cutlines in corresponding colors are now drawn around your design. If you toggle the check marks off, you’ll also see cut lines turn off.
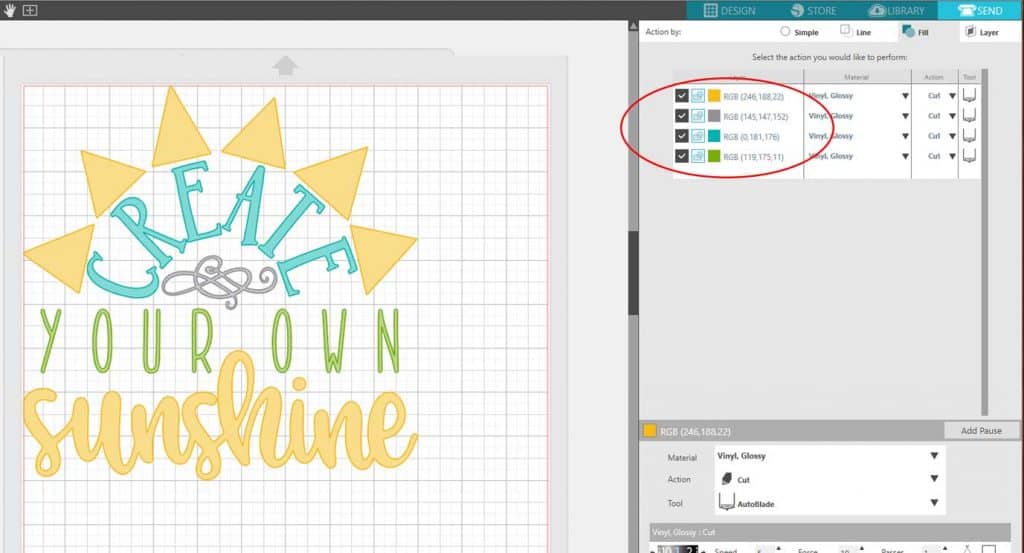 We’re going to cut the yellow vinyl first. Start by unchecking all the colors except yellow. If you look carefully at the image on the left, there is a dark yellow outline left around all of the yellow design elements. This is what your machine is going to cut. Now, load your vinyl (or whatever you’re cutting) into your machine and click send. Once your machine has cut the yellow, you can move on the next color and repeat the steps above.
How to change the colors of a design in Silhouette Studio
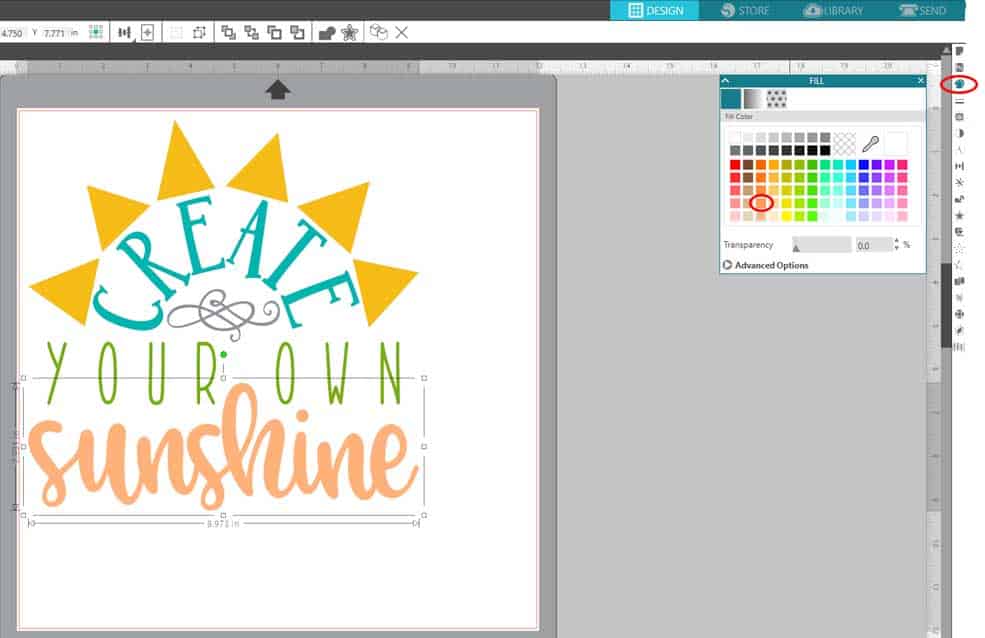
There might be times you want to change the colors of a design. Say you want the sun rays to stay yellow, but you want the word sunshine to be coral. This is easy to do, but before you can change the colors, you need to make sure that the design not grouped.
Lots of times, when you first import a design into, everything is grouped together. If you try to change the color when the design is grouped, it will change the color of everything. So, we need to separate the groups. Click on any element that is yellow, then click on the ungroup icon, located just above the design. You’ll need to click ungroup twice so the word sunshine and the sunrays aren’t grouped together. You’ll know they’re ungrouped because you’ll see little gray boxes drawn around each yellow element (you might need to turn off the grid to see the boxes). Each gray box is a group.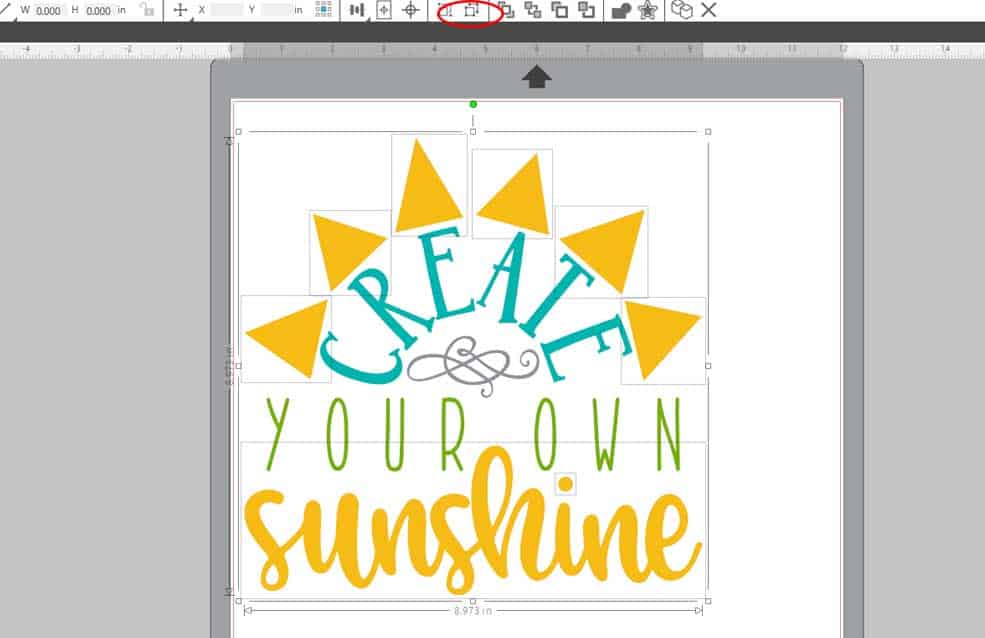
I like to keep everything the same color grouped together, To do this,hold down your shift key and click on each sun ray. Then, right-click and choose group. Then click anywhere off the design. Next, hold down your shift key and click on the word sunshine and the dot of the i. Right-click and choose group. To change the color, click on the word sunshine, select the fill panel icon from the right, and choose your new color. Now, follow the steps above to cut your design.
I hope this tutorial was helpful and you give multi-color designs a try! Be sure to pin this post so you can find it again!