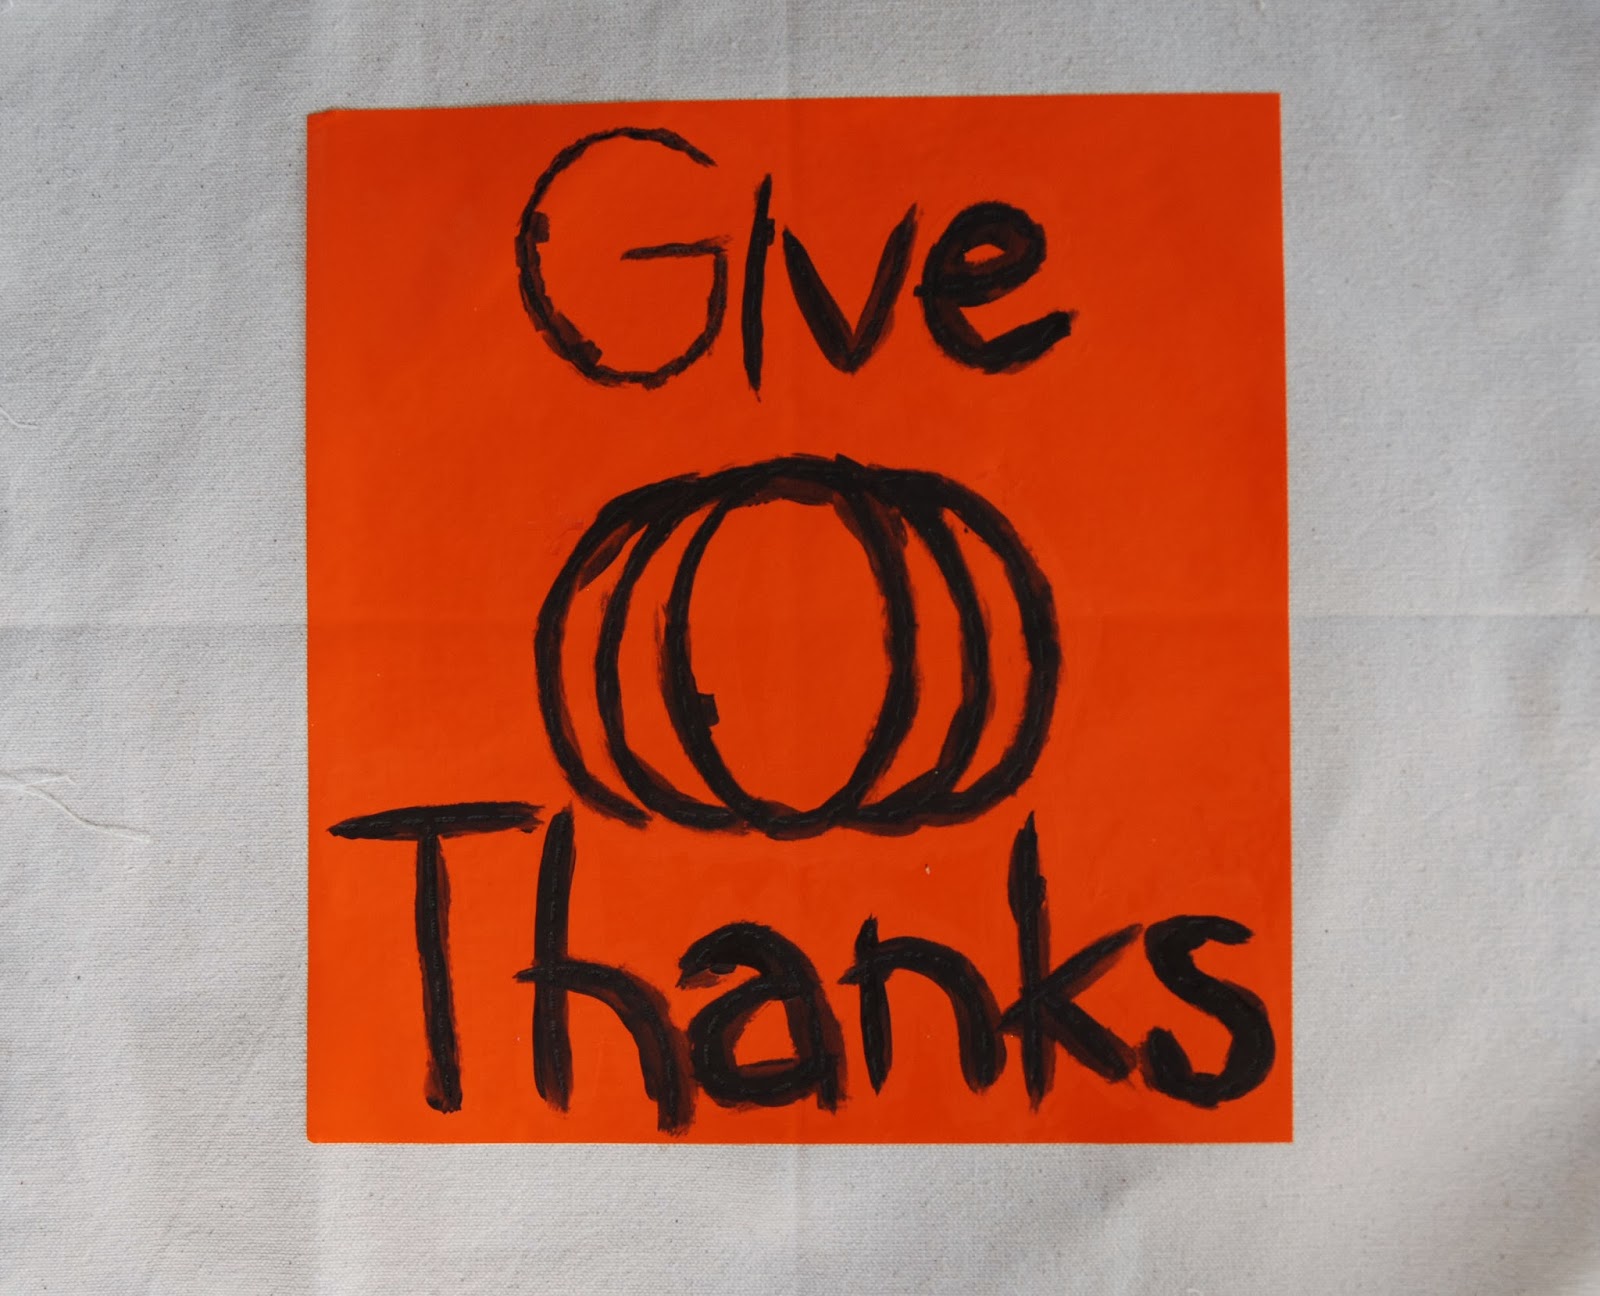
Since Halloween is over and Thanksgiving will be here in just a few weeks, there’s not much time for Thanksgiving crafts. So, I figured it was time to get started. I wanted to create the look of a stitched applique pillow with paint and I think it turned out pretty good.

Here’s what you need:
Fabric
Paint
Mod-Podge (optional)
Vinyl Stencil
– Cut File – Give Thanks Stitched BA2045 (available for free in my resource library)
Here’s what you do.
First, you need to lay out your vinyl to make stencils. The registration marks are really important for this project. Here is a screenshot of my design. Before you cut, you might want to do a test cut to make sure the stitch marks are big enough to cut cleanly with your machine (I sized my whole design to be 10″ tall).
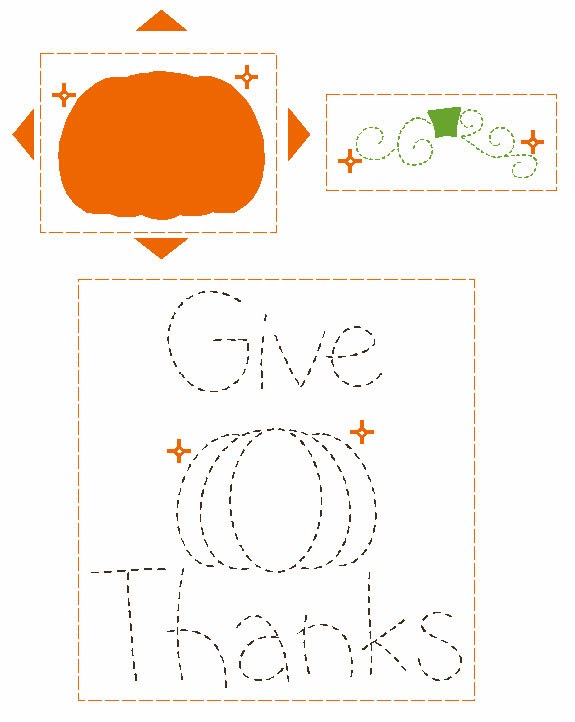
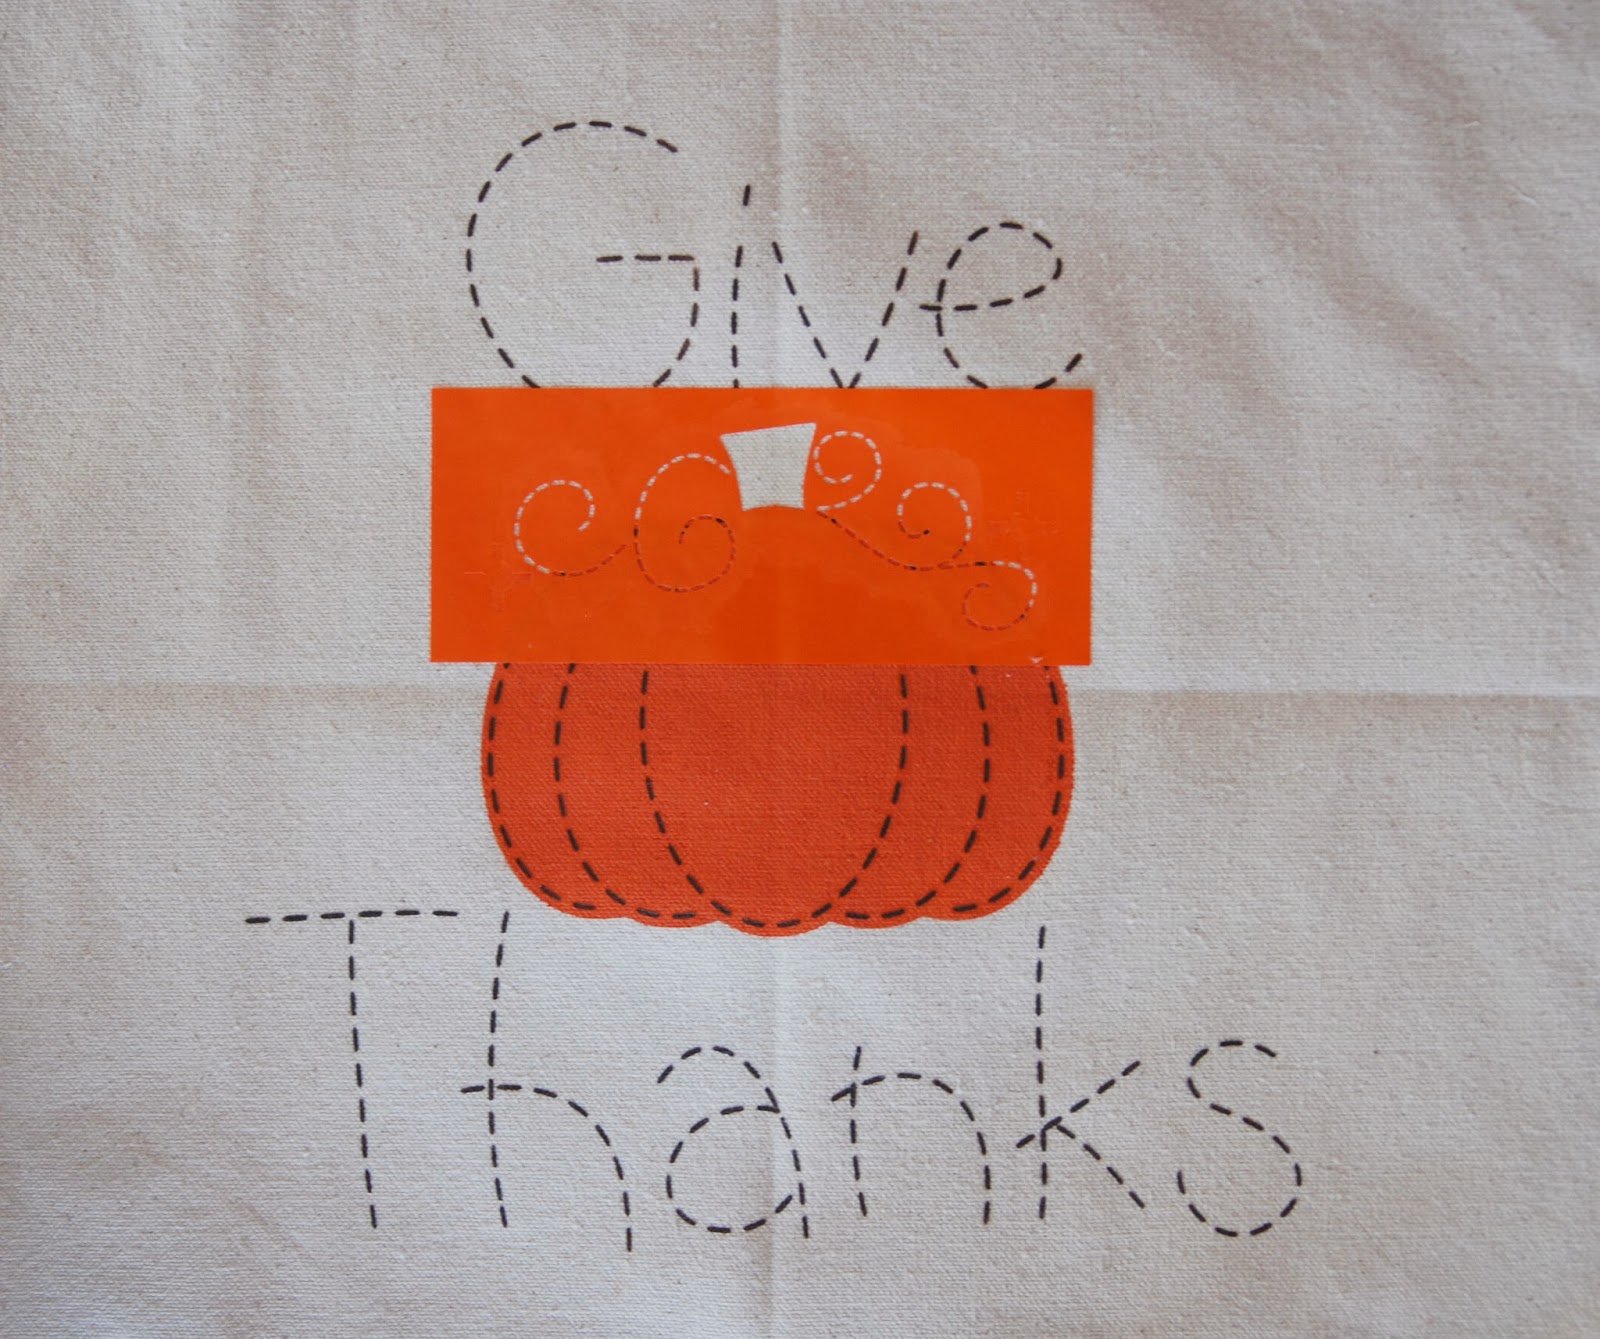
Since this is a stencil, you need to peel out the part you want to paint. So, for the first step, remove just the pumpkin. The registration marks should be cut but don’t remove them. Use application tape to pick up the vinyl and apply it to your fabric.
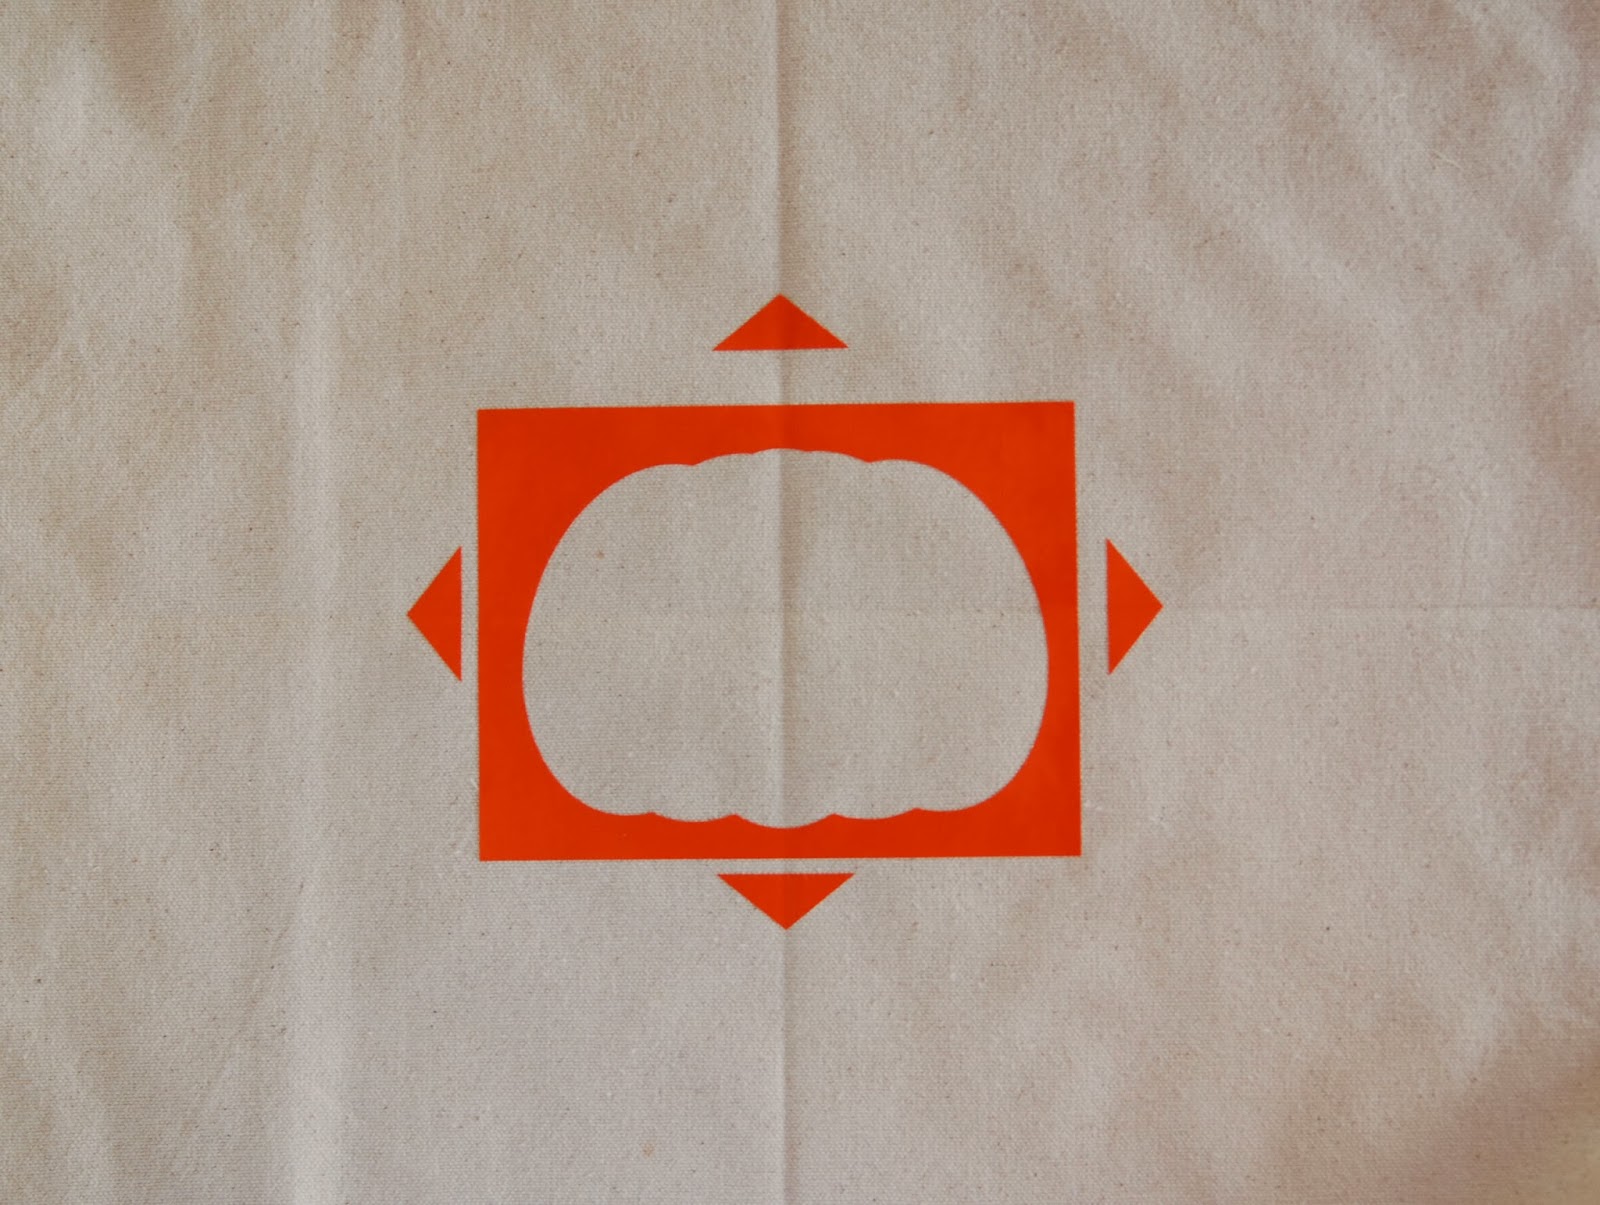
If your fabric is textured or you are just worried about the paint leaking under the vinyl, apply a layer of Mod-Podge wherever you will be painting. After it dries, then you can paint the pumpkin orange.

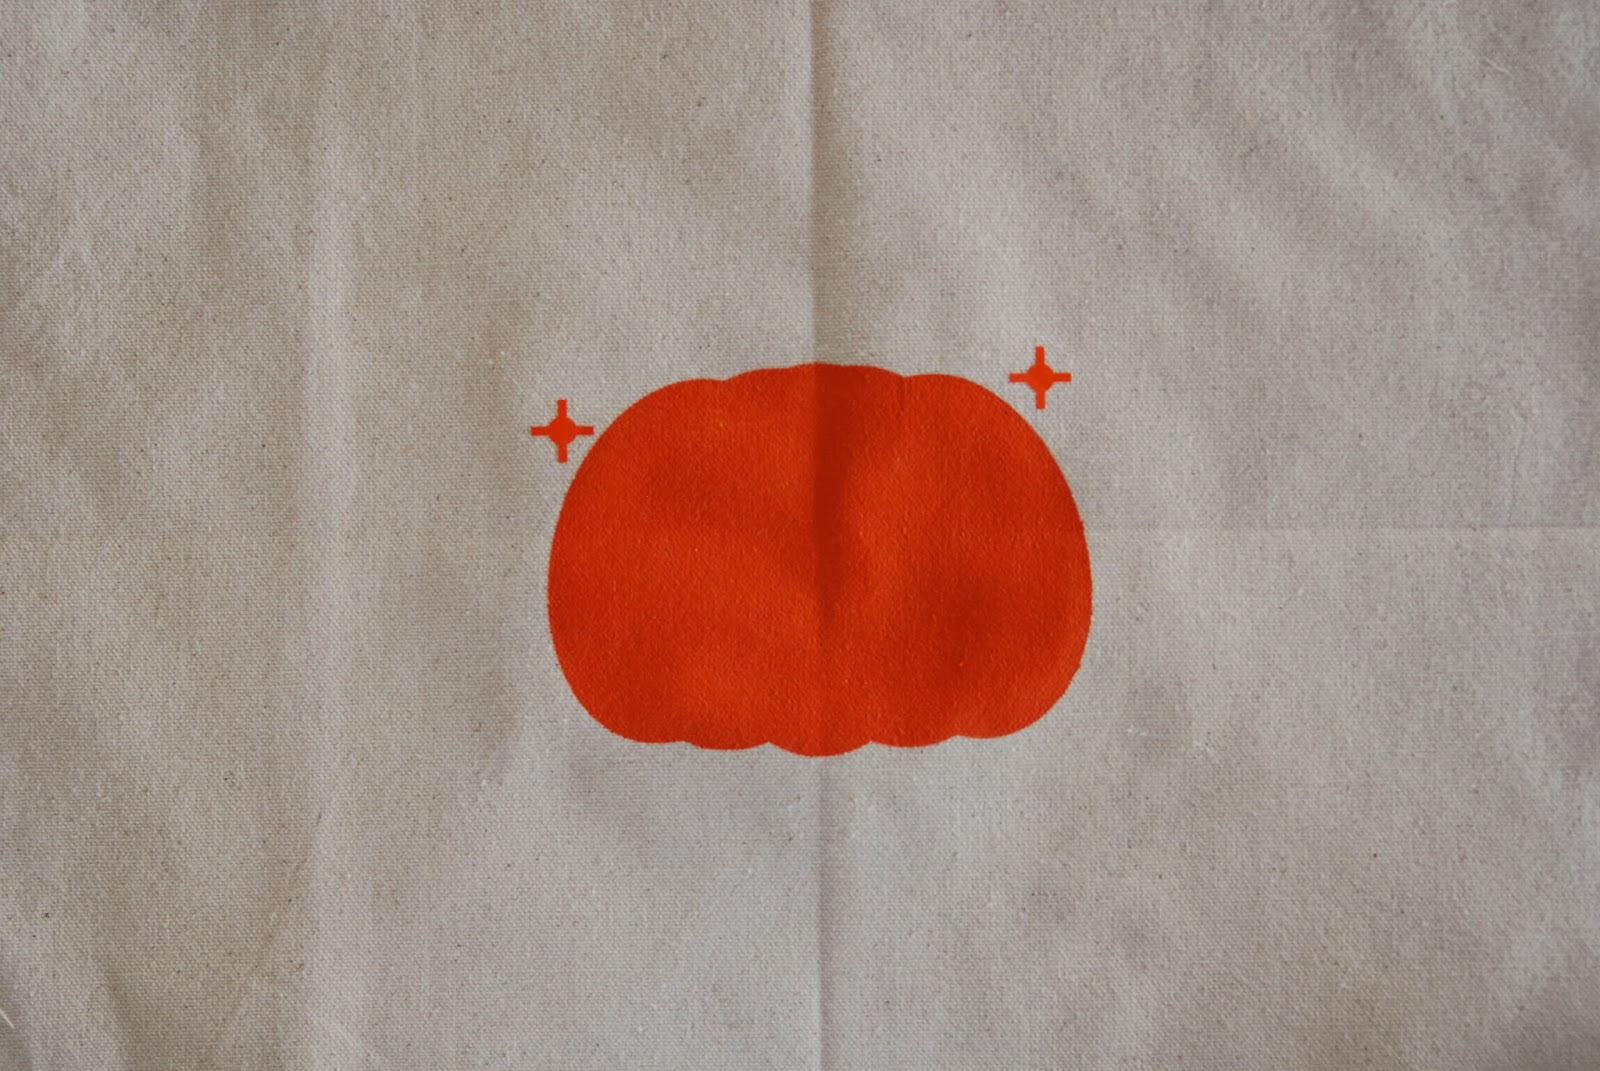
When the orange paint has dried, you can remove the vinyl, but make sure you leave the registration marks.
On most designs, on the next layer, you will want to weed out the negative space, including
the registration marks, and then apply the transfer tape. But, because of the design of this project, you should be able to pull the vinyl right off the backing. You shouldn’t need to weed or use transfer tape. All the stitch marks and the registration marks should stay on the backing.
the registration marks, and then apply the transfer tape. But, because of the design of this project, you should be able to pull the vinyl right off the backing. You shouldn’t need to weed or use transfer tape. All the stitch marks and the registration marks should stay on the backing.
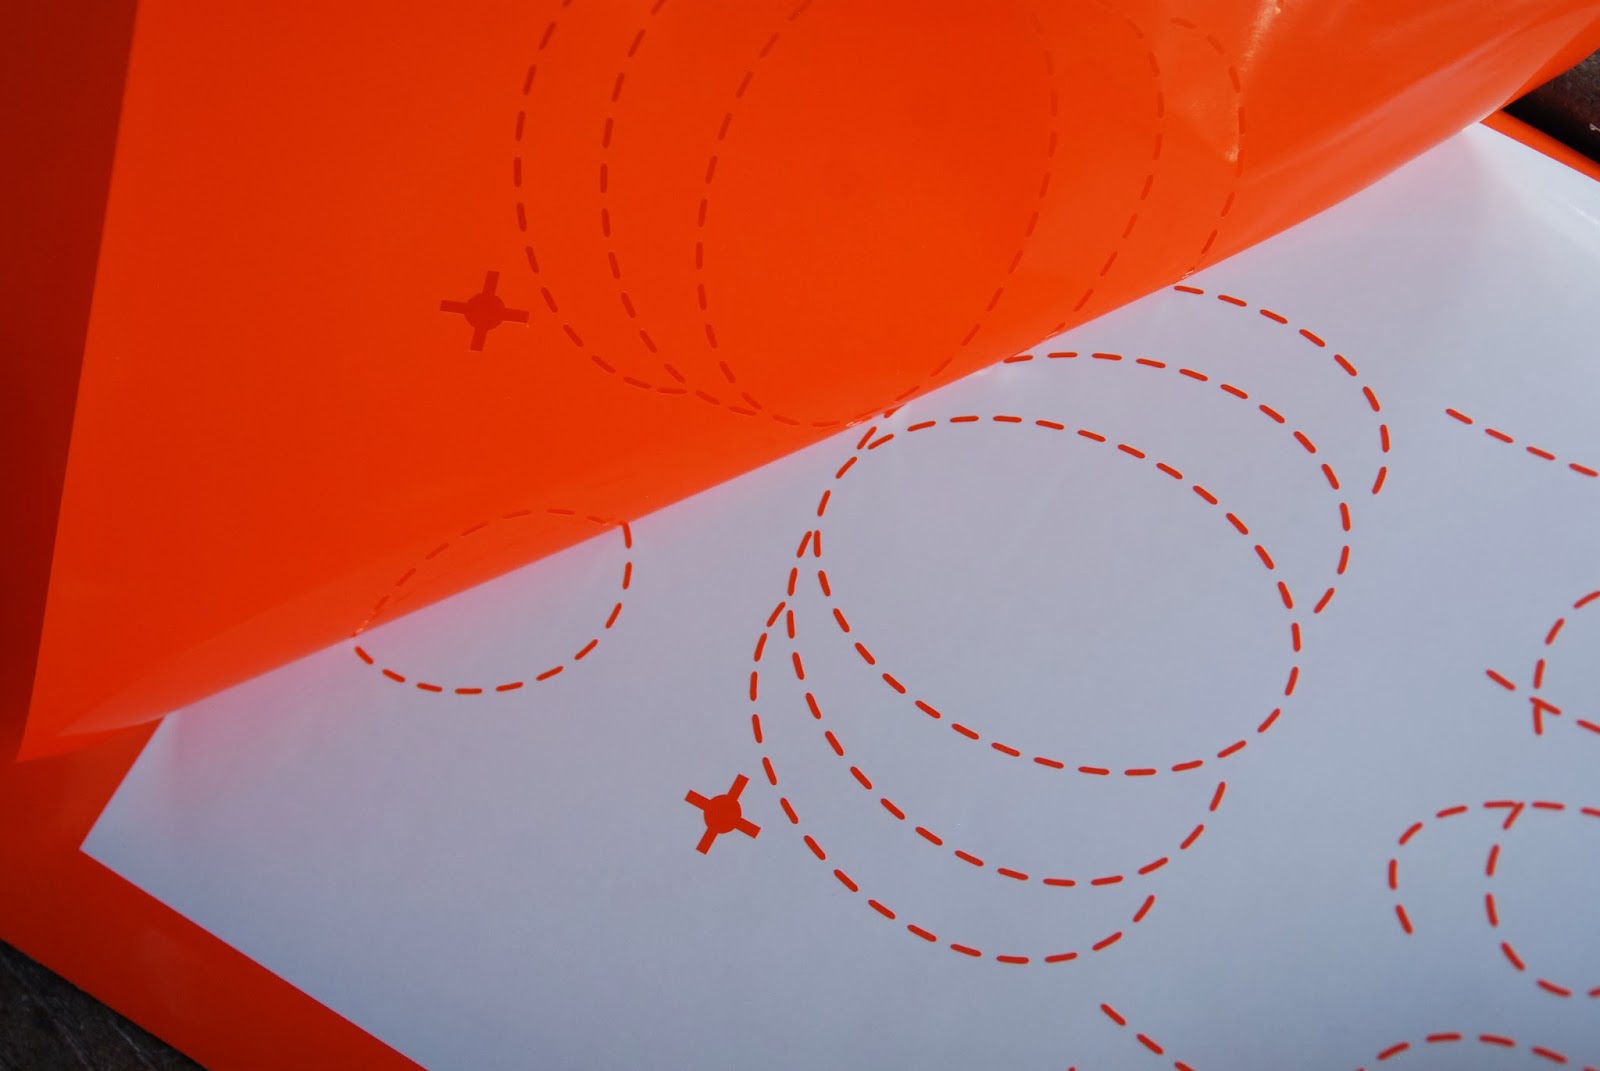
Then, carefully align the empty spot where the registration mark was removed with the one that was left on the fabric. Apply another coat of Mod-Podge wherever you will be painting.

After that dries, you can paint the next color.
When the paint has dried, you can remove the vinyl, but make sure you leave the registration marks.

Repeat the steps again with the third layer, making sure to align the registration marks.
Apply Mod-Podge, paint and remove the vinyl. Now, you can remove the registration marks.

Then, you can turn your cute design into a pillow. I followed this tutorial.
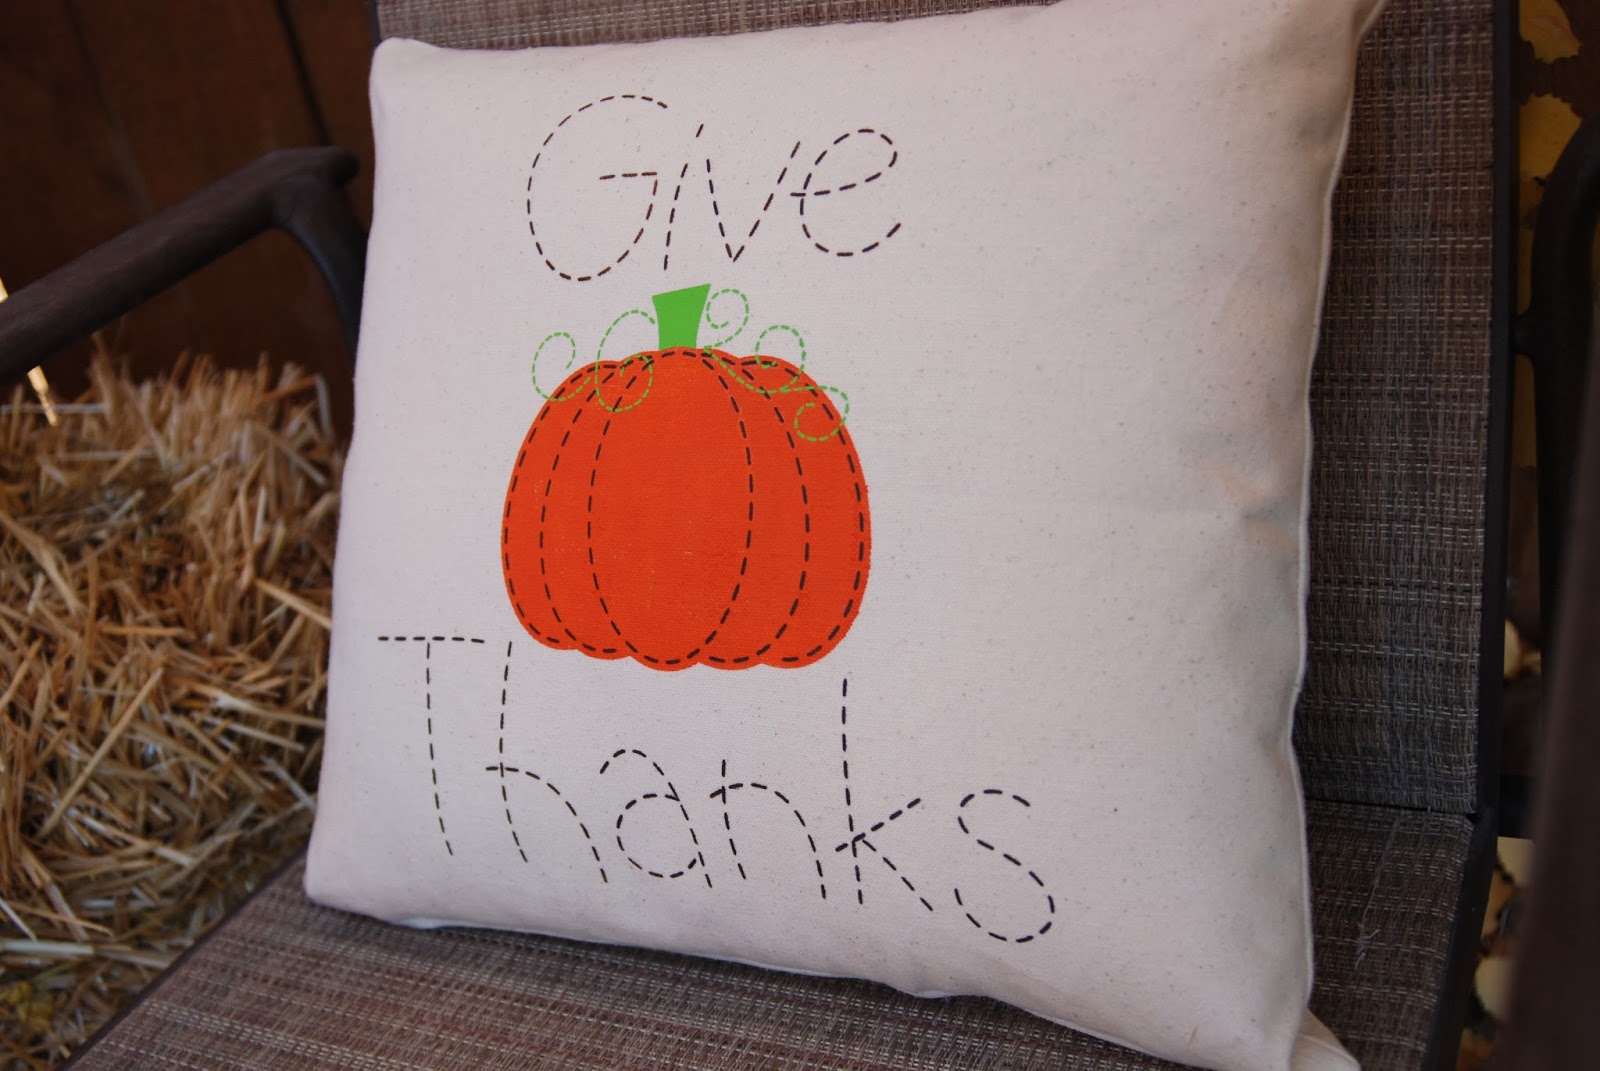
So, what do you think?
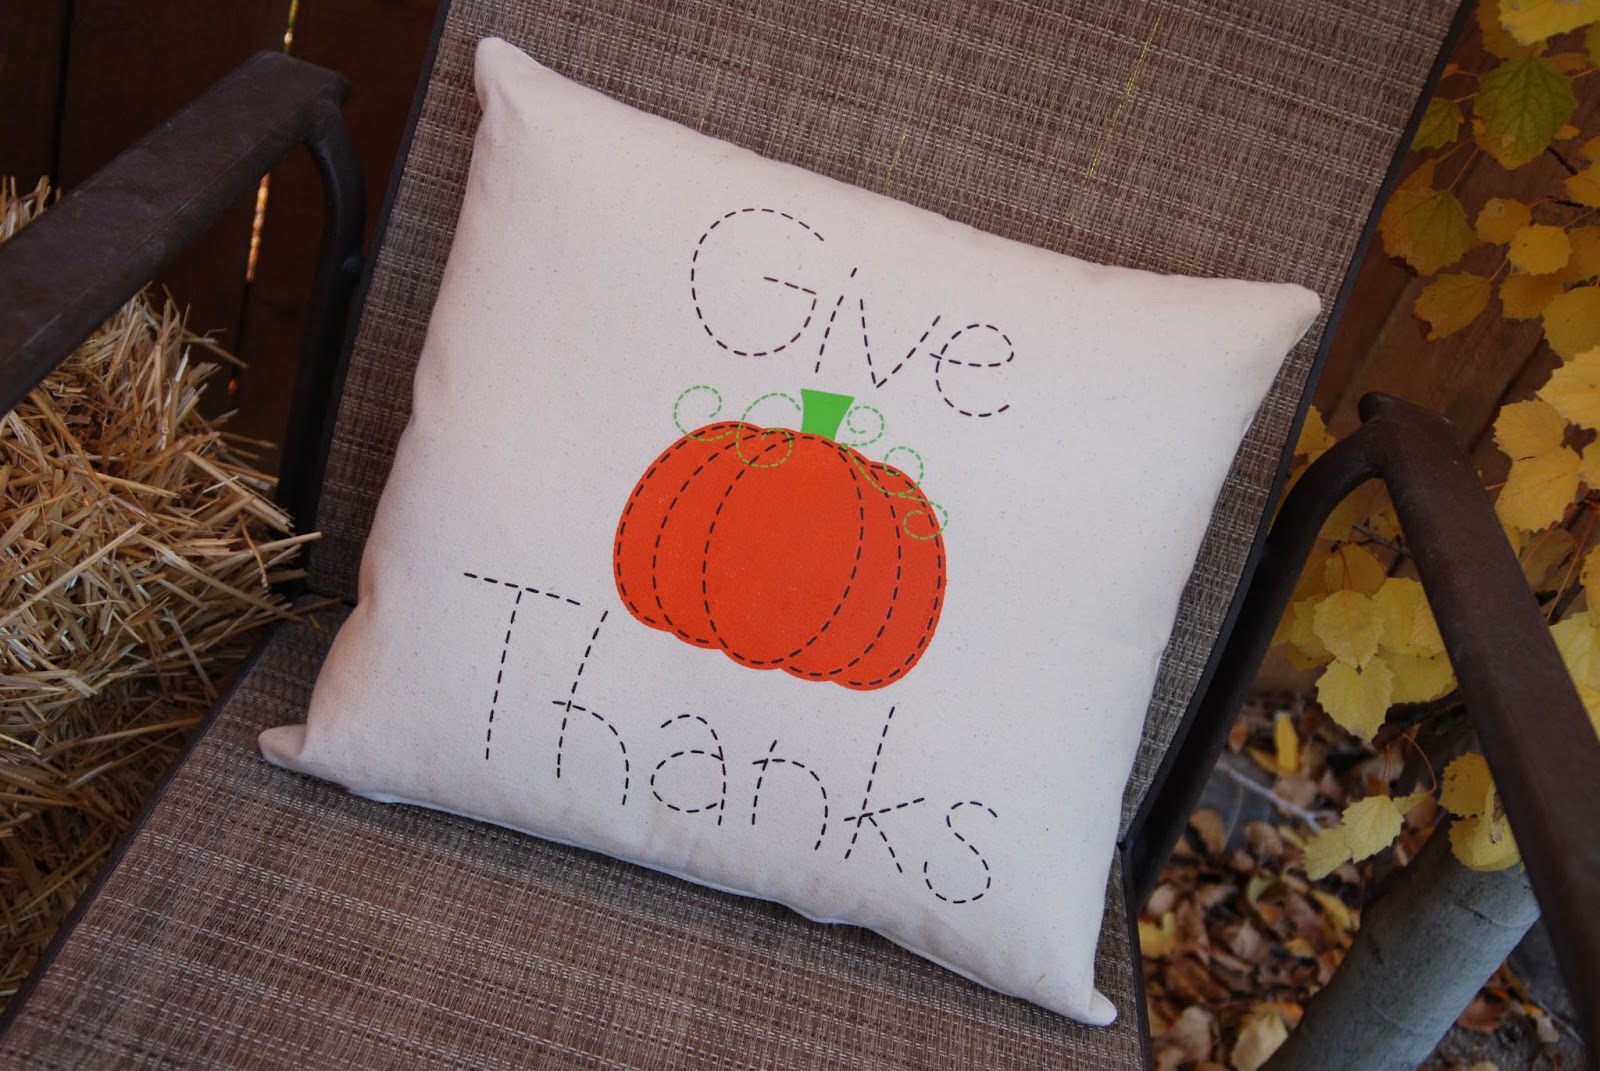
Would you have guessed this was painted?

Love this, what a creative and beautiful idea Your pillow is just so pretty and such a great tutorial too. I would love to have you link up to my Inspire Me party that goes live on Monday at 2:30 PT. http://www.astrollthrulife.net Hope to see you there. Hugs, Marty
when you say you put Mod-Podge so the paint doesn't leak, are you putting it on the backside of the fabric or painting over the dried Mod-Podge? This is a fun project 🙂
You have been featured at weekly creative… Thanks for linking up!