
I’m sure you’ve seen the DIY Sharpie mugs by now. They look so easy to make, so I figured I would try it. I decided to test it out on an old mug and even after baking it for 30 minutes at 350 degrees, my markers still washed off. So, I started researching and came across this post. If you are going to make a Sharpie mug, you need to read it. It has some great tips that will make your project successful.

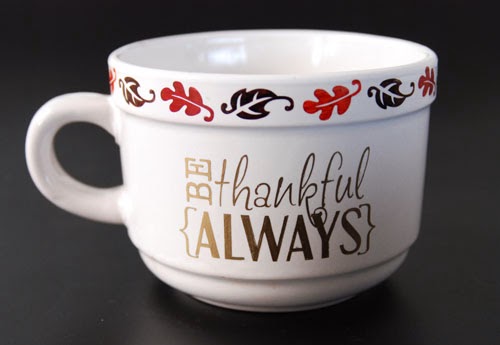
These mugs really are easy to make. You can free hand a design or cut one out of vinyl. For the border, I copied and pasted the leaves until they measured just a little smaller than the circumference of the mug.
Follow these directions to have a design that actually lasts!

If you are worried about the marker coming in contact with food or your mouth, you can find info on the Sharpie website (question 12).

Isn’t this a great reminder, especially this time of the year?

I am going to have to read that other post because my sharpie projects have been highly UNseccessful :o) [email protected]
So pretty!
Very nice. Stopping by from Craftastic Monday Link party.
Such a fun idea! Thanks for sharing!
This is such a cute craft…great idea! This would be great to link up to Create It Thursday…it's live now! Hope to see you there!
This is such a cute project! What a creative ideas! I'd love for you to add it to my weekly link party! Hope to see you there! http://www.thelifeofjenniferdawn.com/2013/11/a-little-bird-told-me-link-party-67.html