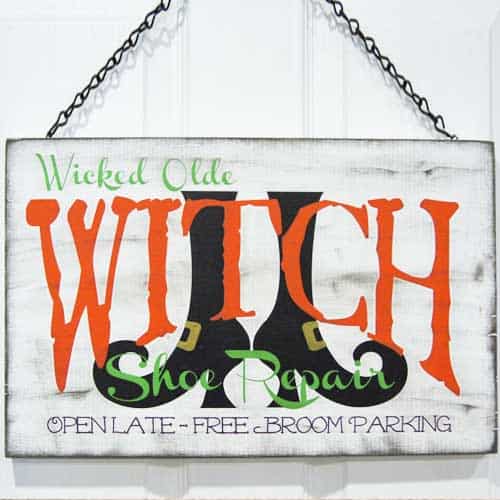
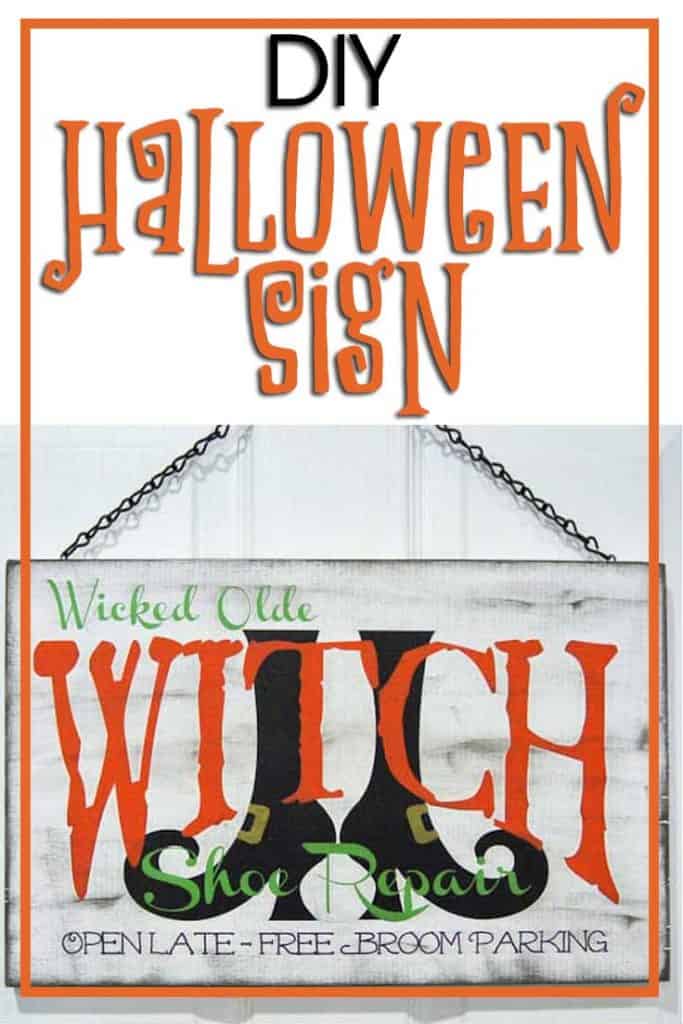
Halloween will be here before you know it and if you’re like me, that means it’s time to start on those Halloween projects. I’m excited to share this project because I think it turned out so cute! I designed the witch boots a while ago and just loved how they turned out, so I created this cute design to go along with them and created this fun Halloween sign.
HERE’S WHAT YOU NEED
- Wood (Mine is approx. 18″ x 5.5″)
- White Paint & Paint Brush
- Black Ink Pad
- Black Link Chain
- Small Screw Eye Hook
- Pliers
- Vinyl (I used Orange, Black, Lime-Tree Green, Purple, and Gold)
- Spray Sealer
- Transfer Tape
- Electronic cutter (cricut explore, silhouette or other cutter)
- Cut File (available for free in my resource library)
HERE’S WHAT YOU DO
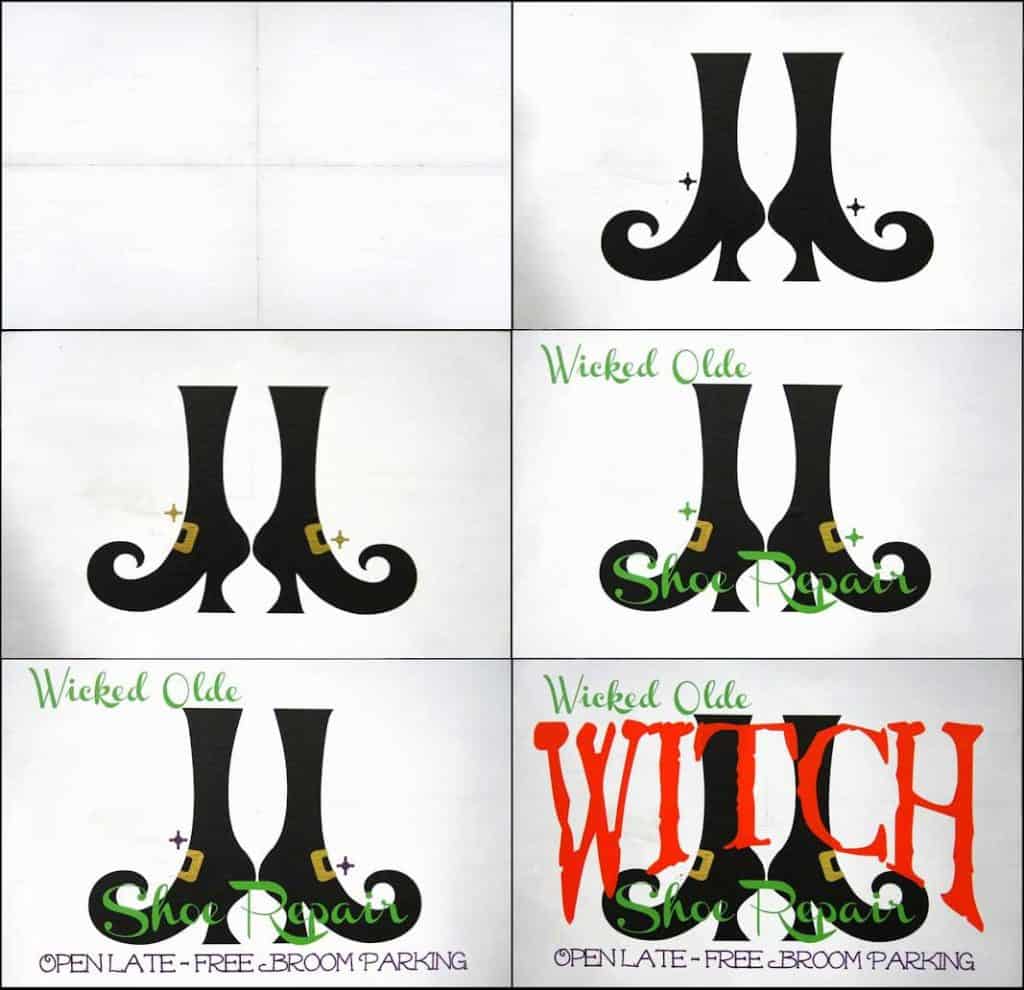
Start by painting your wood white. While the paint is drying, cut out your 5 colors of vinyl (I sized the design to 16″ x 10.25″), weed away the excess vinyl, and apply the transfer tape.
Do you need help cutting this multi-color design? Check out this step by step tutorial for Silhouette Users here and for Circut Users here. You can add registration marks to make layering easier.
Below is a picture of each step of the layering process. For the full tutorial on how I make multi-color vinyl signs, check out this post.

To hang the sign, screw in two screw eye hooks to the top. Use pliers to open the chain link and attach to the hook.

Want to make your own? Get the free cut file for this project in the resource library
Thank you!
thanks!
Love it! Thank you.
Thank you so much!
Thank you very much